
Walnut Dart Cabinet
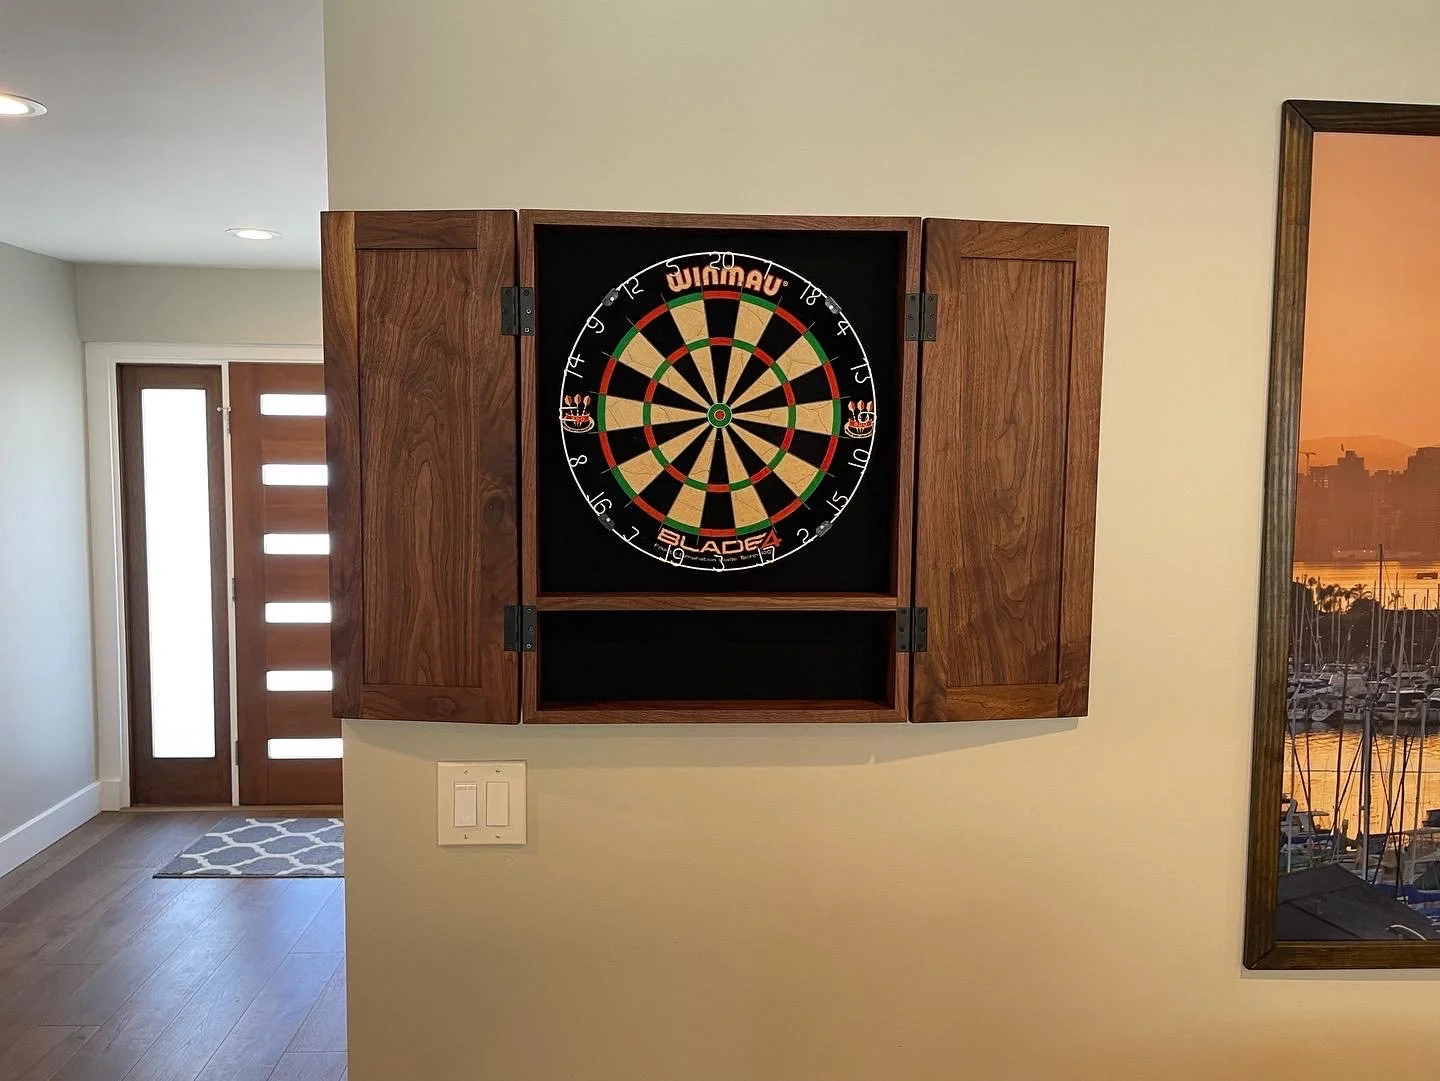
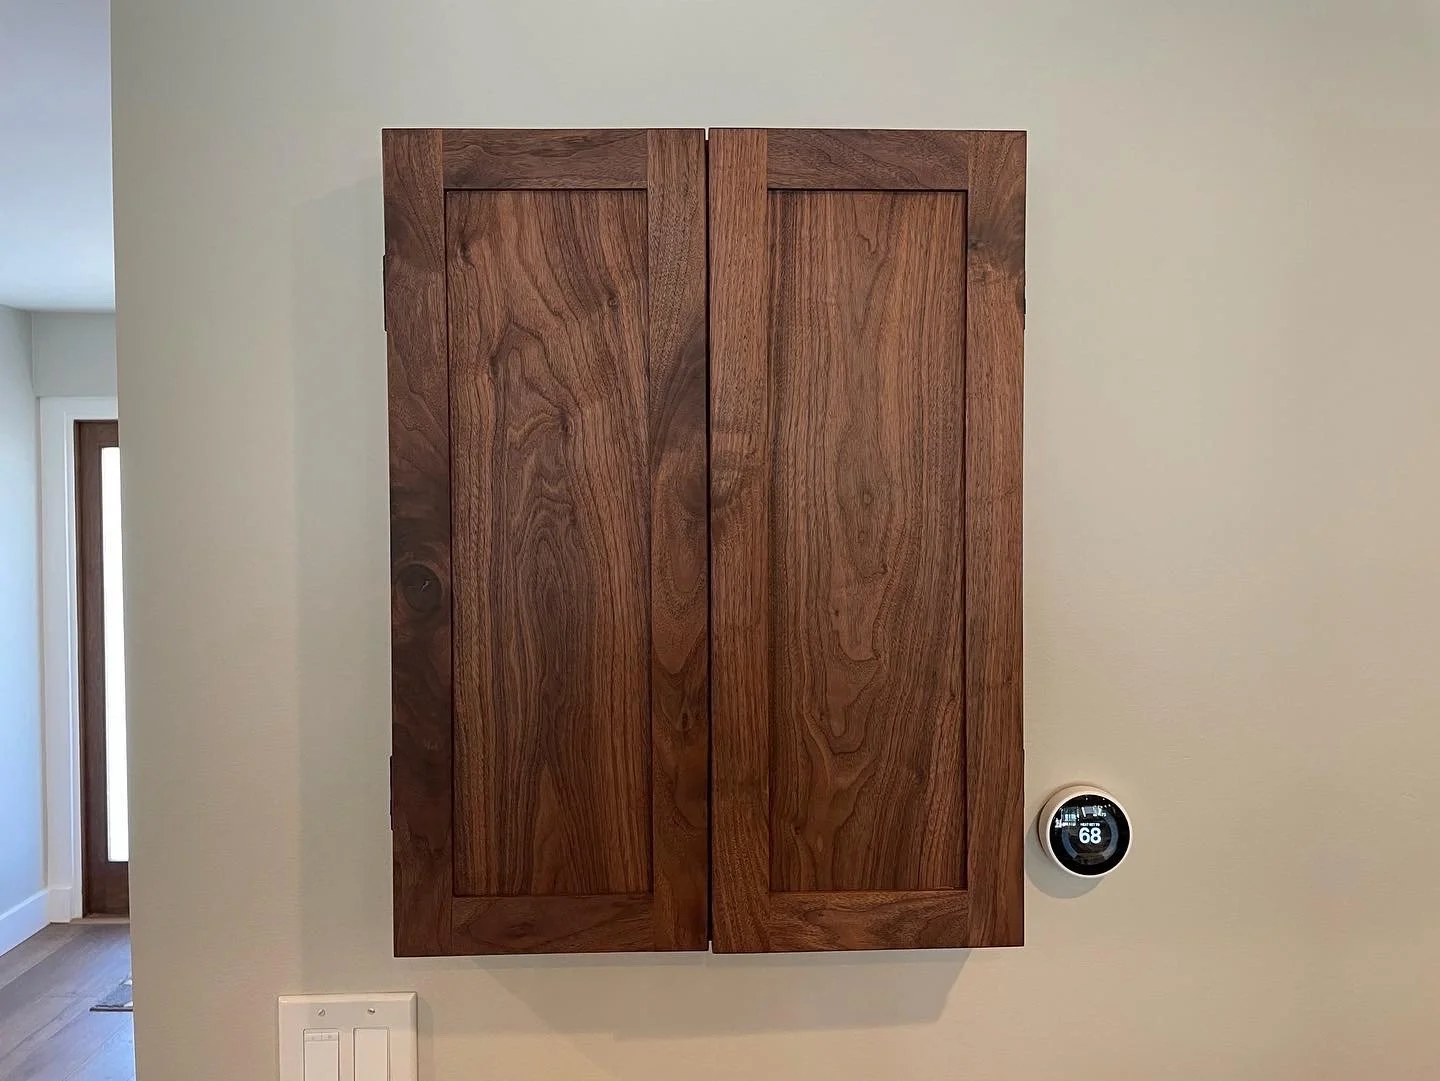
Custom dartboard cabinet built out of solid walnut. Shaker-style custom doors with solid walnut panels.
We’re big darts fans, but hadn’t had a board up in our house for a while. After some debate over where we might put it in this place, I built this custom cabinet to try to match the look and style of our living room area. This project was a quick one sandwiched between two others, and so unfortunately lacks a lot of photo documentation. But read more below for how it all came together!
The Process
I started out the design for this cabinet using an old store-bought cabinet we’d been using in previous houses. I liked that it had a slim profile, but the depth was a bit off and the doors would hit up against the dart board when closed. The overall dimensions were good though, so I used that as a starting point and just added a bit of depth. I wanted to make shaker-style cabinet doors to match the kitchen cabinets in our house and also because I like the look and the technique involved.
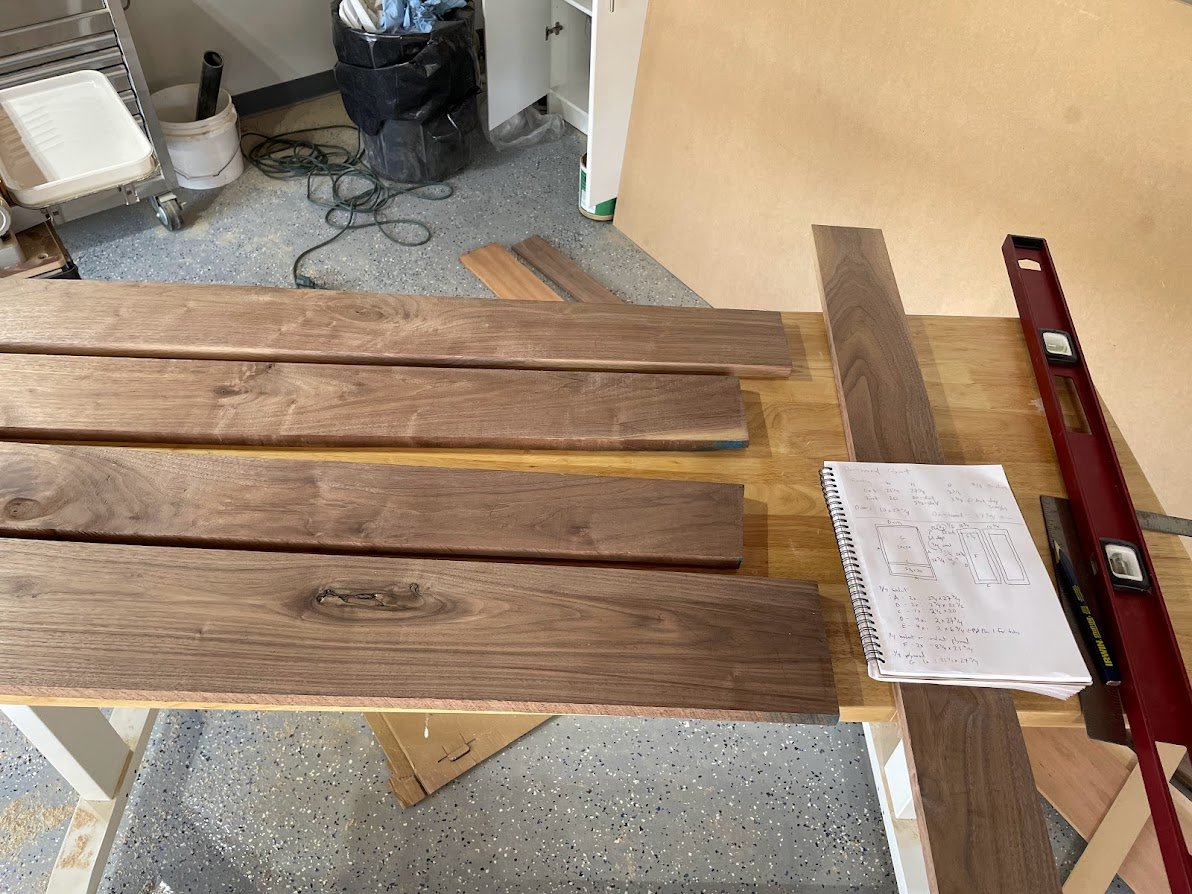
With the design sketched out, I purchased 4/4 walnut pieces for the cabinet frame and door frames. I started with the frame, ripping all of the pieces to width and then cutting them to length with mitered edges.
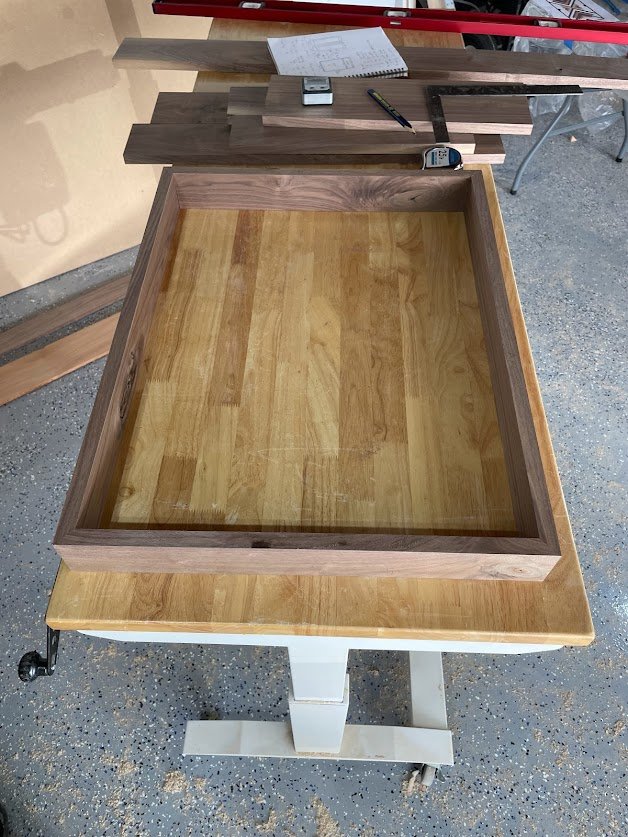
To assemble the frame, I used a technique I had seen in a lot of YouTube videos but hadn’t previously tried. I laid out all of the pieces in a straight line “upside down”, with the interior of the frame facing down. Then I taped the joint between each two adjacent pieces so that the points of the mitered edges are touching as flush as possible. Then I turned the whole thing over and taped up the interior of each corner to control glue spill-out. I wish I had been more deliberate about that part, but more on that later. Once everything was taped, I added glue to the joints and folded up the whole thing into the frame. The tape on the corners acts as a kind of clamp, applying pressure to the corners. But I added some actual clamps as well. I also took a square piece of wood and clamped it to the inside of one of the four corners to try to help keep the whole thing square.
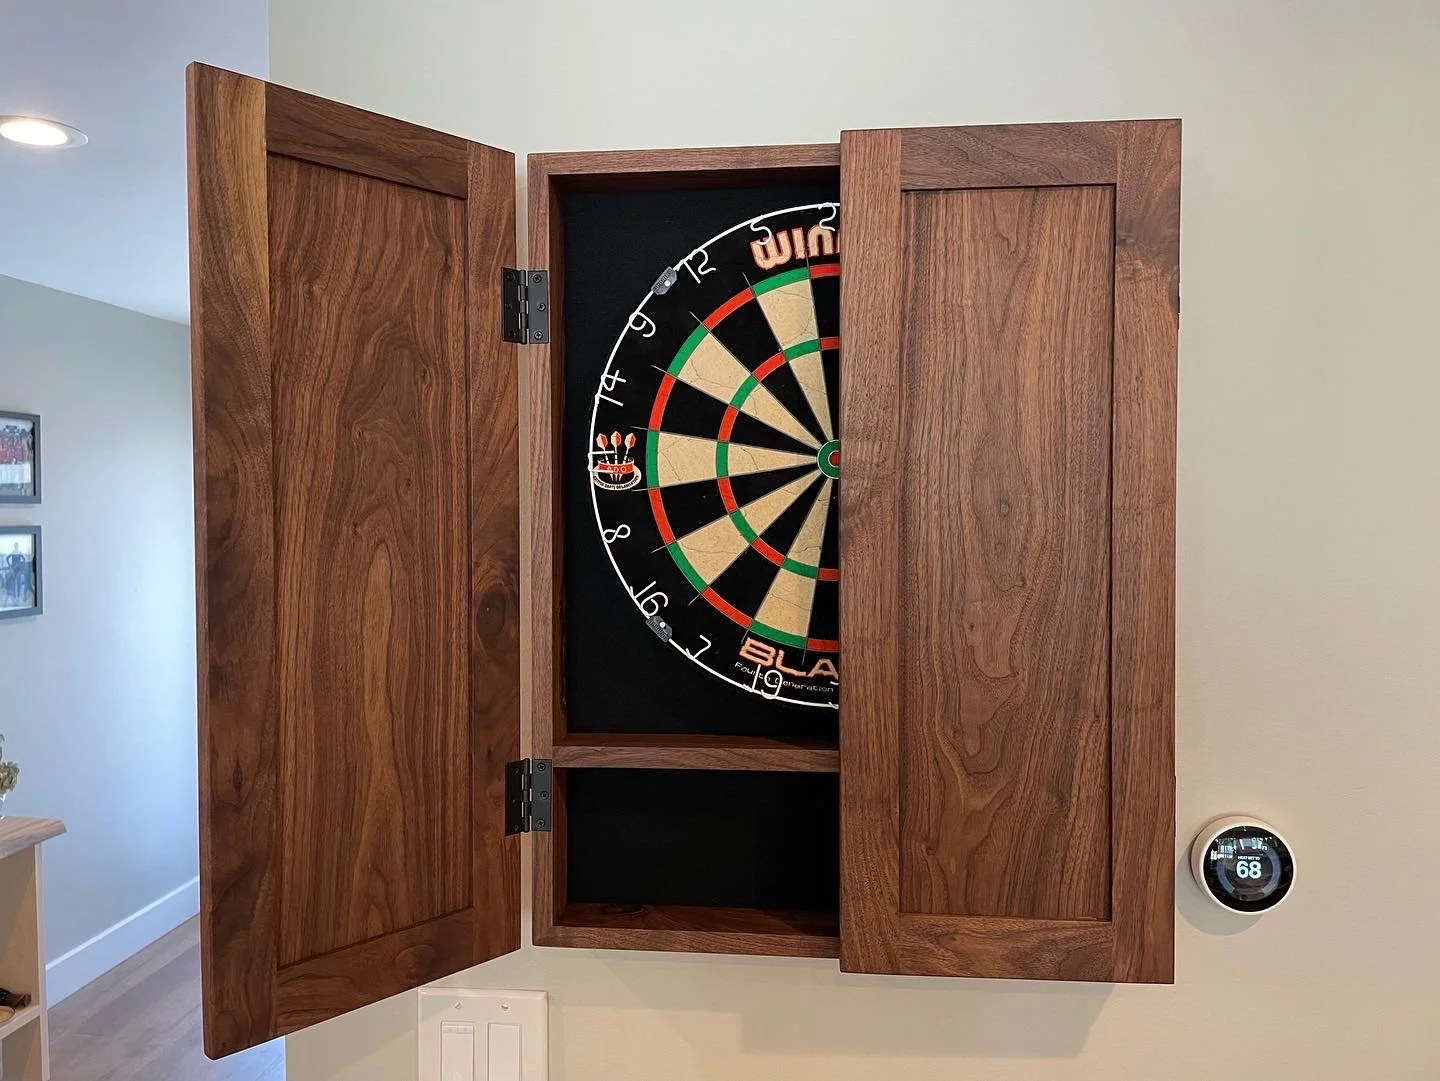
I was pretty happy with how this worked. My biggest error was with the tape on the inside of the corners. In one case, I taped too aggressively and ended up gluing a tiny amount of tape in the joint. In most of the others, I wasn’t aggressive enough, and ended up with a thin strip of wood uncovered where I had some glue squeeze-out. Once the frame was dry, I glued the shelf to the frame. I just used a simple butt joint here because this shelf won’t ever need to hold much weight.


With the frame done, I turned to the doors. Despite this being the most interesting and involved part of the project, I unfortunately took zero pictures of the process. I think I was in a hurry and this project was kind of sandwiched between two others.
The first thing I had to decide was what material to use for the interior panels. I needed some good-looking walnut that was 1/4 inch in thickness. Unfortunately, my wood store doesn’t sell walnut in that thickness. My first thought was to use walnut plywood, which they do sell in 1/4 thickness. However when I looked at it, I saw two issues. First, they only sell this in big 8x4 sheets and I only needed a couple small pieces. But more importantly, I didn’t love the grain pattern on the plywood.
I felt like I had two options at that point. I could buy a thicket piece of solid walnut (say 1/2 inch) and plane it down to 1/4. Or I could buy an even thicker piece of solid walnut (1 inch) and “resaw” it (cut it down the middle) to create two sheets of 1/4. The first method would be easier given the tools I have, but felt like a big waste of wood—the part that’s planed off ends up as sawdust. The second option felt like the “right” answer and would be easy if I owned a band saw, but I don’t. I decided to try it anyway.
I got a great-looking piece of 4/4 walnut and cut off a piece a little bigger than the size I needed for the panels — about 10” x 27”. Then I used my table saw with the blade set to maximum height and the fence set to a little more than 1/4” to cut a big slit in all four sides of the piece. This left me with about 3 inches of still-attached board in the middle of the two pieces I was trying to separate. So I took my reciprocating saw and tried to guide the imprecise blade down the slits the table saw had created. This actually worked better than I expected, but still left a pretty rough surface on the interior of the two boards. But after several passes through the planer, I had two really nice looking walnut panels that were just under 1/4” in thickness.
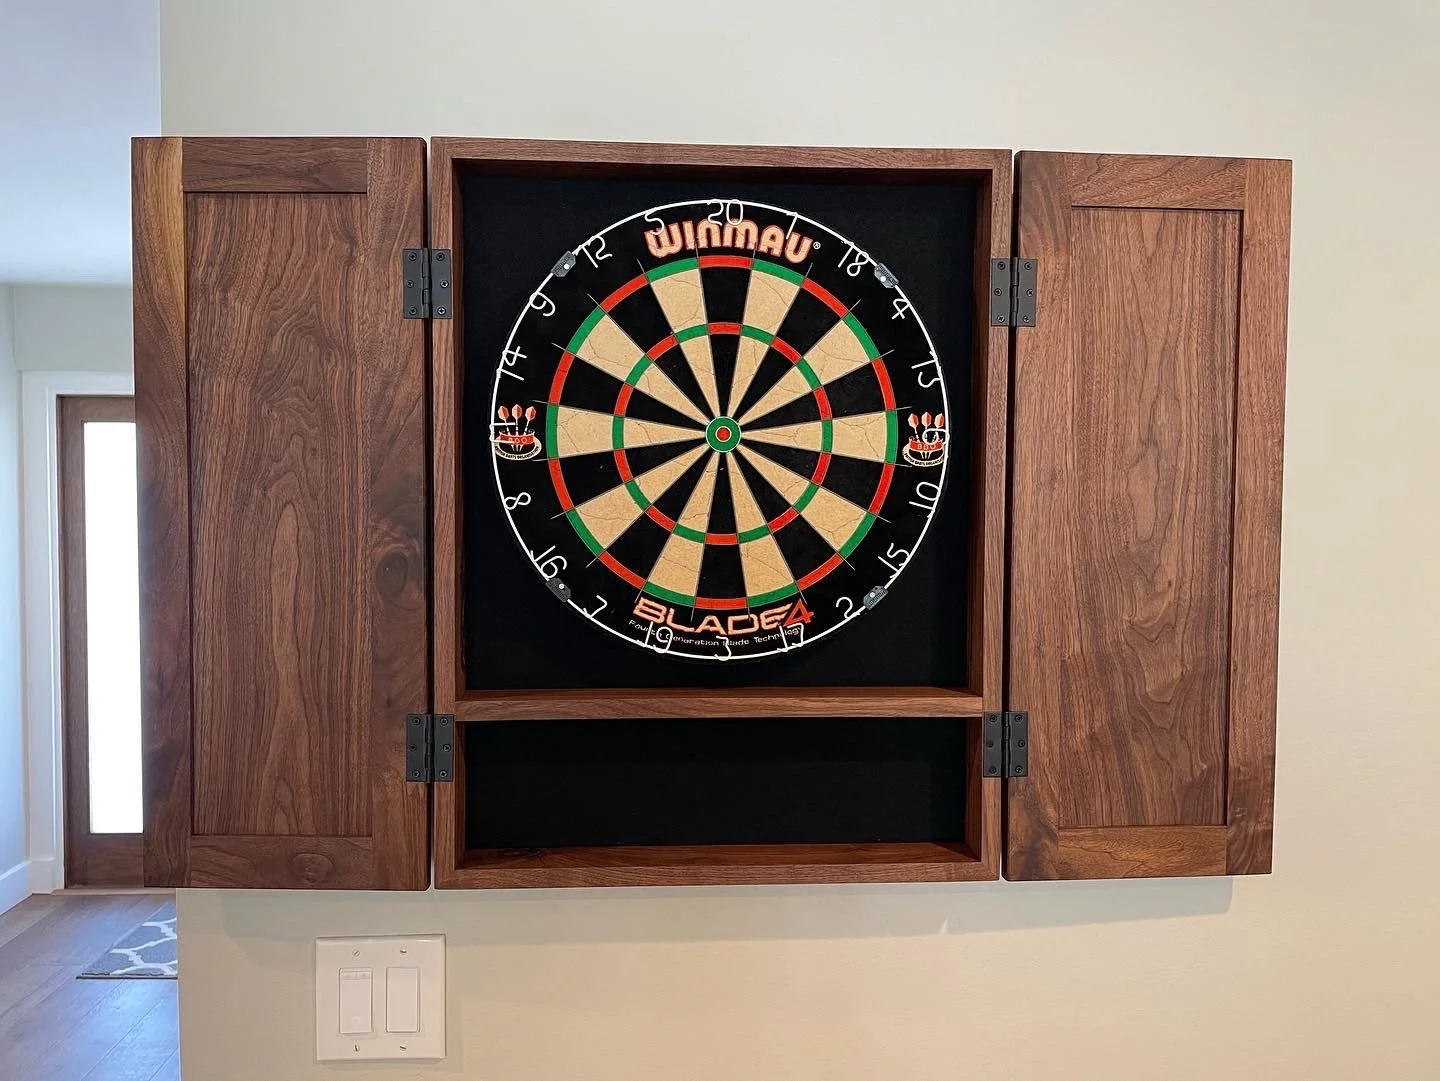
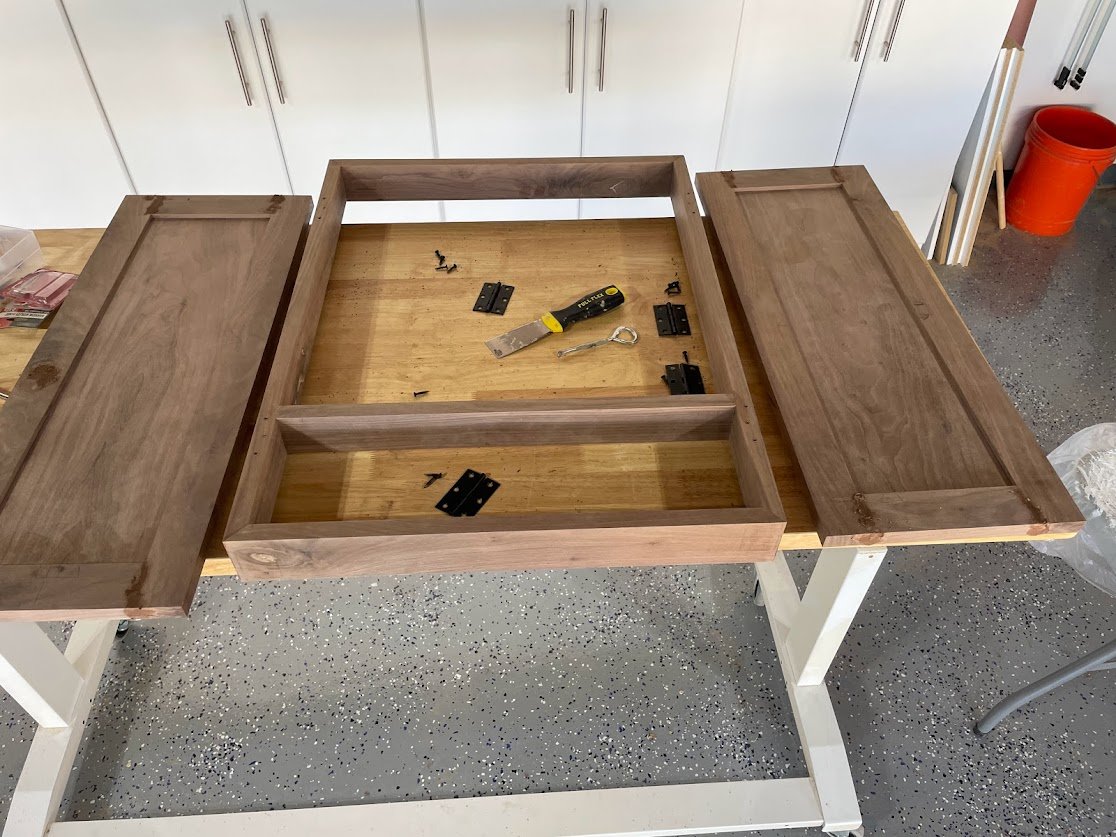
Once I had that, I cut the frames for each of the doors to size, and then used the table saw to cut a 1/4 inch groove in the middle of each. I wish I had taken more pictures or video of this whole process because it’s hard to describe, but here’s the final result:

With the doors assembled, I used a little bit of wood filler to clean up some of the seams, and then fitted the doors onto the frame with some simple hinges.
With everything fit and sanded, I applied the finish—Rubio Monocoat in “pure”.

Lastly, I cut a piece of 1/4” MDF to be the back of the cabinet, and covered it with black felt adhesive. This piece fit into rabbets I had cut into each of the four frame pieces, and I used wood screws to attach it. I added the dart mounting screw to the center of the back, and the cabinet was ready to hang!
