Mountain Wall Art
After the geometric wall art, I wanted to try something less abstract and play around with some dimension. I made this for my mom’s birthday based on a recent picture I took of Convict Lake in Mammoth.
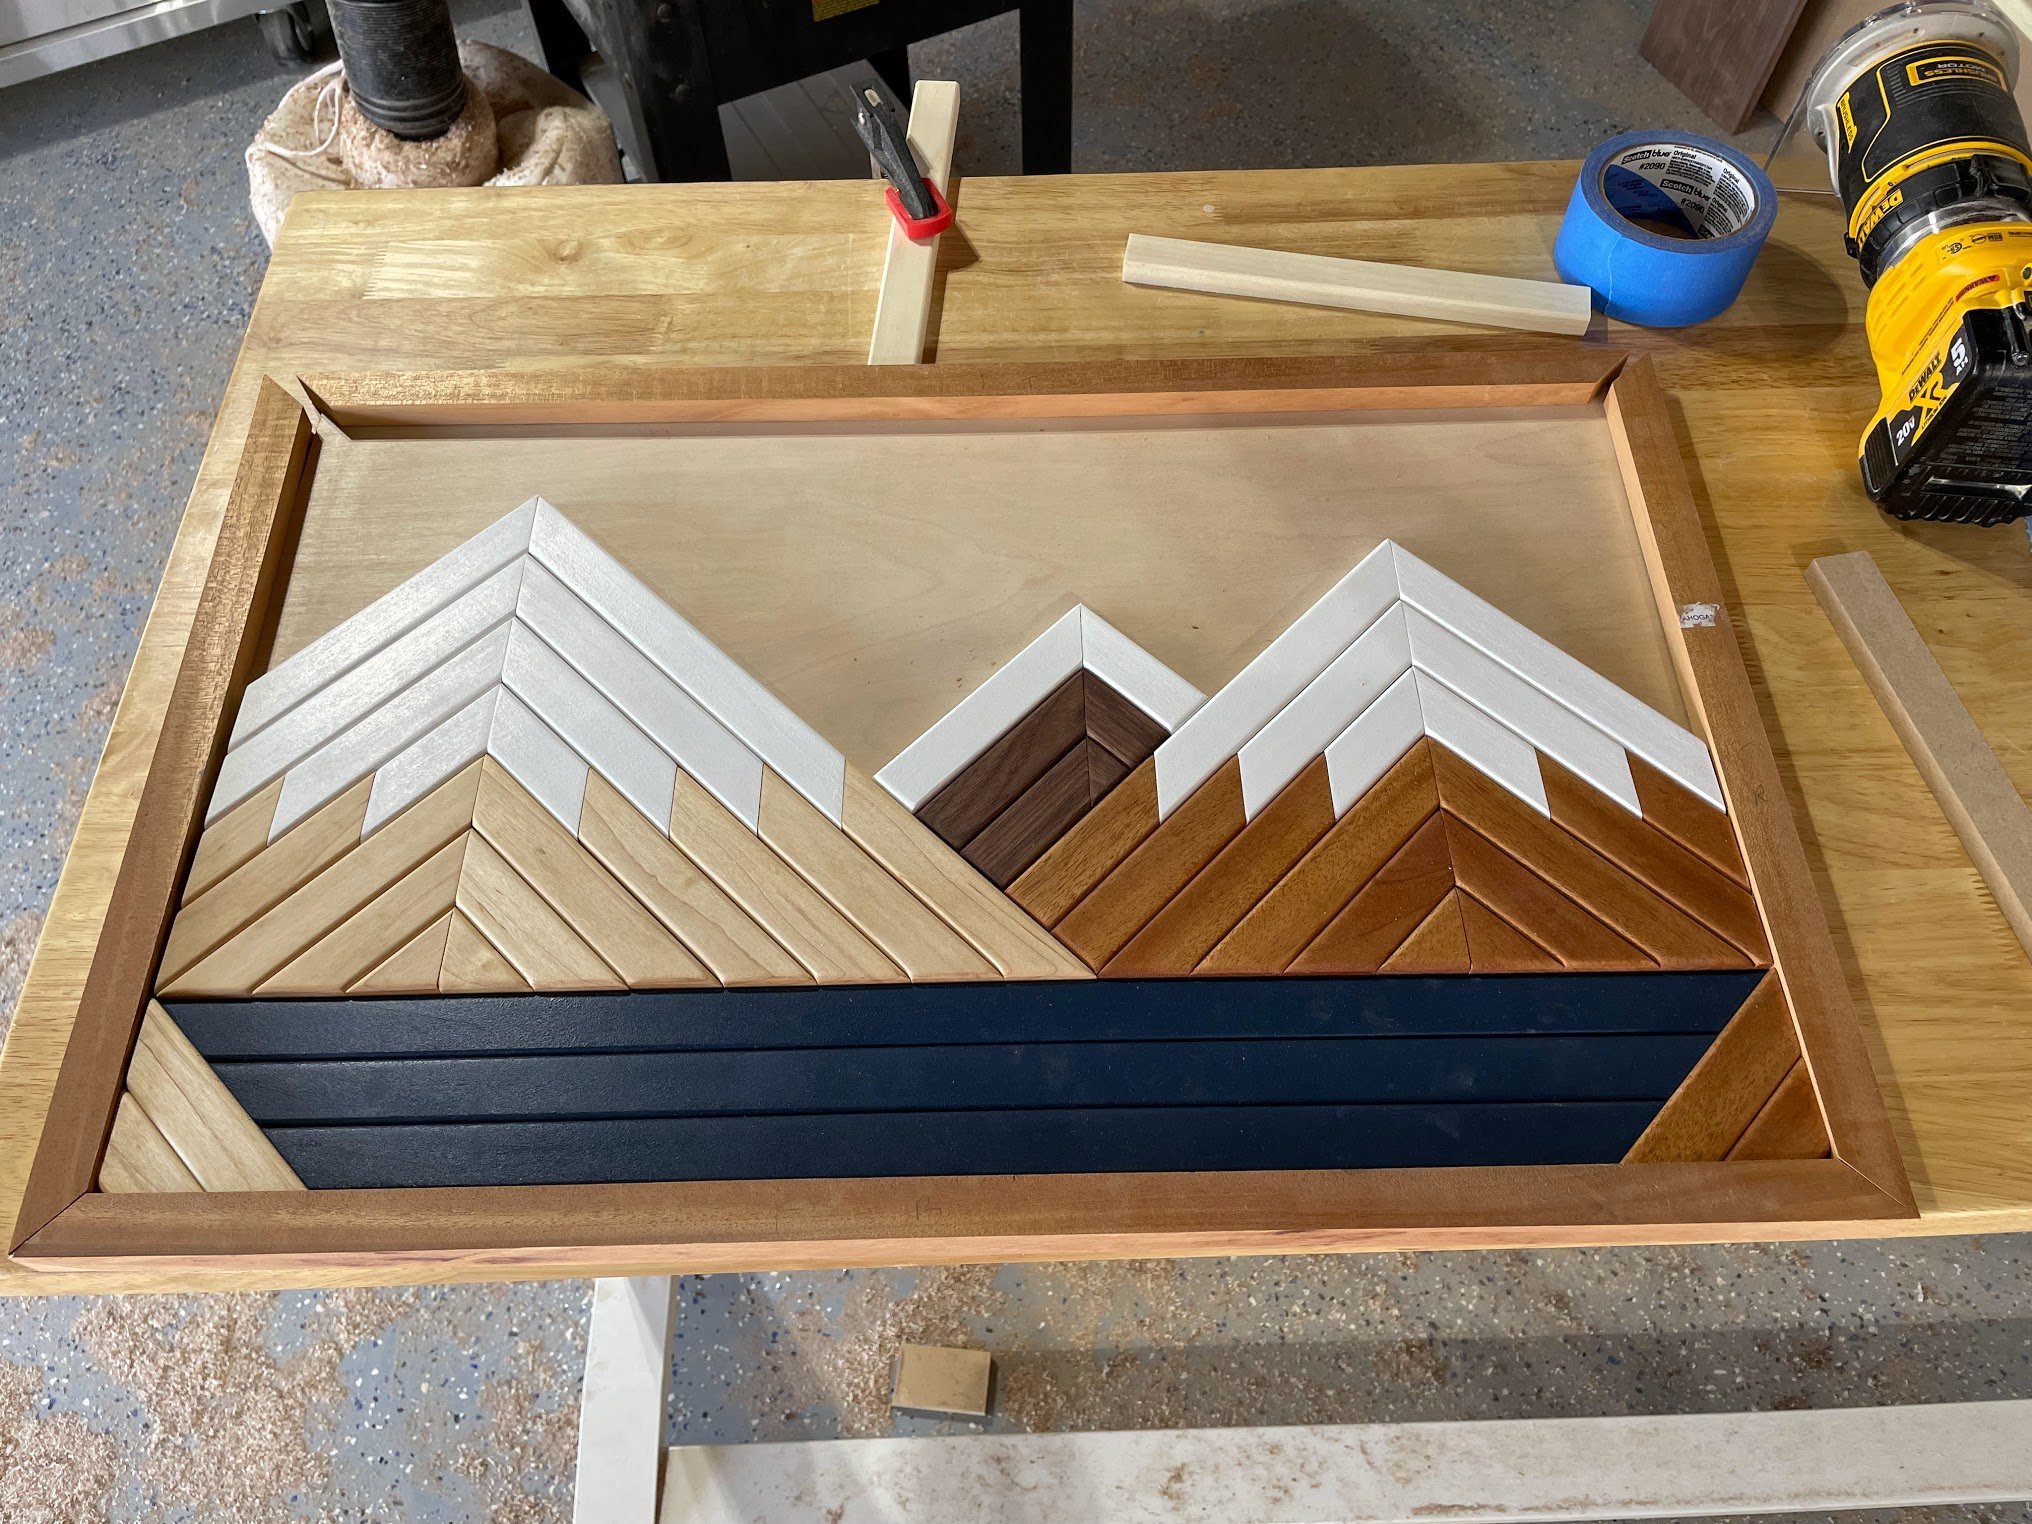
There are three different “levels”, with the mountains standing a half inch from the sky and the lake at a quarter inch between them. I think that gives some cool texture that the other piece didn’t have. The mountains are made out of 1-inch pieces of maple, walnut, and African mahogany, with white painted poplar on top. The lake is painted poplar and the sky is painted on the birch plywood backing. The frame is mahogany as well. 54 pieces total.


The Process
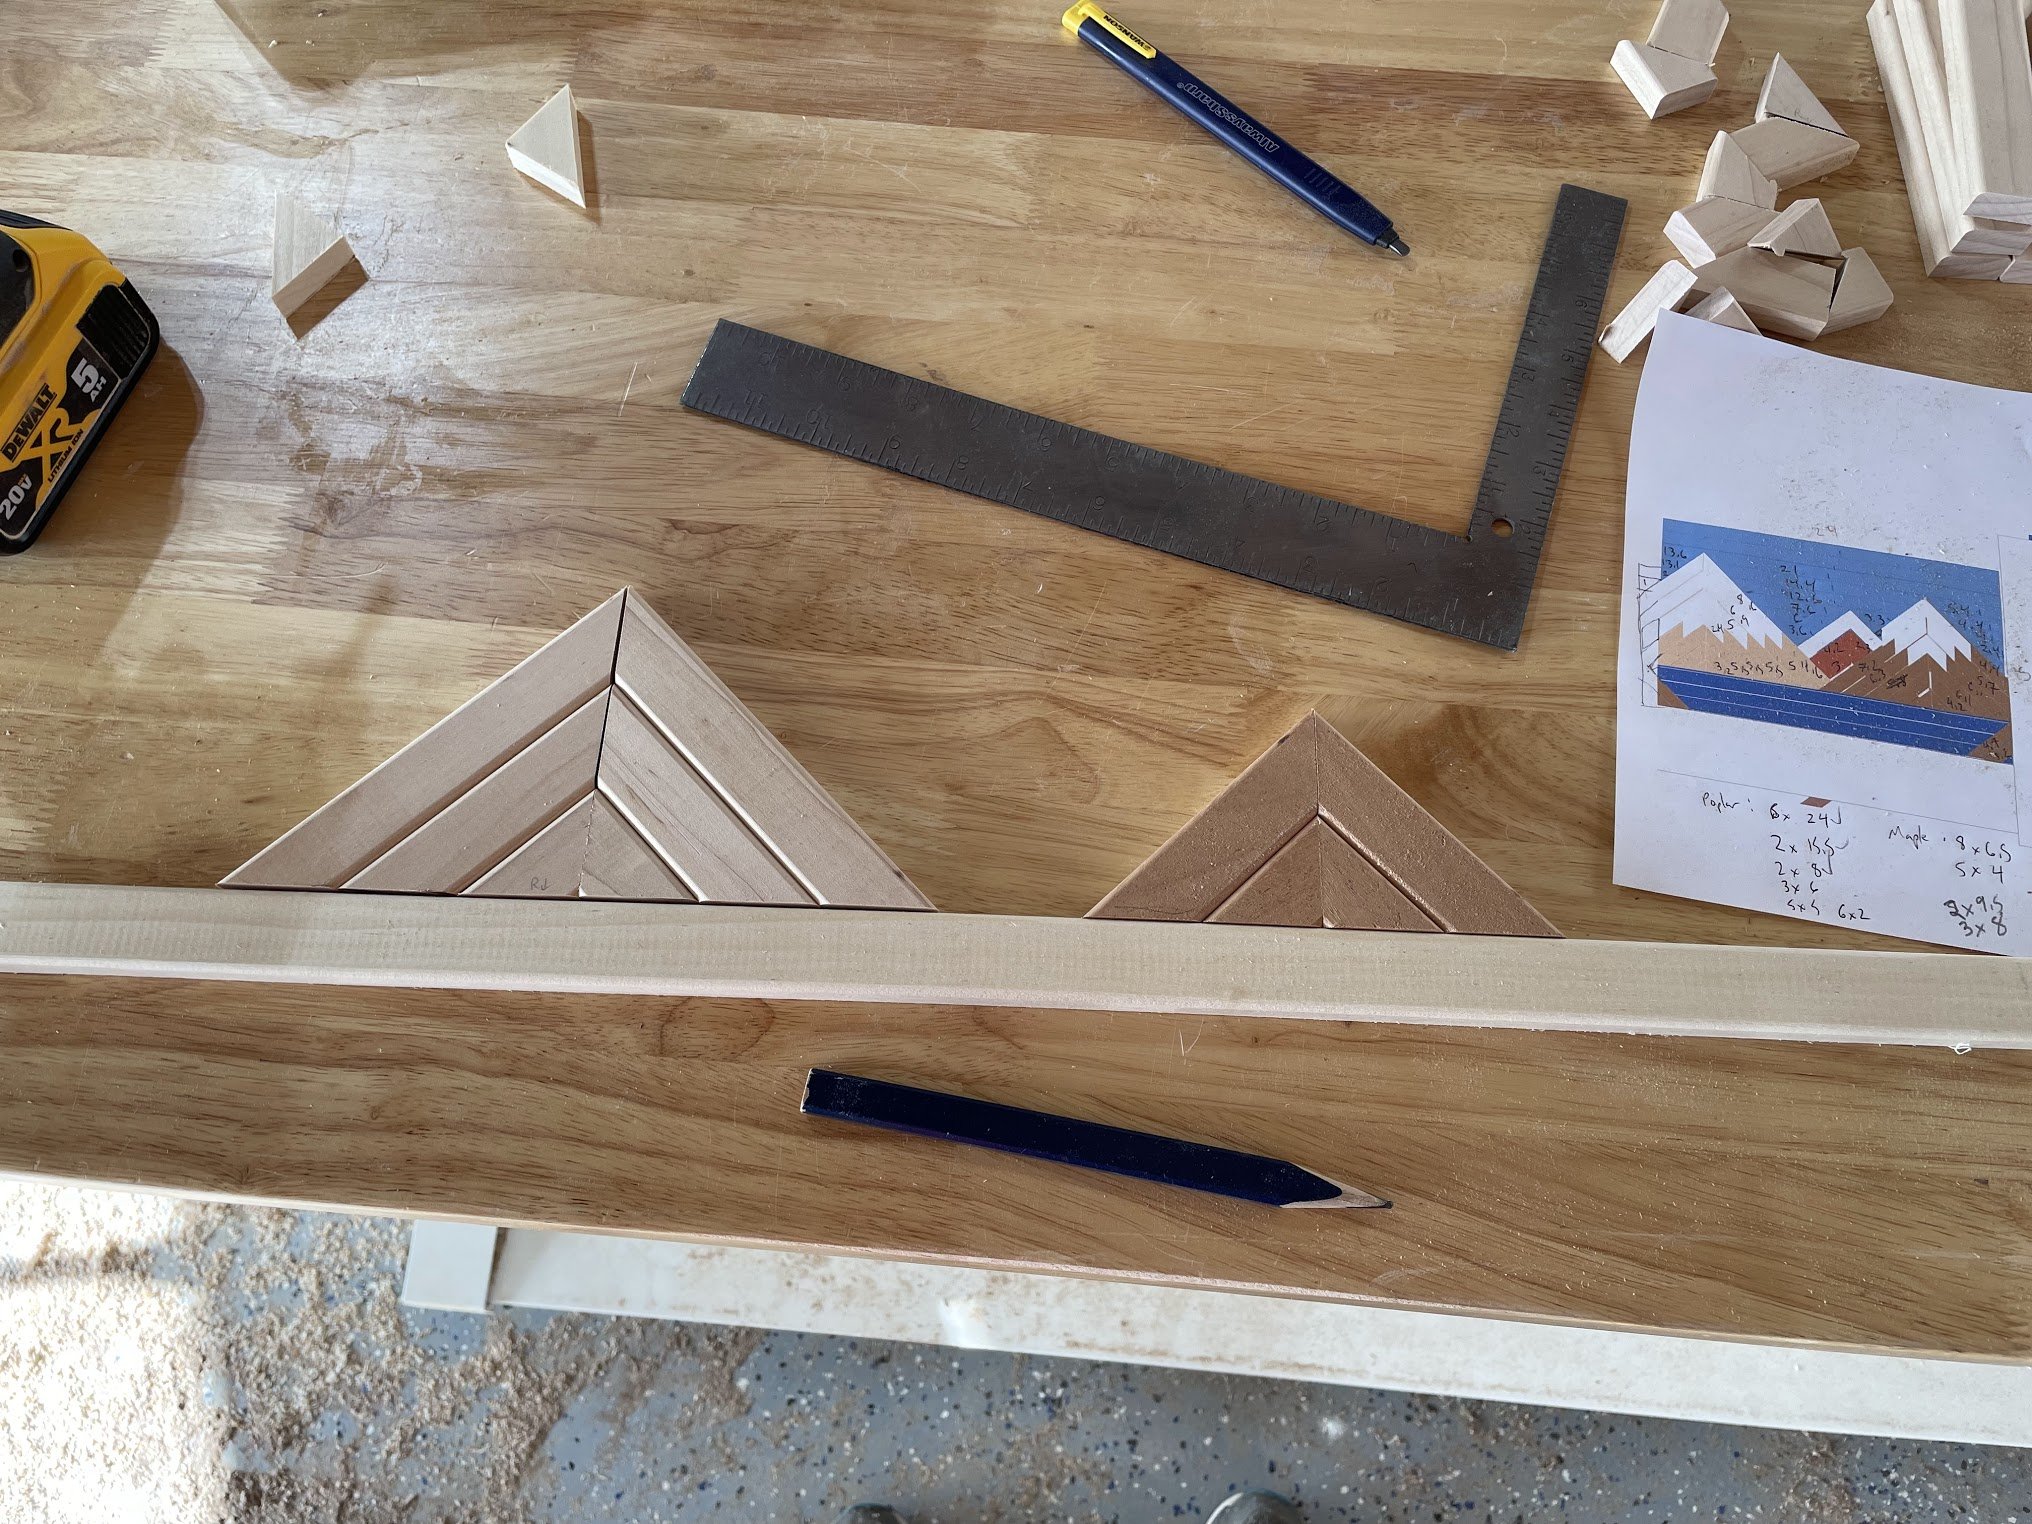
I started in Google Slides, playing around with different ways to represent the mountains from the picture I took. I went through several different versions—first using the different wood tones to represent different elevations (so each of the three mountains would be a mix of the different tones), then eventually deciding to do each mountain as its own tone.

Usually I do a lot of upfront planning and measurement, but on this one I decided it was best to just kind of wing it. I ripped a bunch of 1/2” maple, walnut, and mahogany to 1” widths, rounded the edges, and cut them to approximate lengths for each of the segments in my rough design. Then I started with the maple and mahogany mountains by cutting small pieces at 45 degrees and building up from there. After I had the initial pieces as the base, I would just cut the next pieces one at a time. I’d cut the 45 degree angles on the sides where the next two pieces meet on the upper side of the mountain, then would mark where they intersected the “ground” and cut the other side of the piece there.
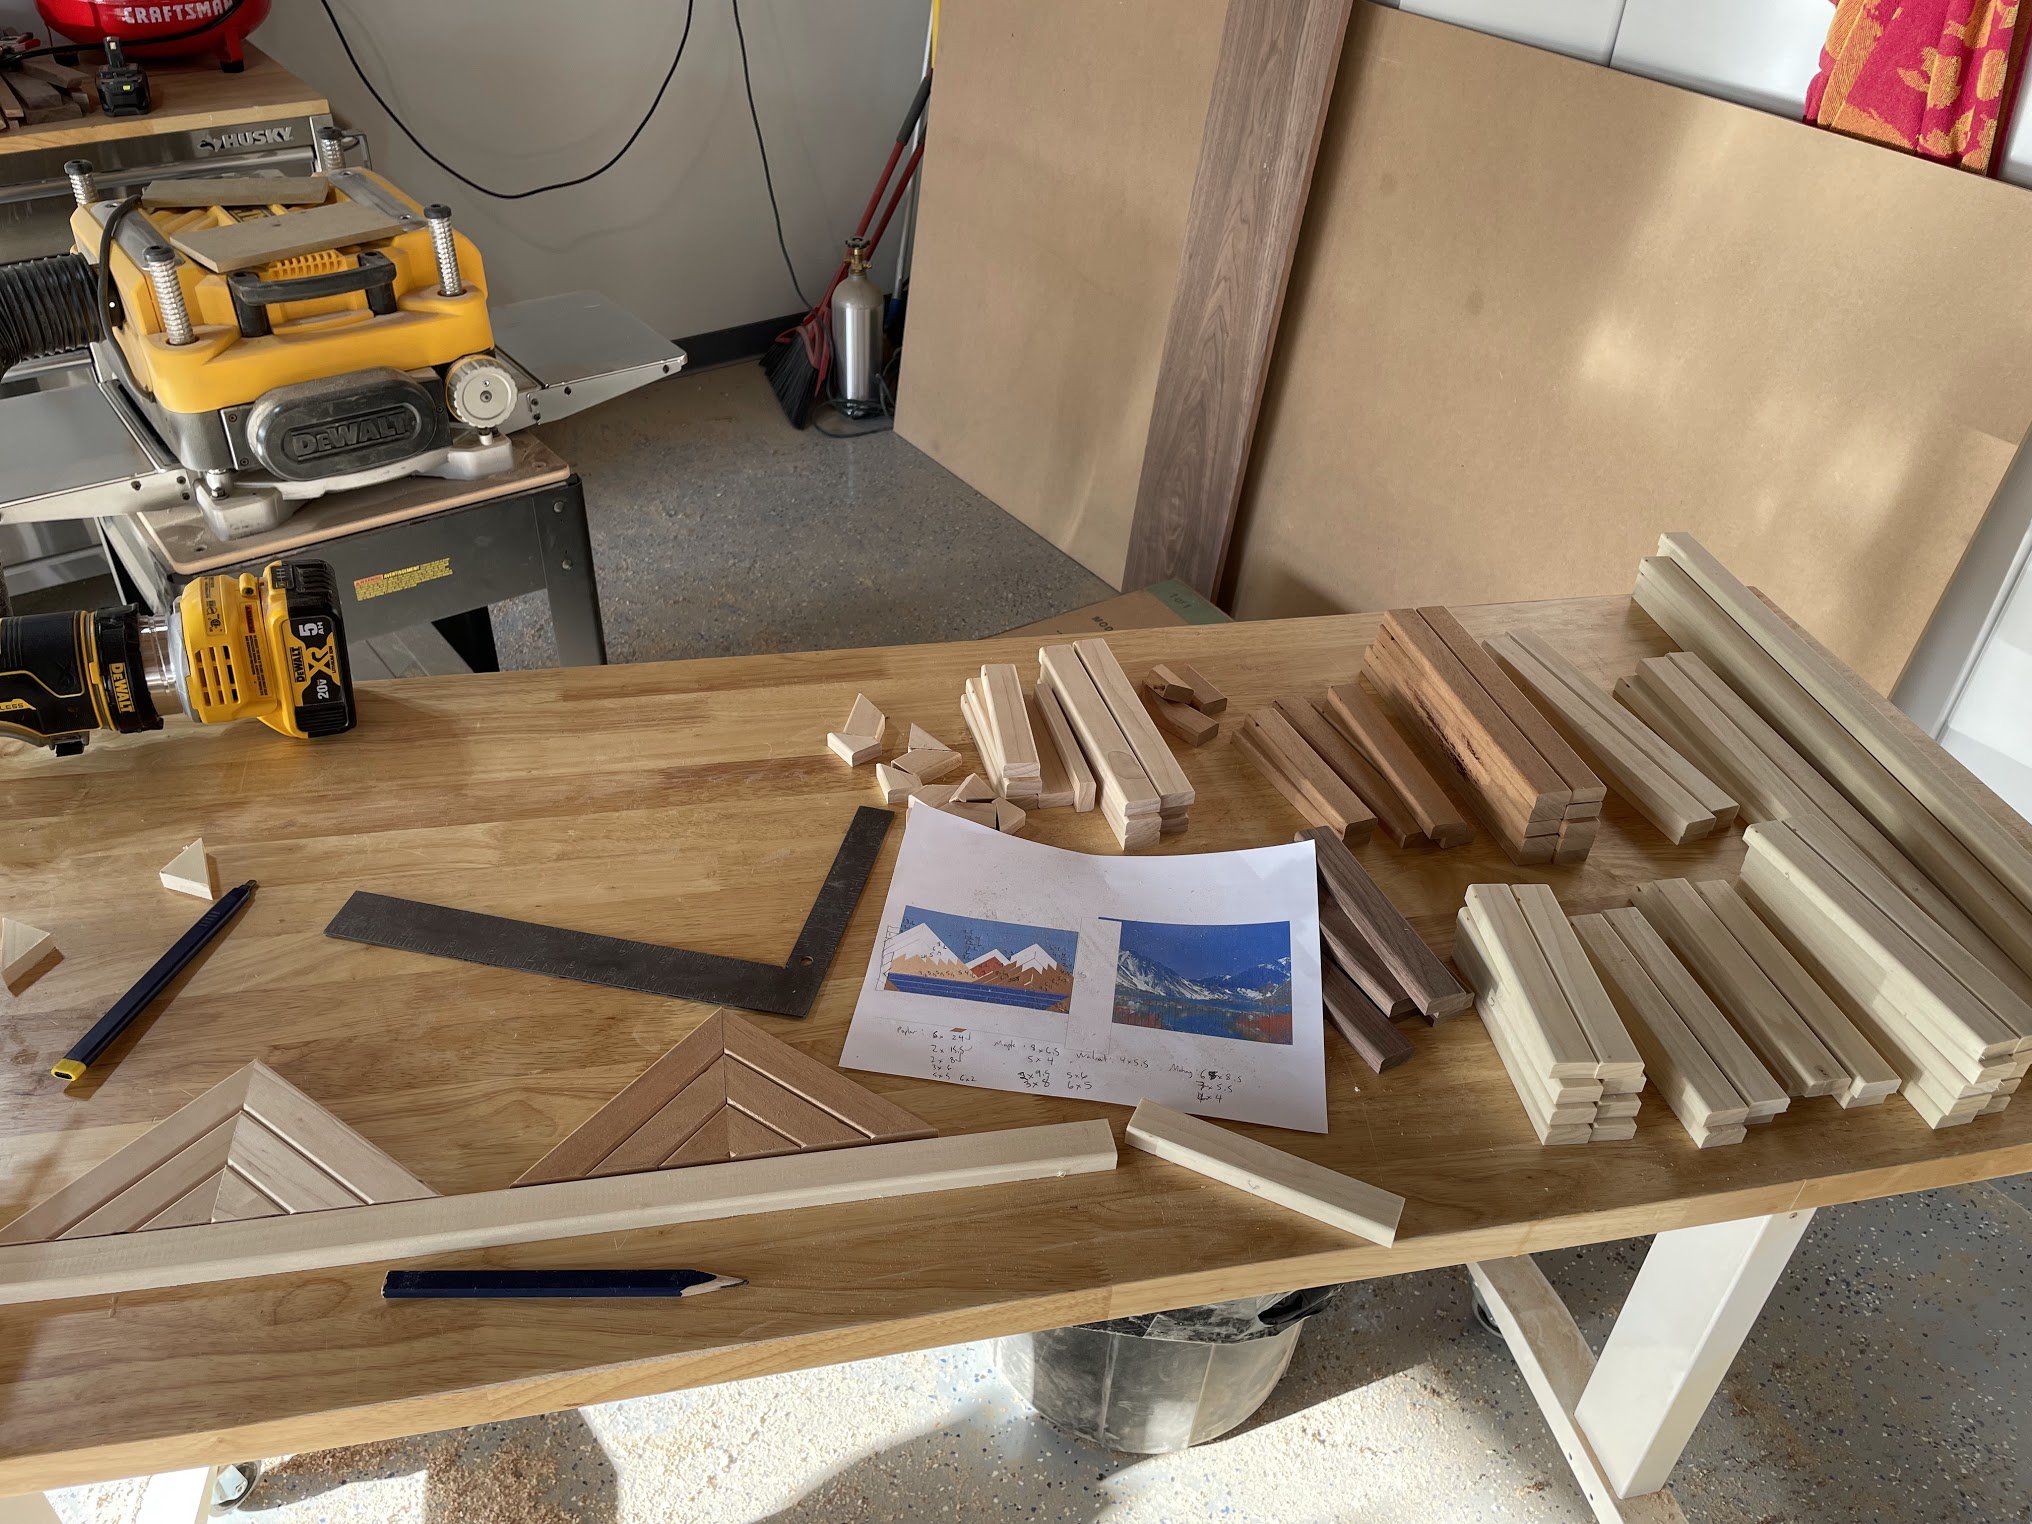
I did this for each layer of these two mountains, but when I got to the level where I thought they might start to intersect, I left those pieces long, so that I could figure out at the end exactly how this intersection should look. Same thing for how each mountain would intersect with the frame on the left and right sides.
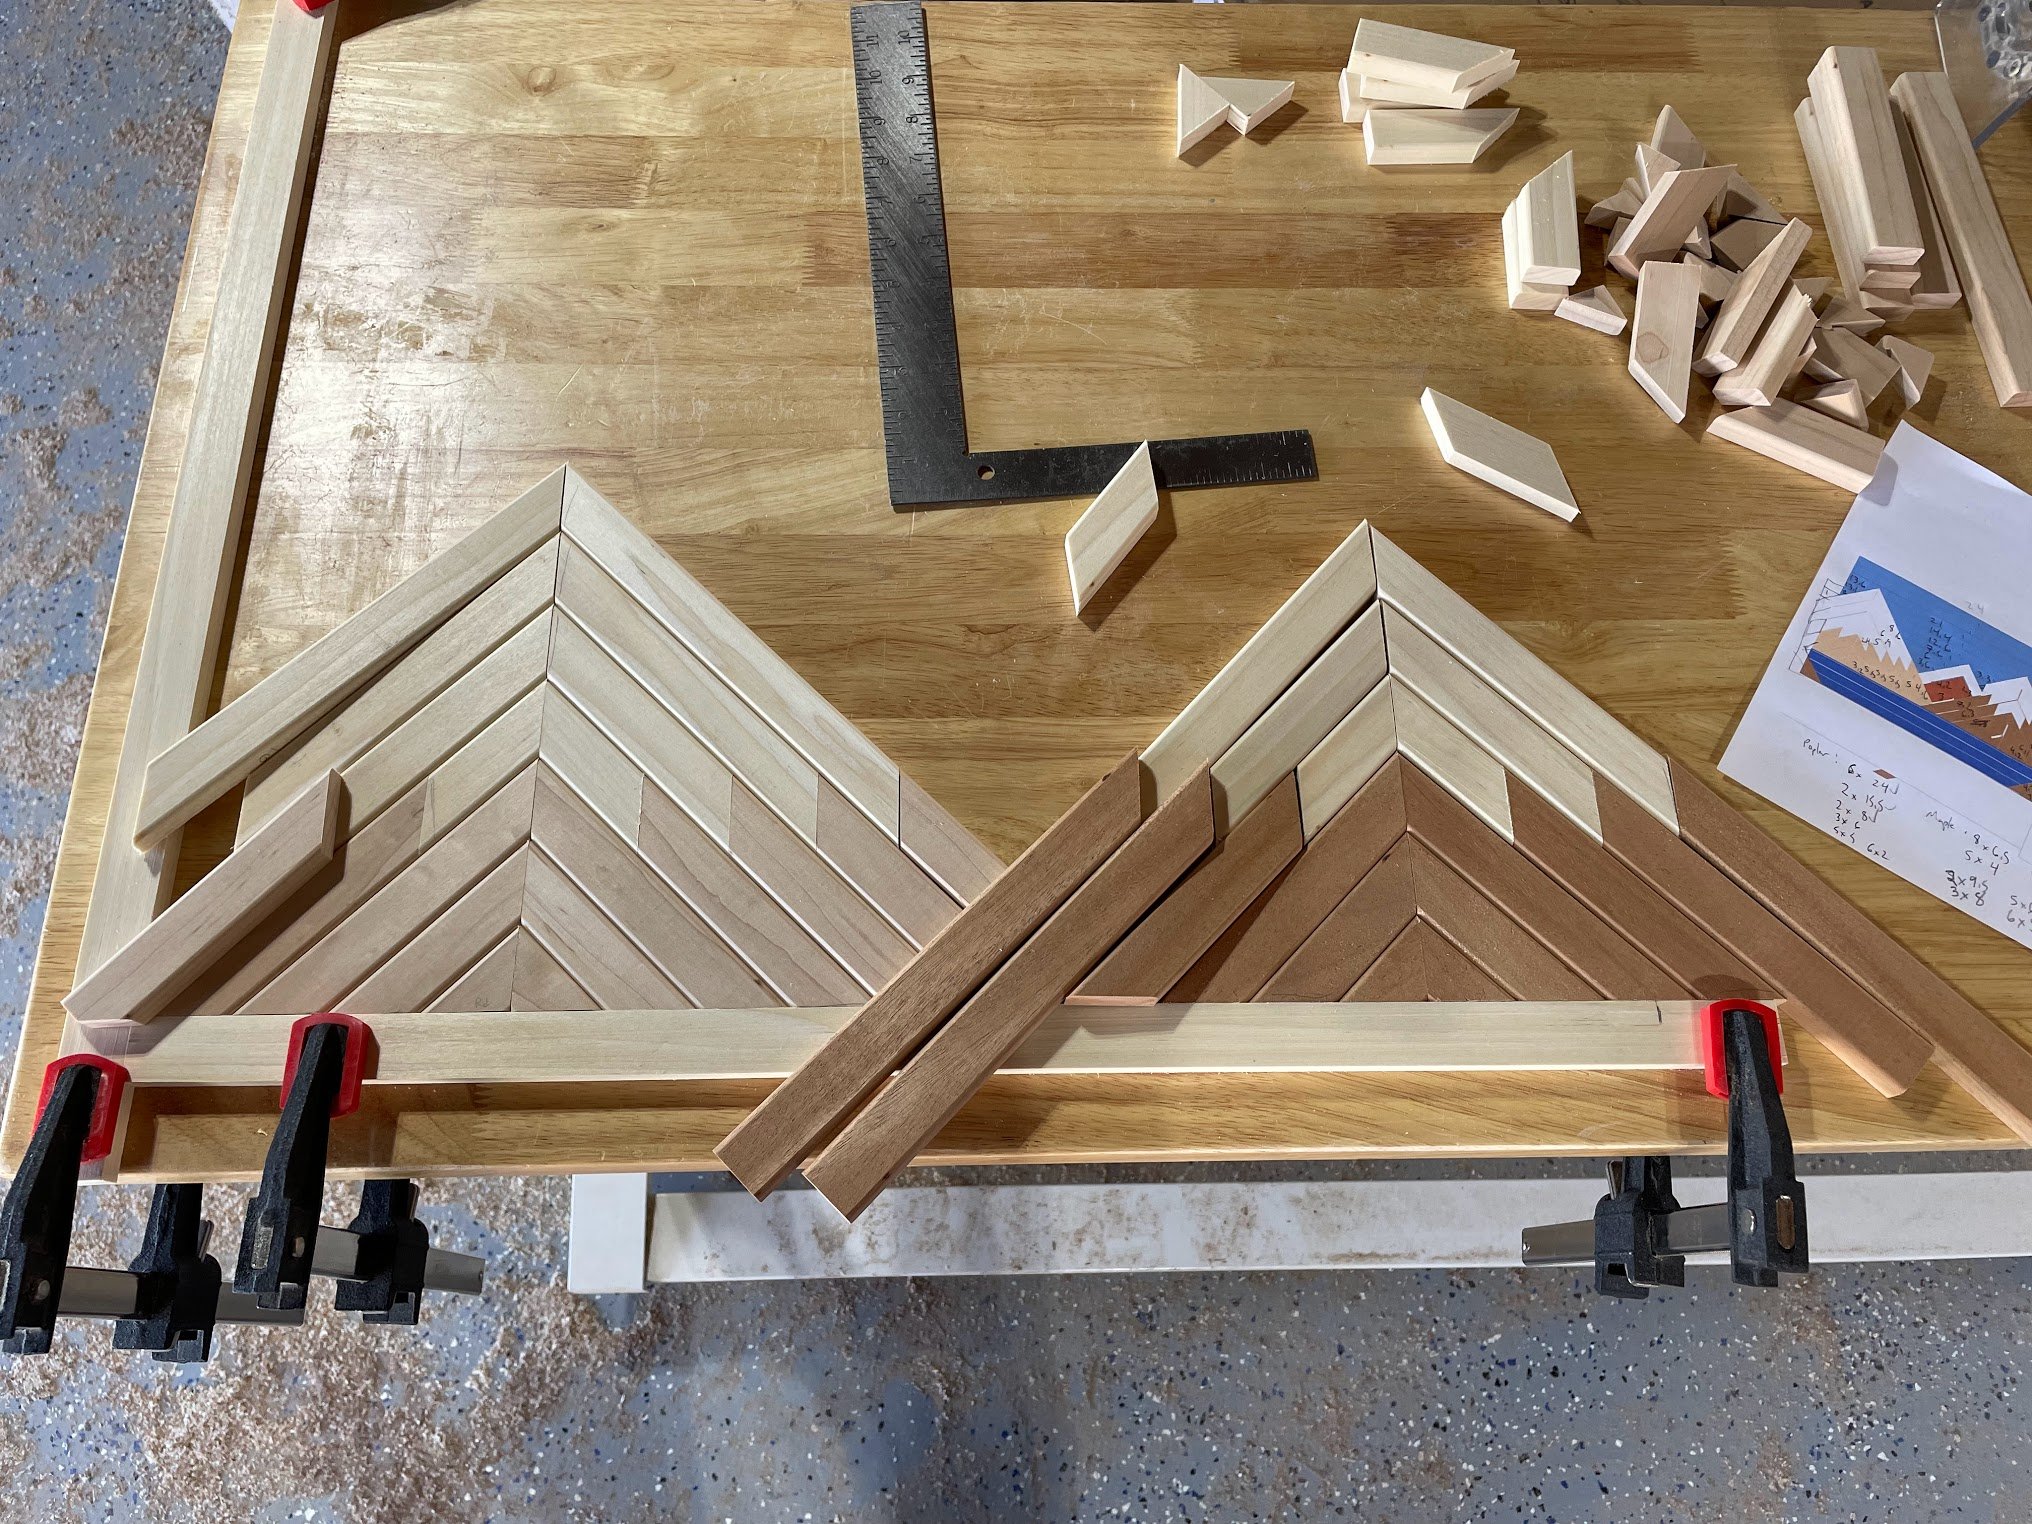
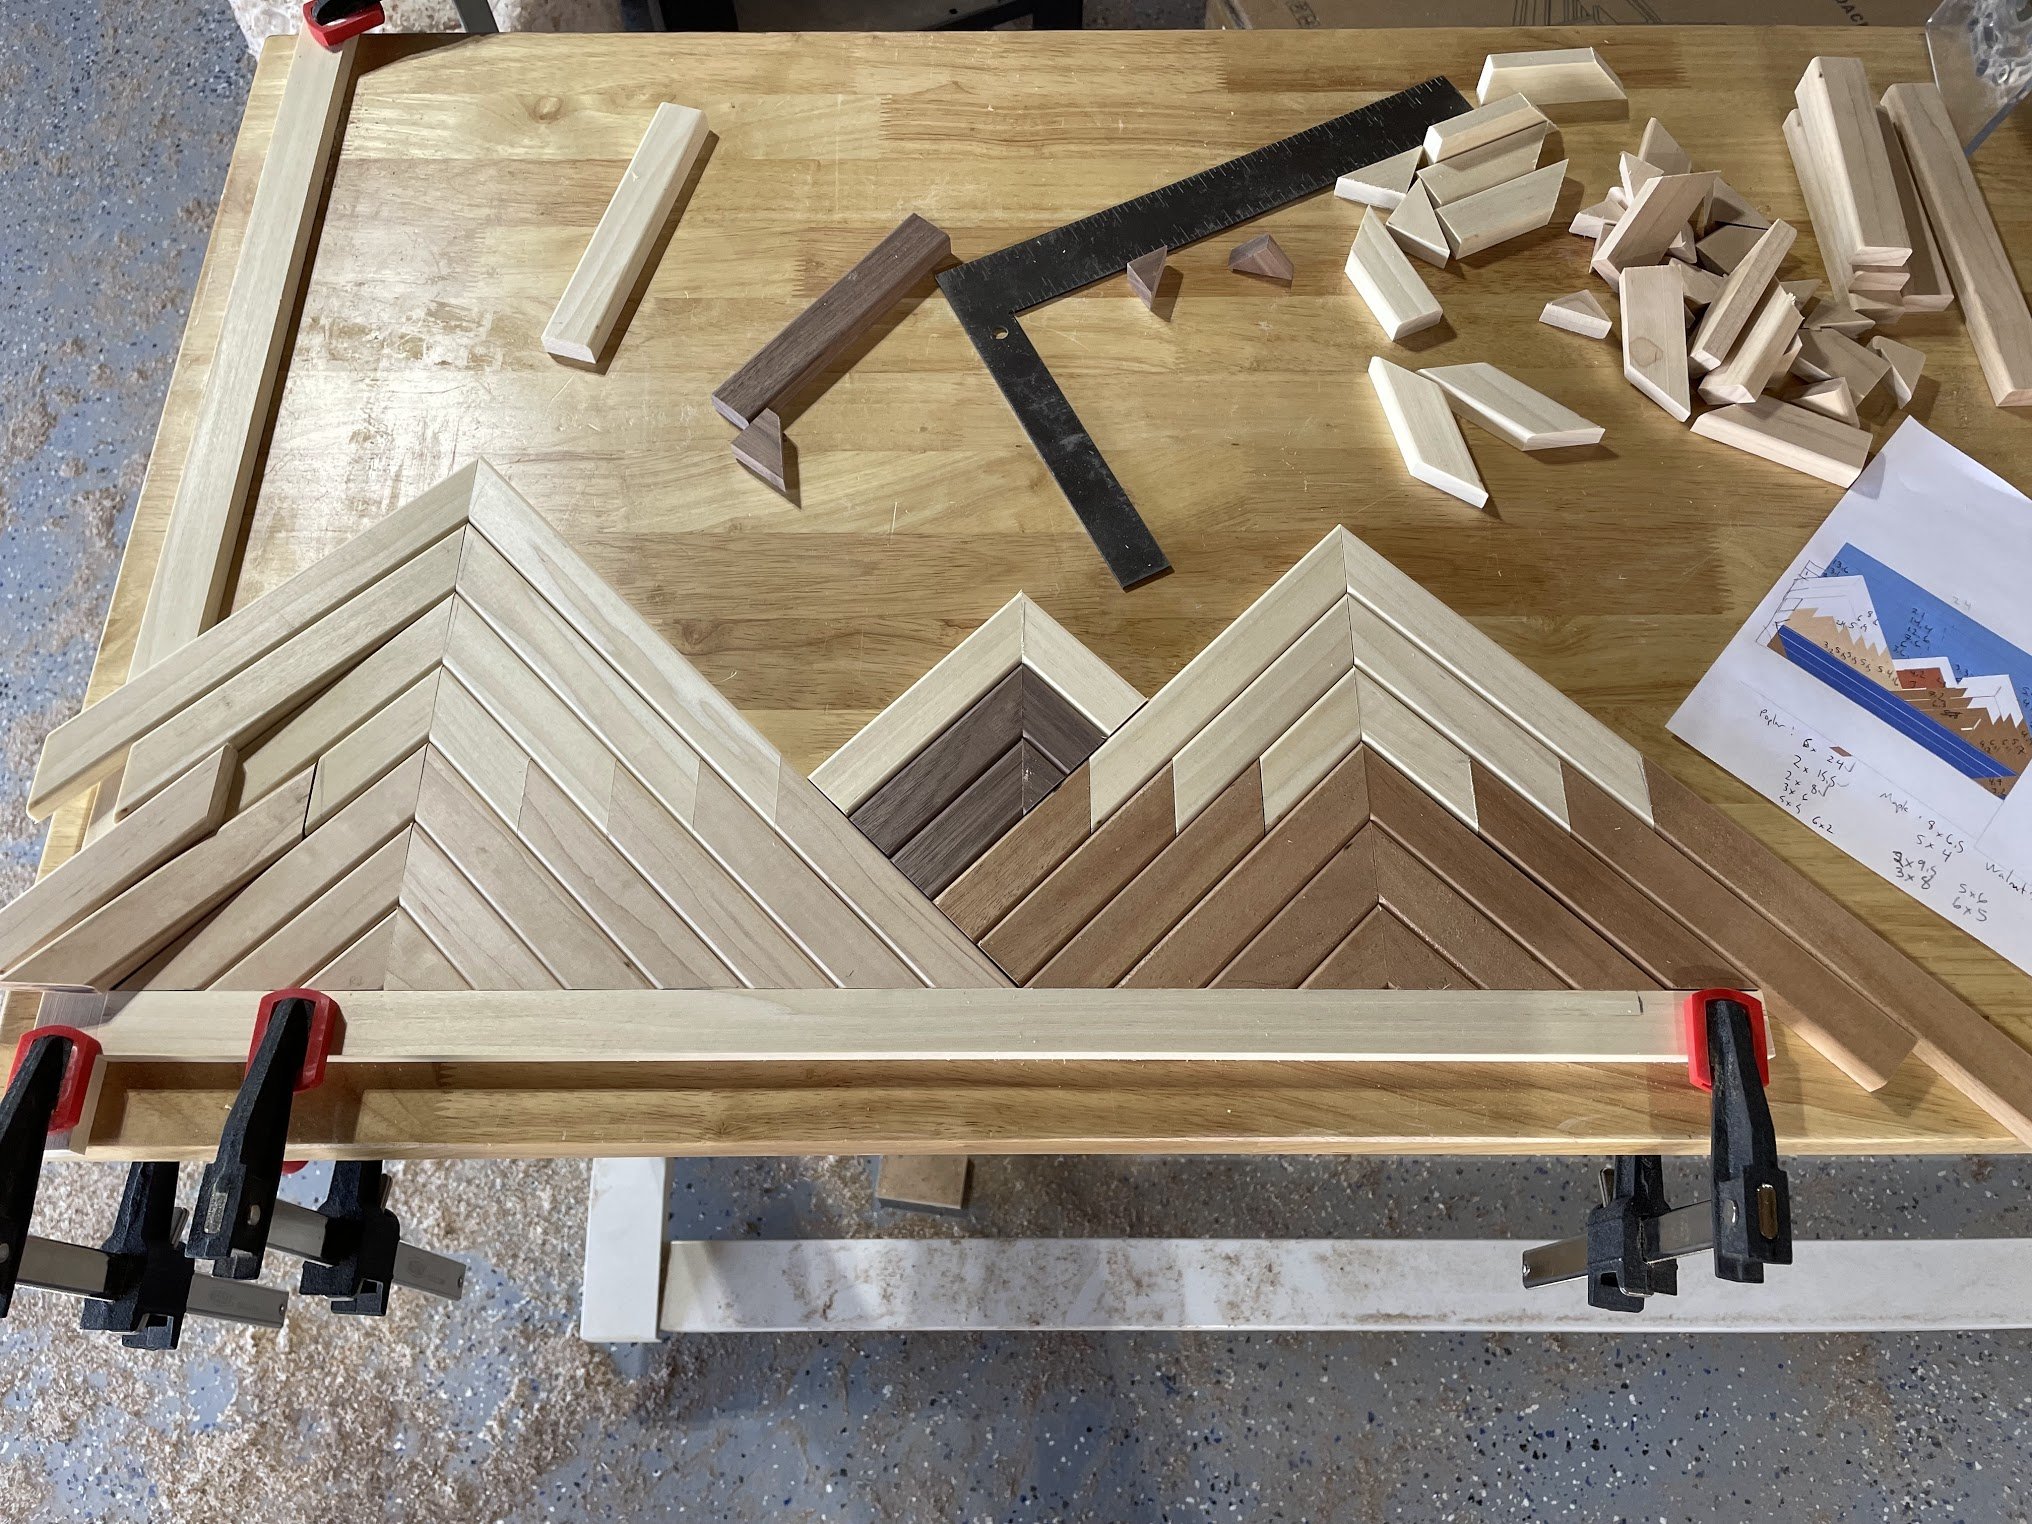
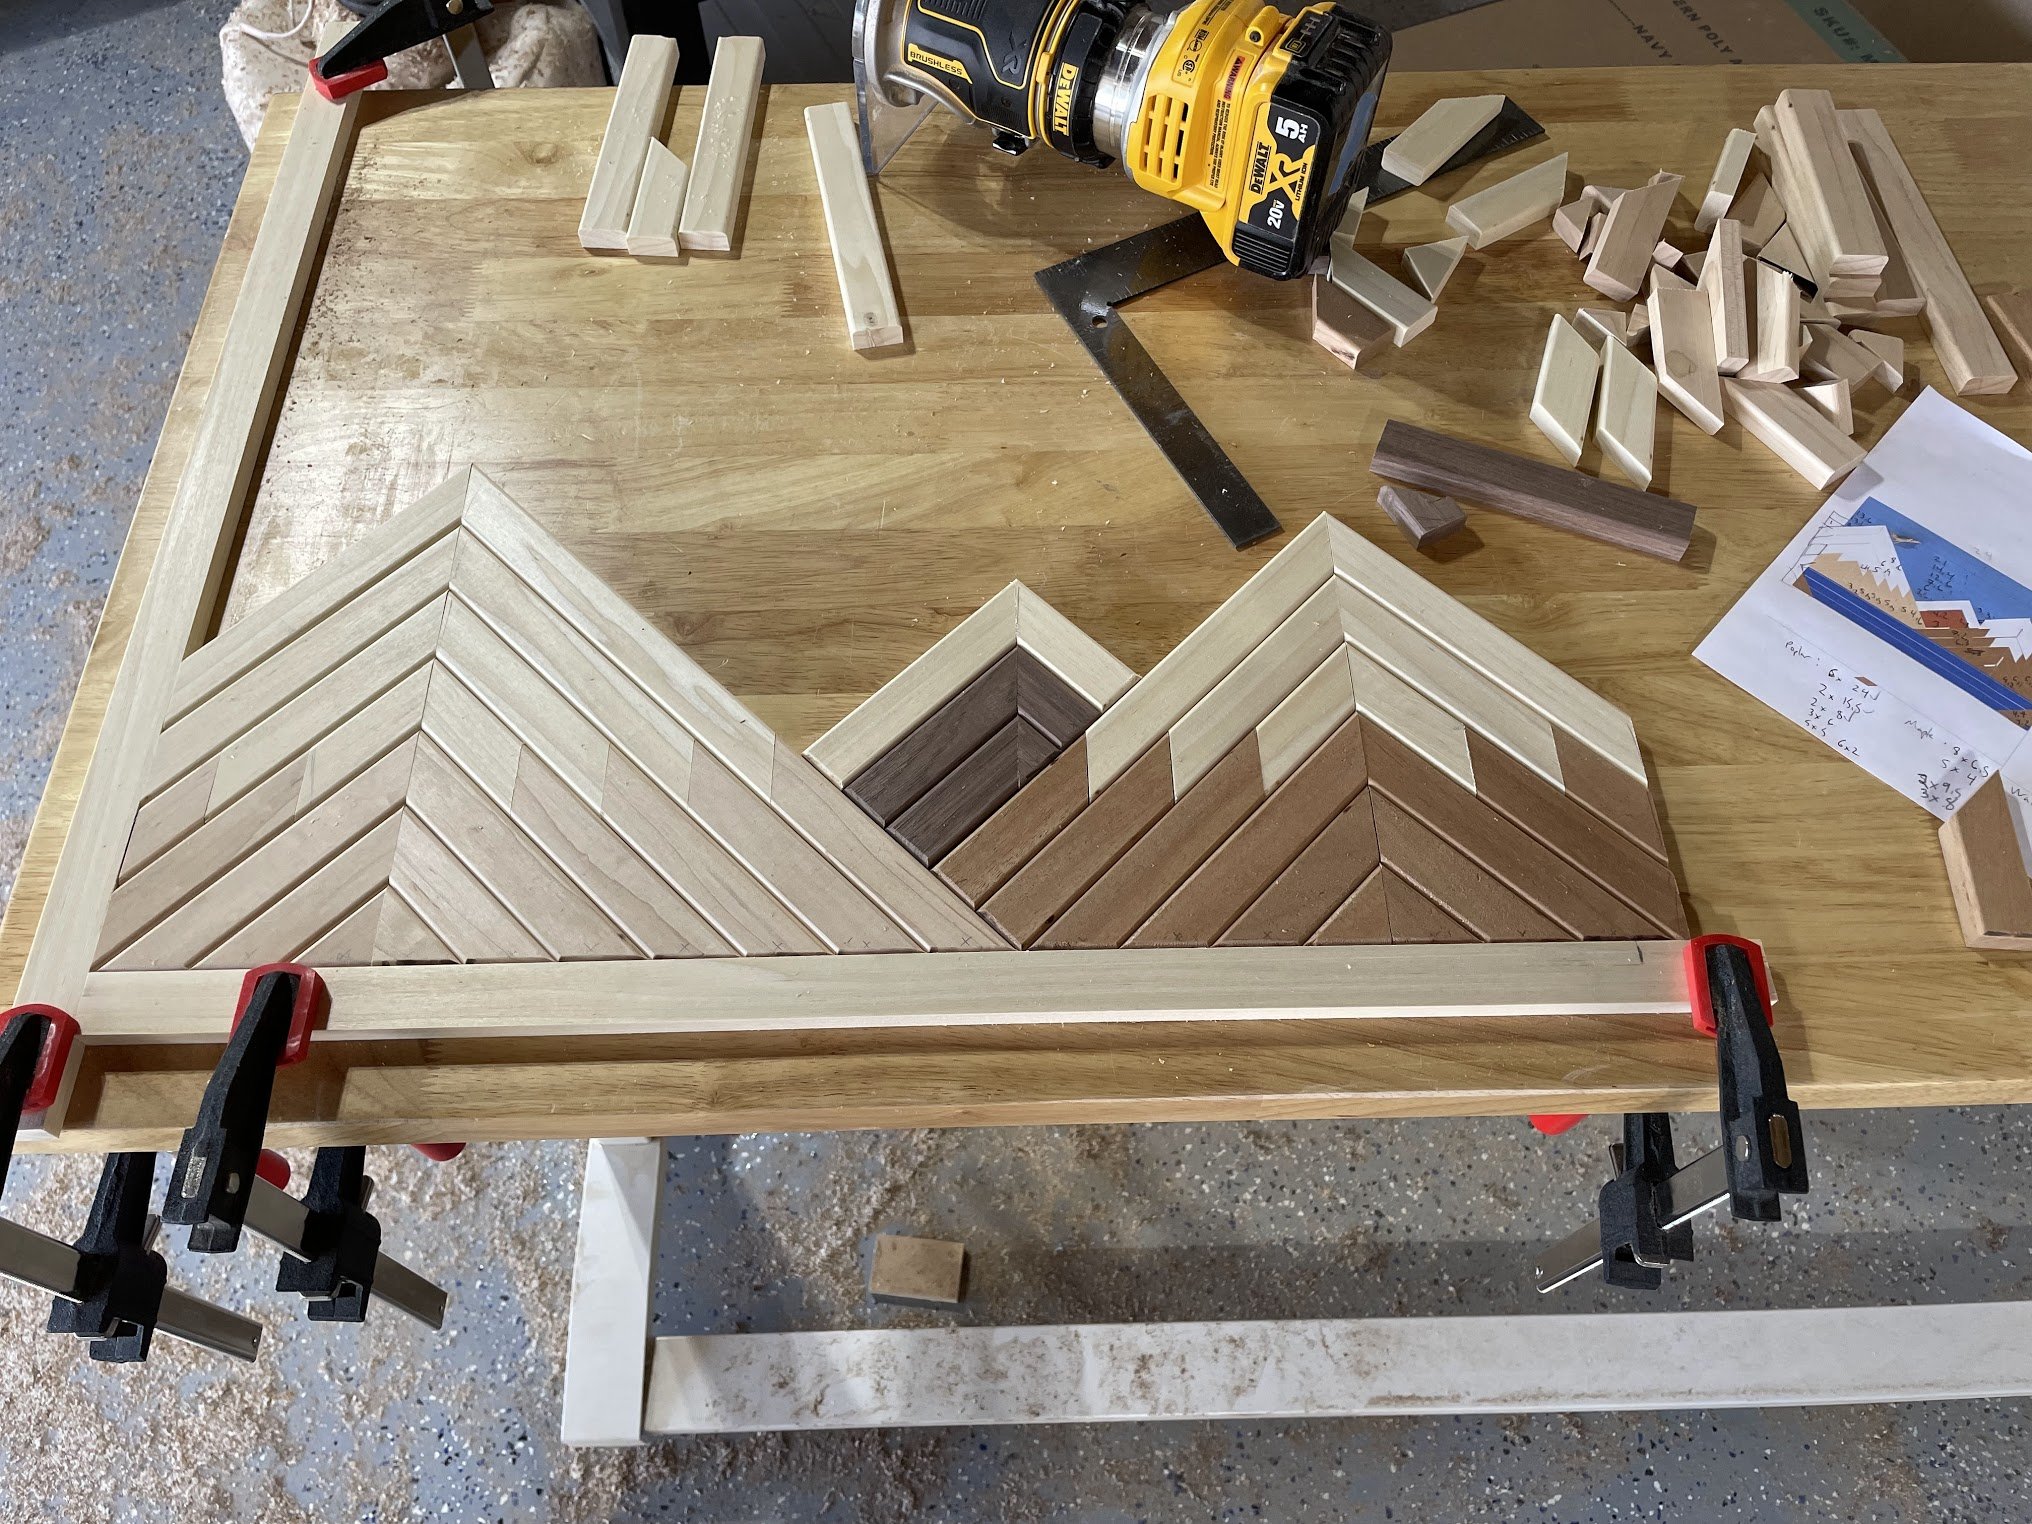
Once I had that all laid out, I was able to figure out that I wanted the maple mountain to go all the way to the “ground” while the mahogany mountain would intersect it with its top two layers. So I cut those mahogany pieces. I also cut the small walnut mountain pieces to fit in the middle. The size on those was really just a little trial and error. Finally, I determined where I’d place the side frame pieces, and cut everything to length. I did this piece-by-piece instead of just cutting across all pieces after gluing (like I did on the Geometric Wall Art) for two reasons. First, that big cut across the whole length of the Geo piece made me nervous. And second, I wanted to round the edges that would butt up against the frame (whereas with the Geo piece, I built the frame to sit on top of the cutoff edge).
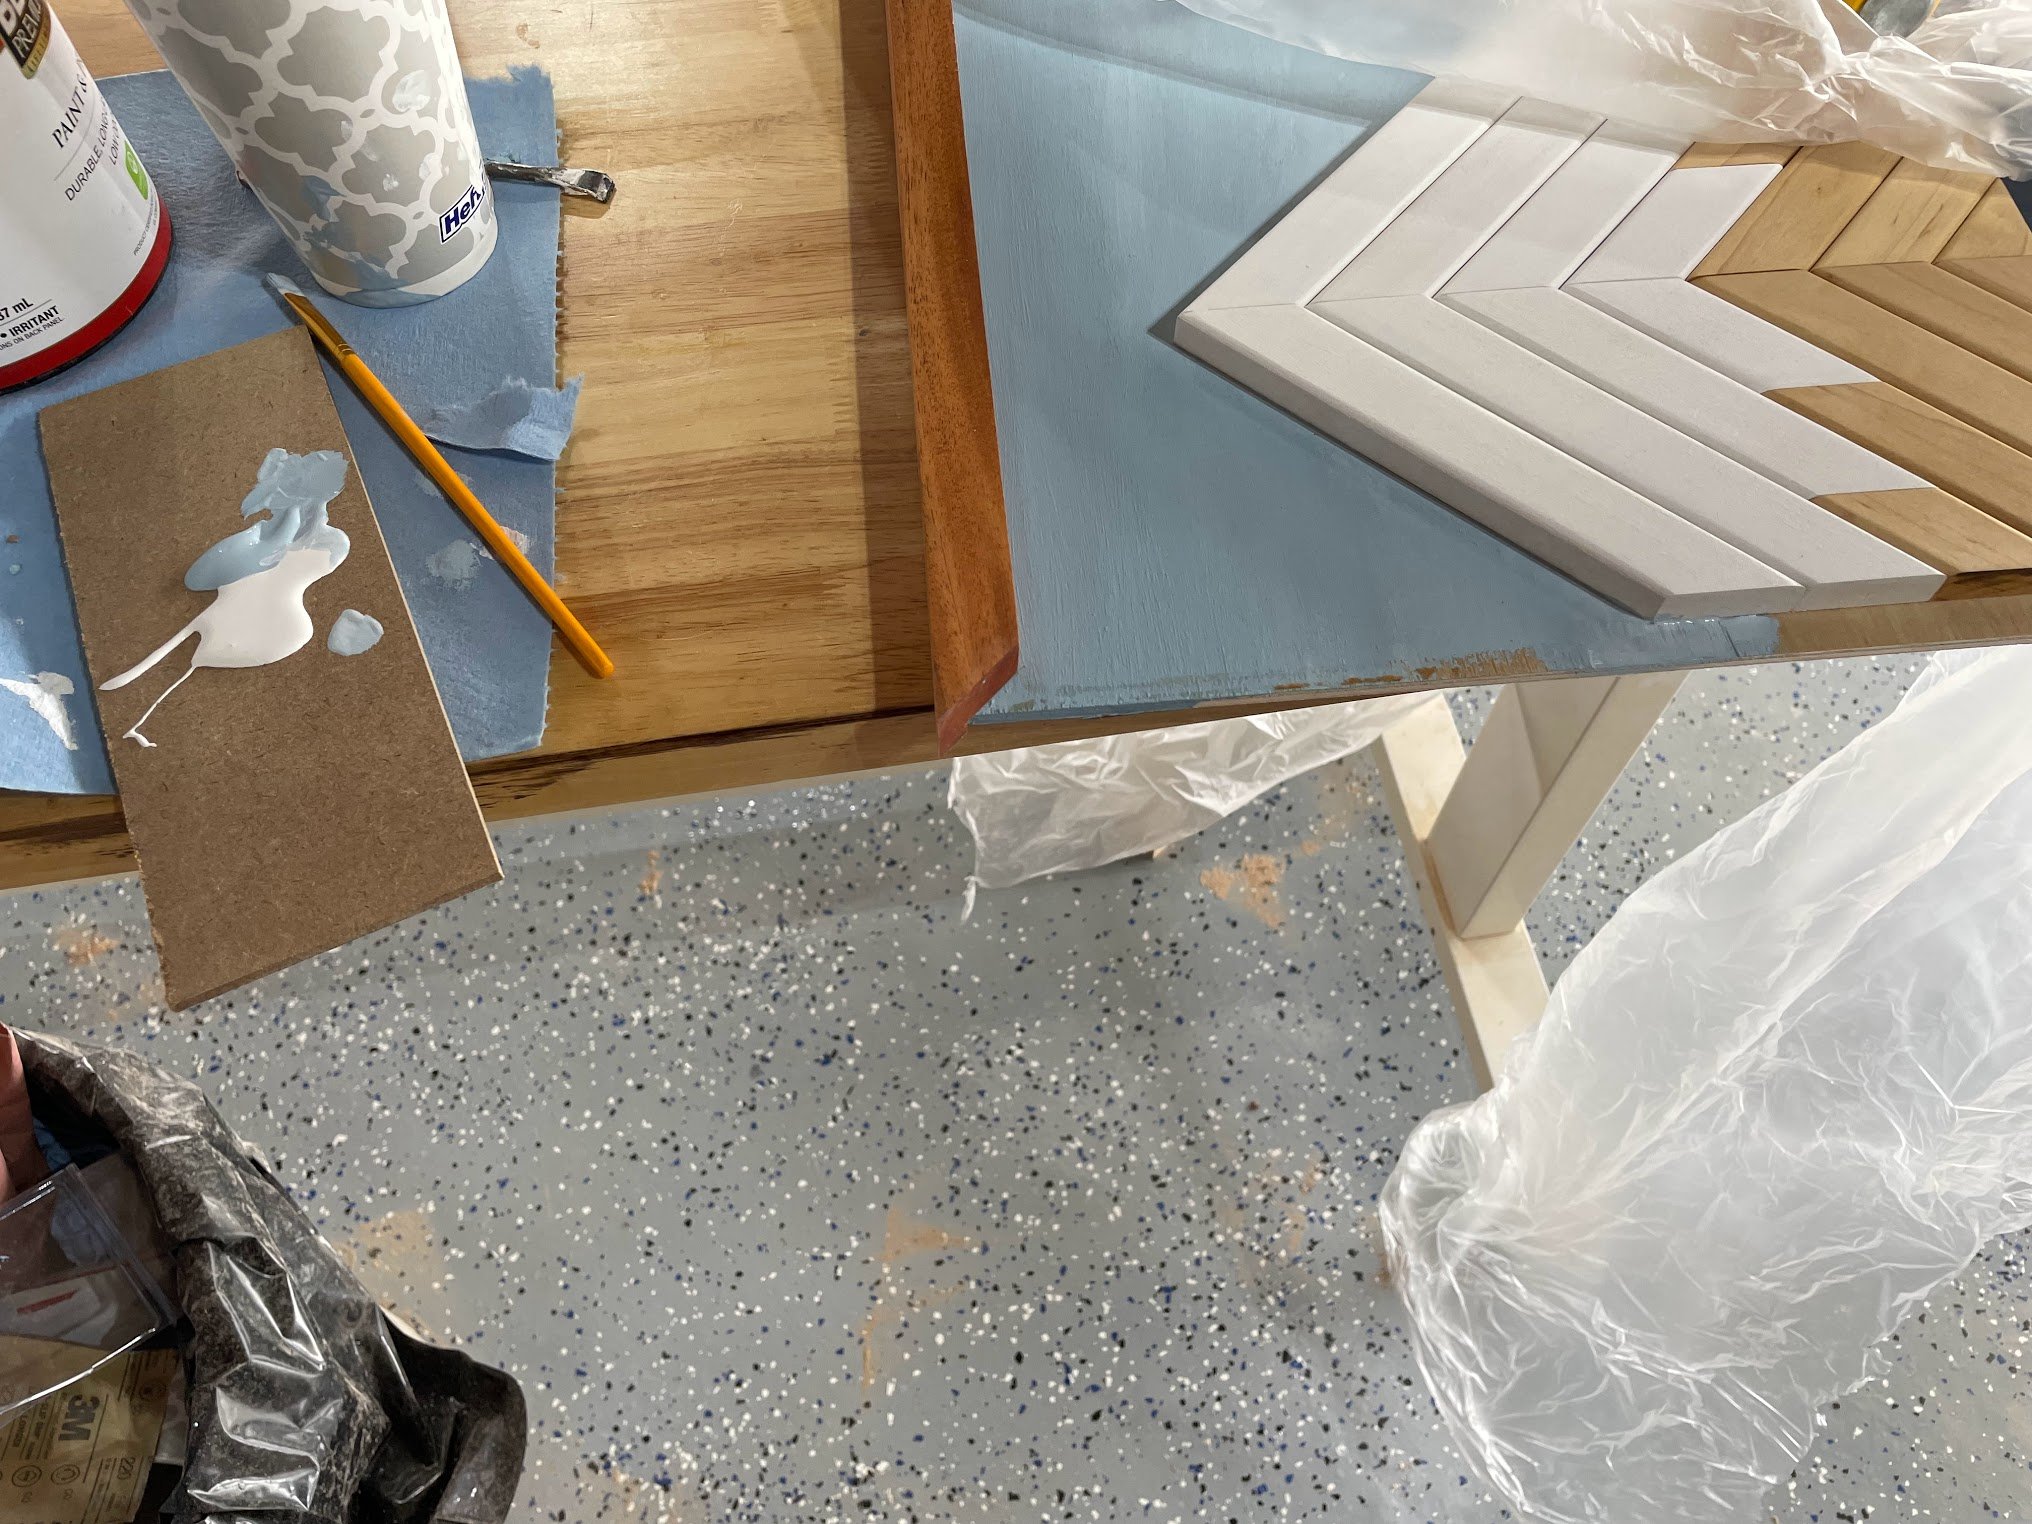
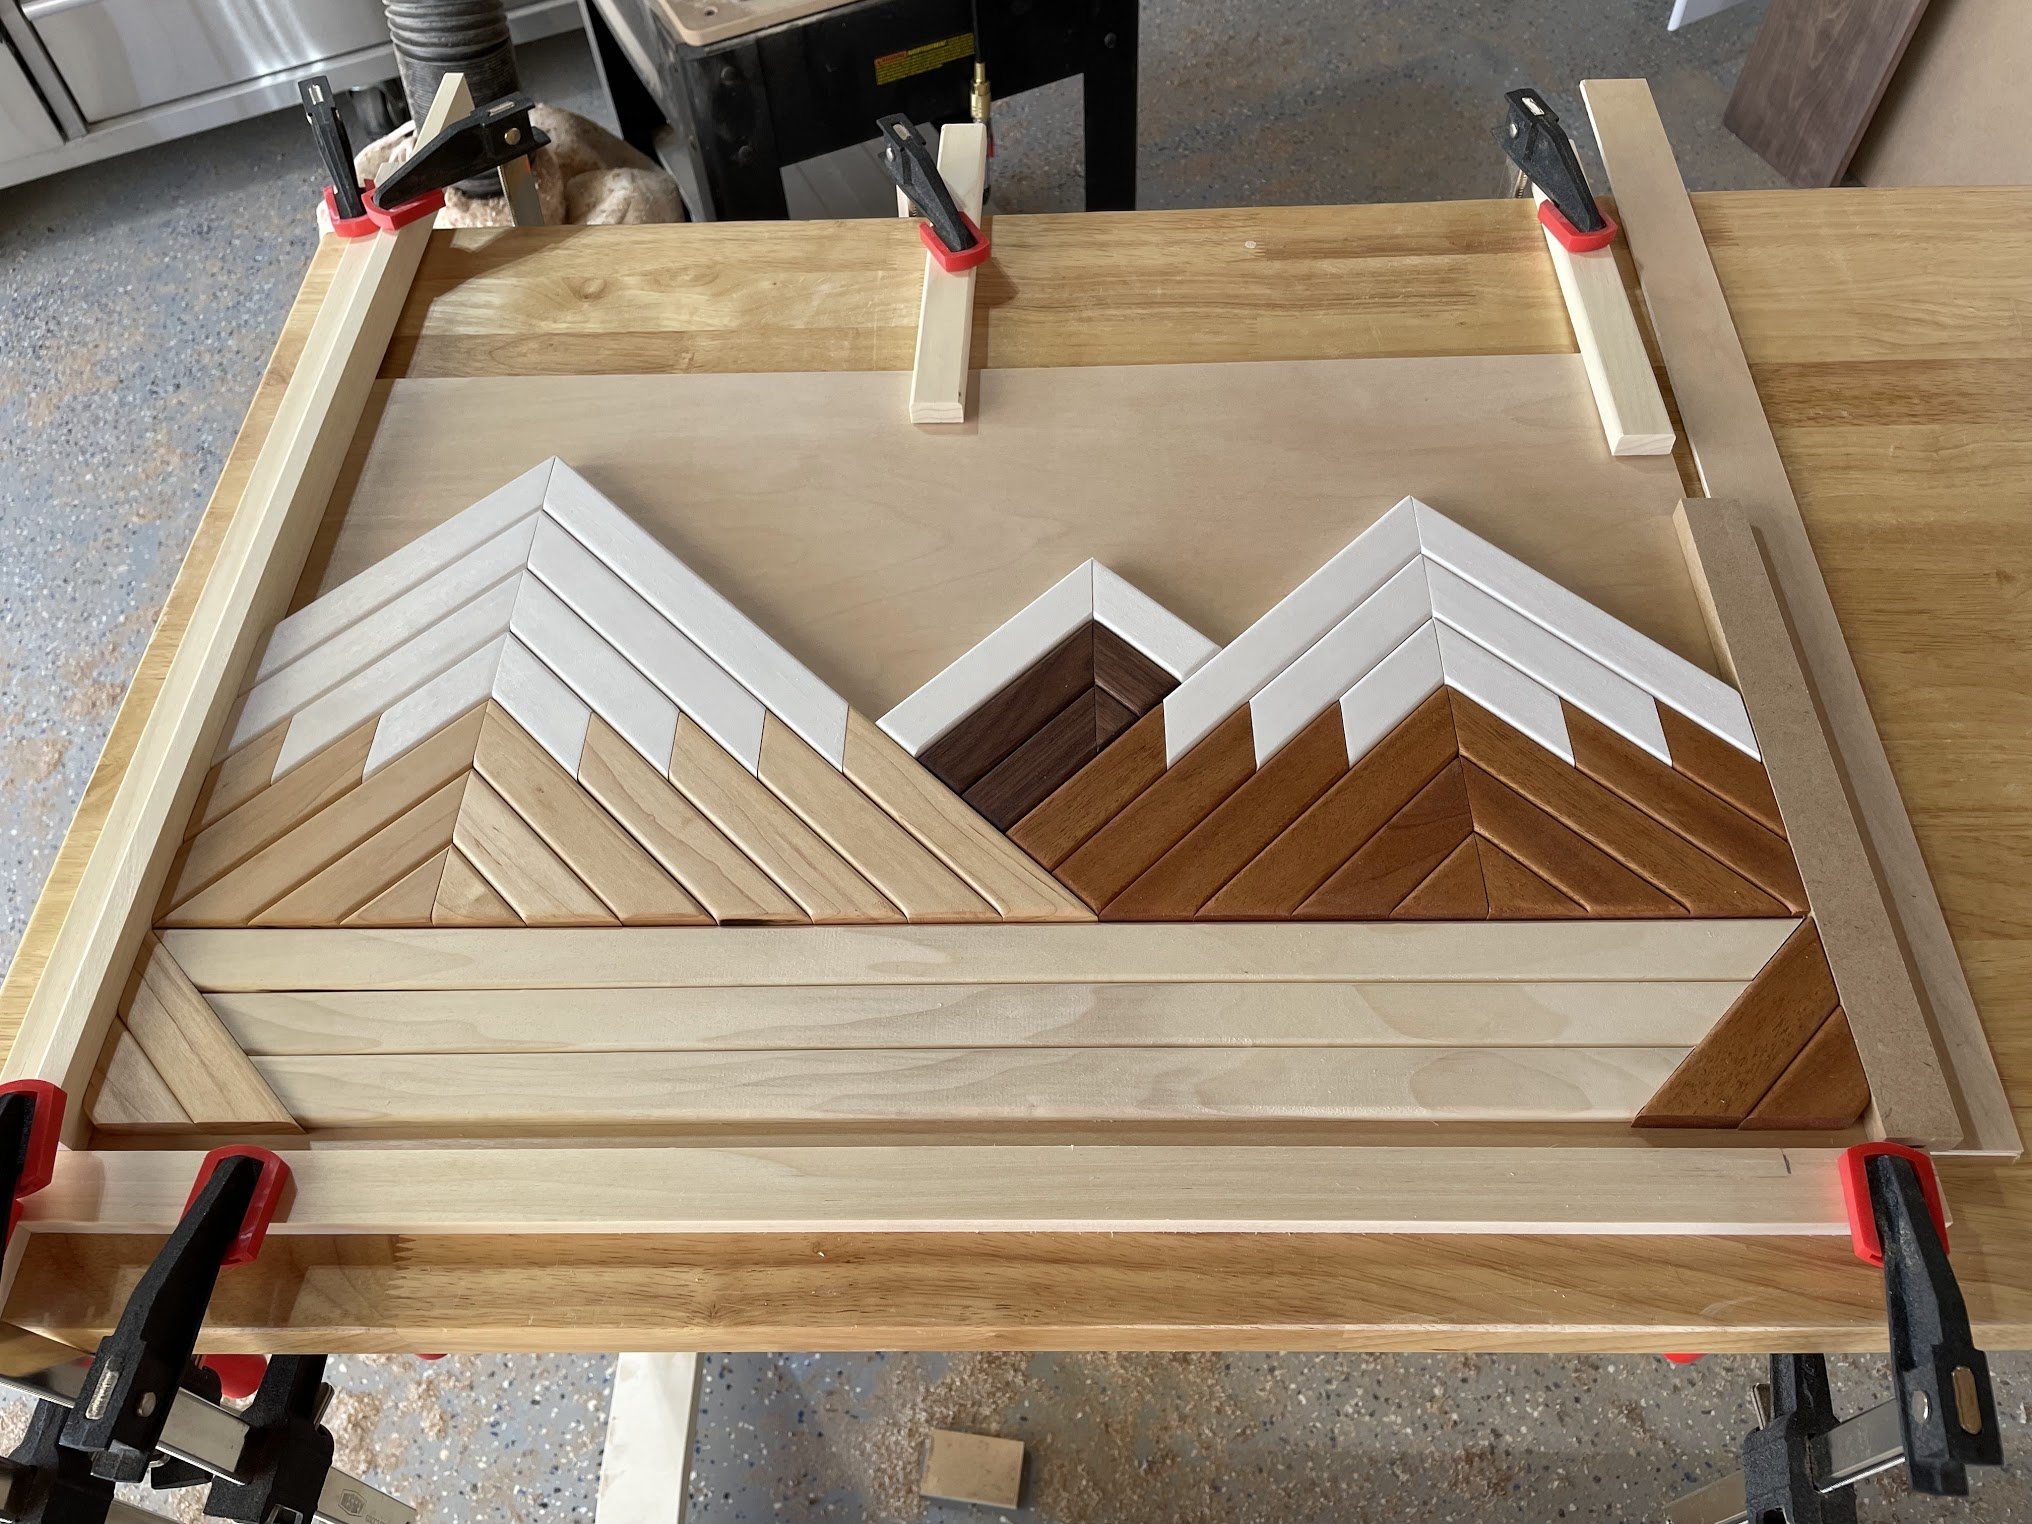
With all of the mountain pieces cut to size, I sanded them and then applied Rubio Monocoat for finish (and white paint for the “snow” poplar pieces).

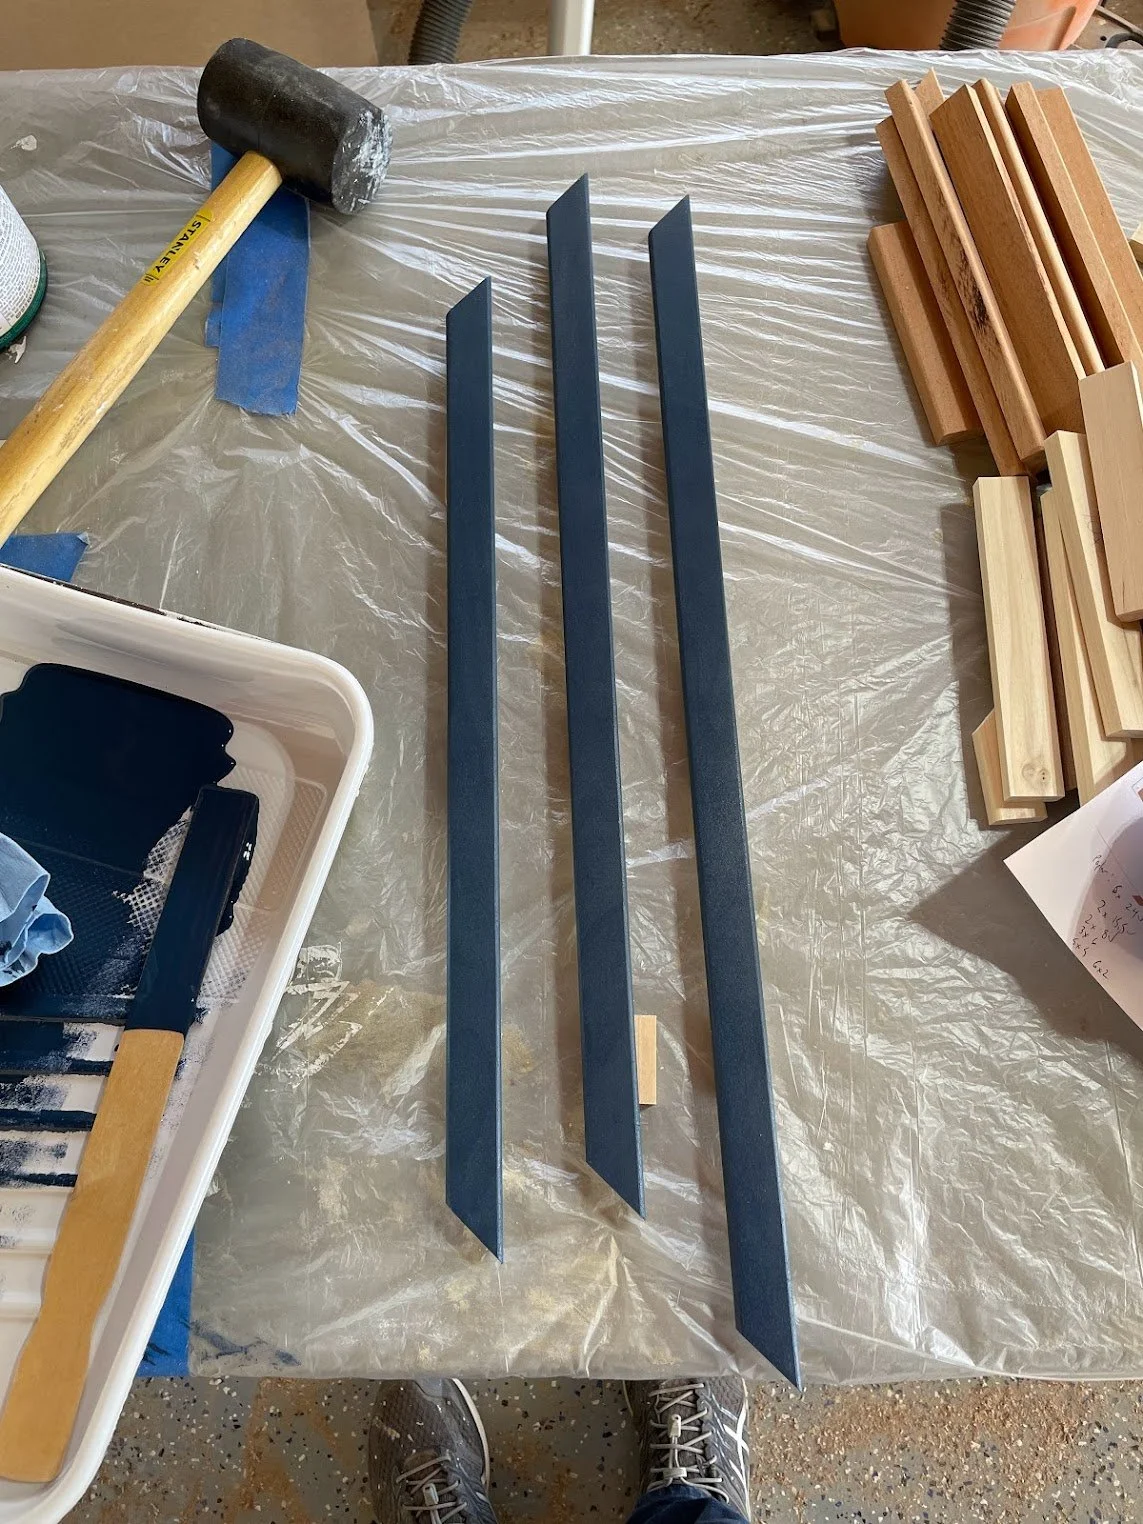
Once everything was dry, I started gluing mountain pieces to a piece of plywood that would be my backing. I glued the maple mountain first, then the mahogany, then walnut. I left 3 inches of plywood at the bottom for the lake. The lake was made up of 3 long pieces of 1/4” poplar, with two small pieces of maple and mahogany on the sides to act as the shorelines. I painted the lake pieces a navy blue and then glued the bottom portion together as well.
Then, I cut pieces of 4/4 mahogany to be my frame. This was where I hit my first problem with this project, though at the time I thought I could overcome it. There was a lot of tension in these mahogany pieces, so as I ripped them to width on the table saw, they immediately started to bow. I was hopeful the bow was slight enough to be resolved in the glue up. More on that shortly. I cut a rabbet on the frame pieces so they would slide over the edge of the plywood base.
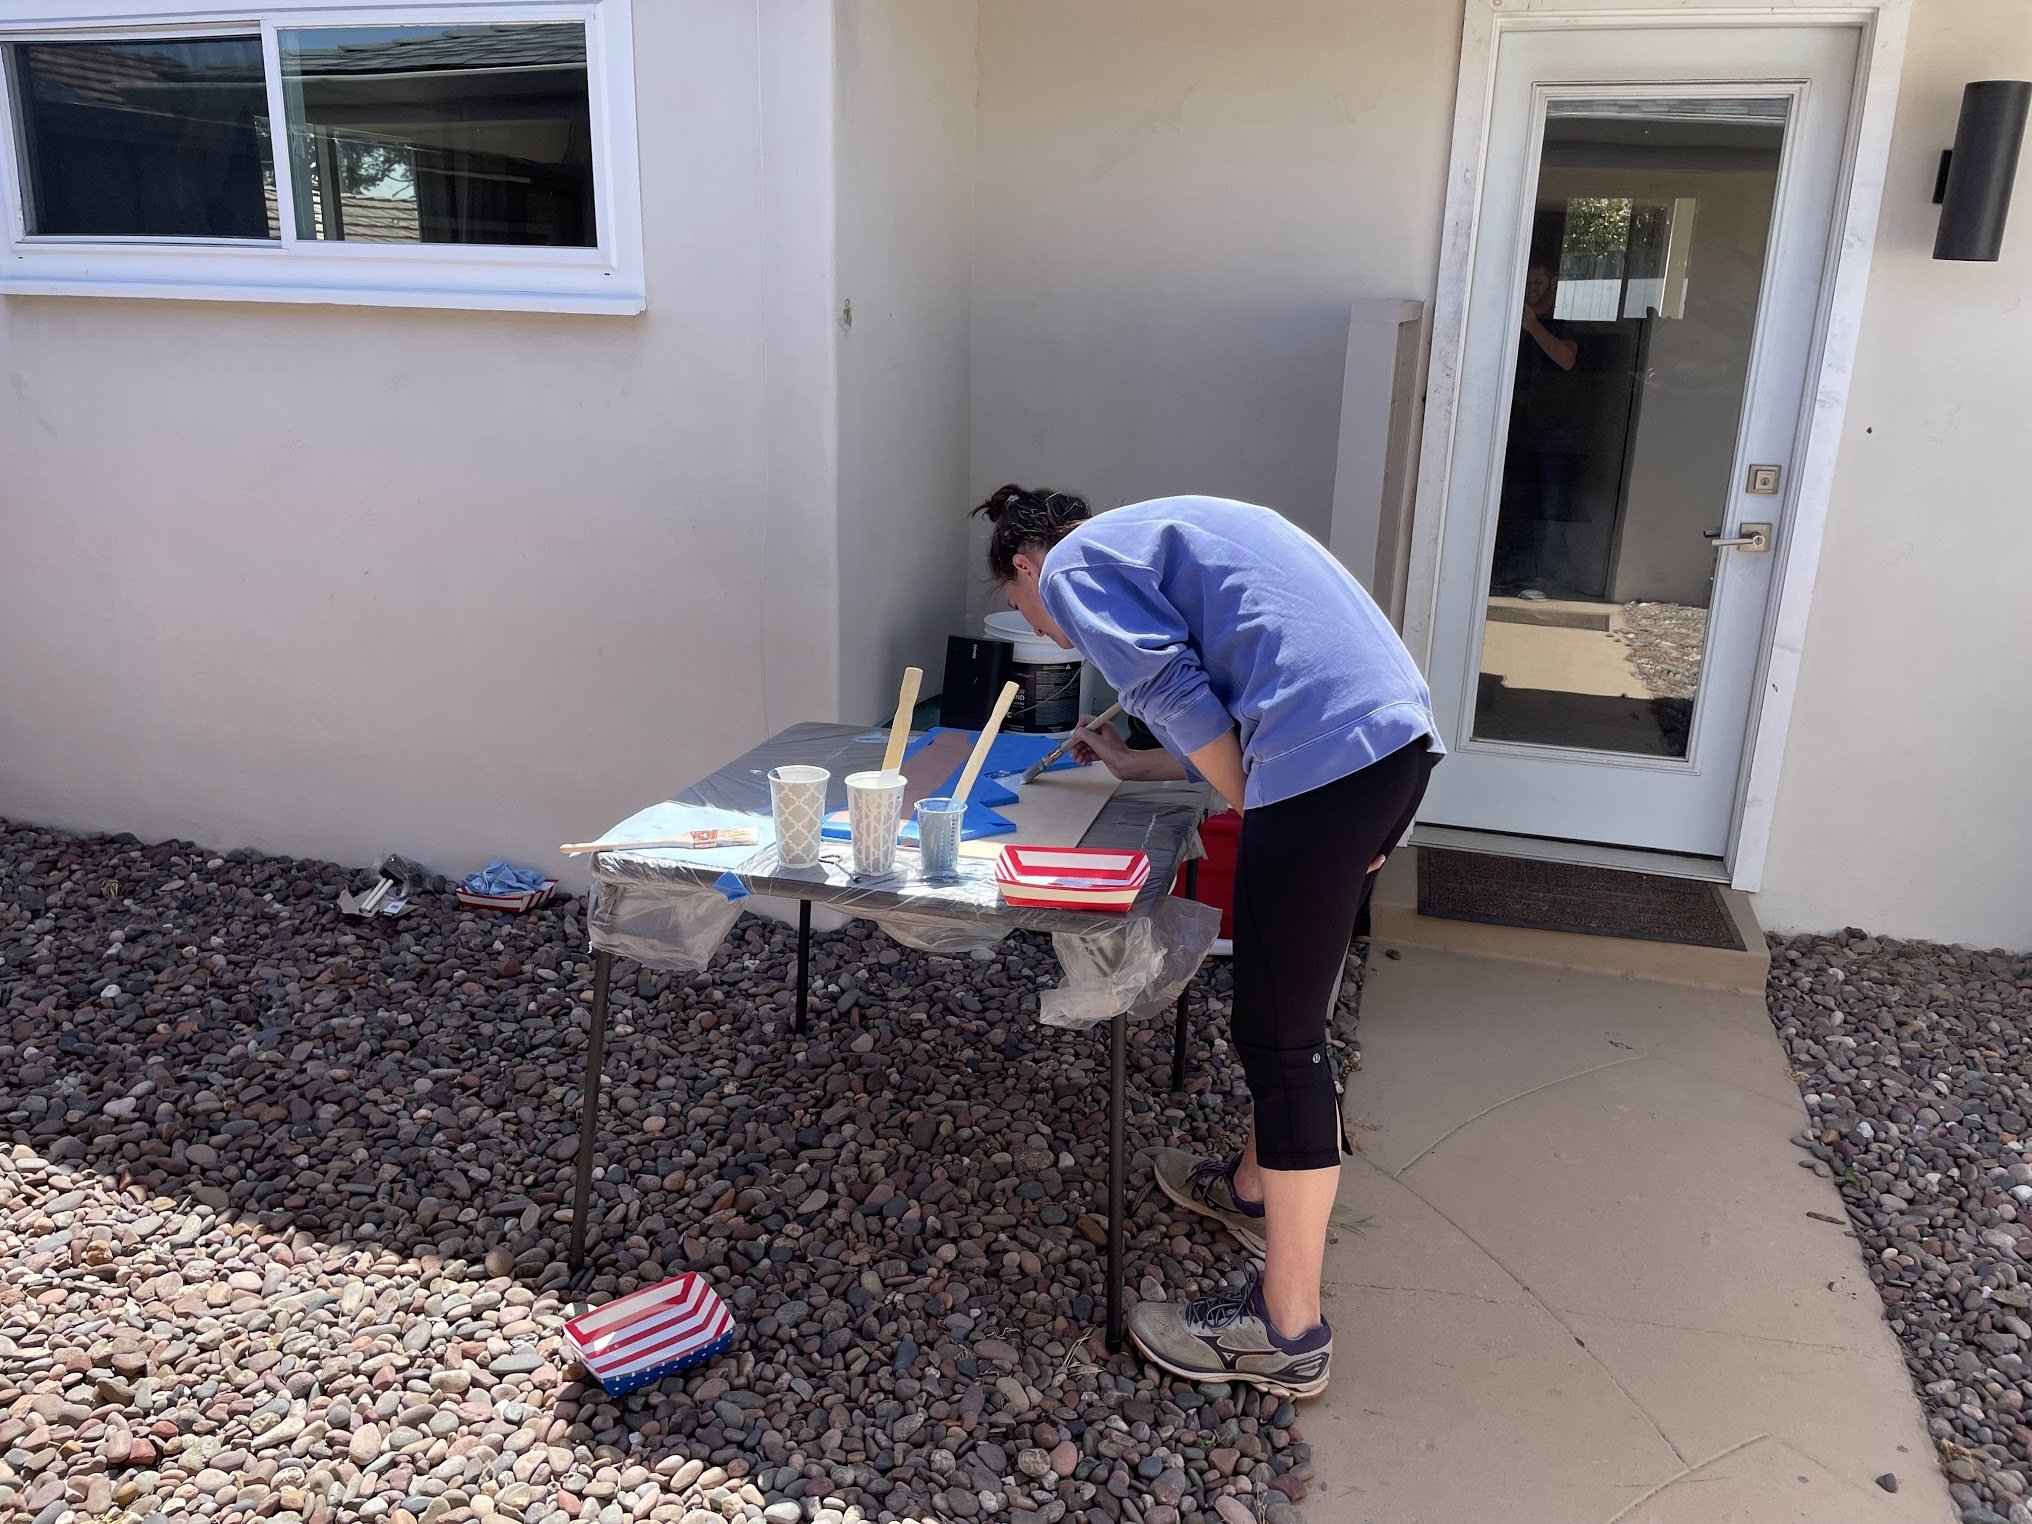
Then, I enlisted Briana’s help to paint a sky background on the plywood. We really should have done this before gluing any of the mountain pieces on, but like I said, not a lot of upfront planning on this project. Instead we taped off the mountains and she painted around them. Then I put some glue on the frame pieces and a whole lot of clamp pressure.

Unfortunately, as foreshadowed above, the little bit of surface area the frame pieces were glued to was no match for the large amount of tension in the pieces. As soon as the clamps came off, they sprung back, leaving gaps at the corners in the bottom. My mom’s birthday dinner was that day and I didn’t want to show up empty-handed, so I decided to bring it as-is with the promise that I’d quickly replace the frame and bring it back.

Once I had it back, I went and bought some new mahogany and then ripped the frame pieces off. There was a little bit of paint damage from that process (hard to be gentle, wood glue is strong), so I did a little touch up. I’m no artist, and I was pretty proud that I was able to fake it enough to match the various shades of blue along the frame. Finally, I cut the new frame pieces, finished them, and glued them on. This time everything sat together perfectly!