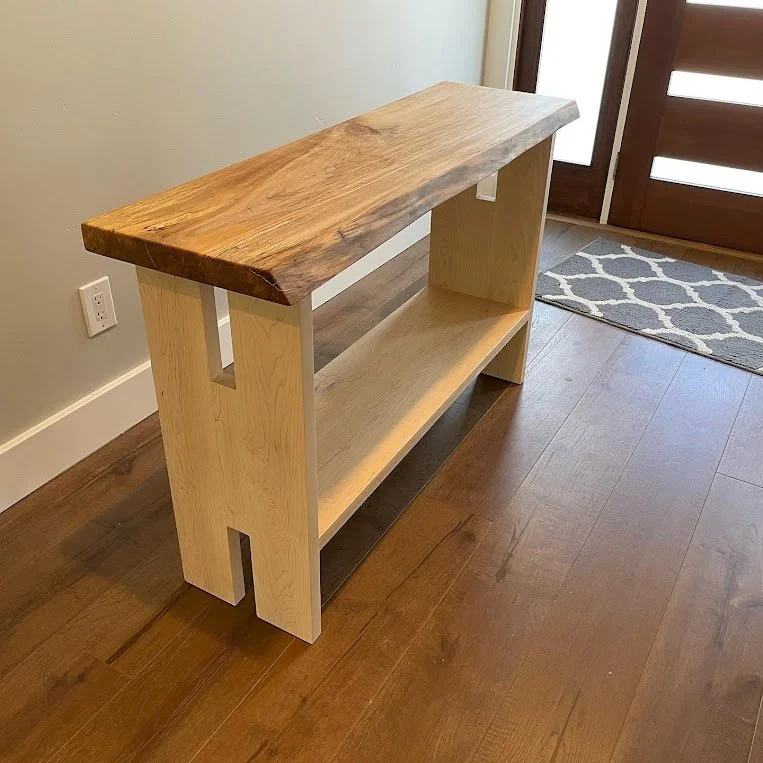
Live Edge Maple Console Table
Made of solid maple with a live edge maple top. The slab is clearly a different maple species given the color, but I’m not sure which. Finished with Rubio Monocoat — top in “pure” and legs in “white 5.” My dad and I did this one together.
This was an original design that I’m generally pretty happy with. The maple is a little lighter than I usually like, but I had been wanting to use it for something. The rustic live edge with the straight lines on the legs is an interesting combo but hopefully it works ok!


The Process
This one started with a pretty basic design in Sketchup. We had a cheap console table sitting by our front entrance and wanted to replace it with something nicer. After googling around for a bit, I decided I wanted to do something in maple that was more on the rustic side. I thought it might be fun to do something live-edge (where one edge of the wood has its natural shape), but you never know what is going to be available at the wood store.


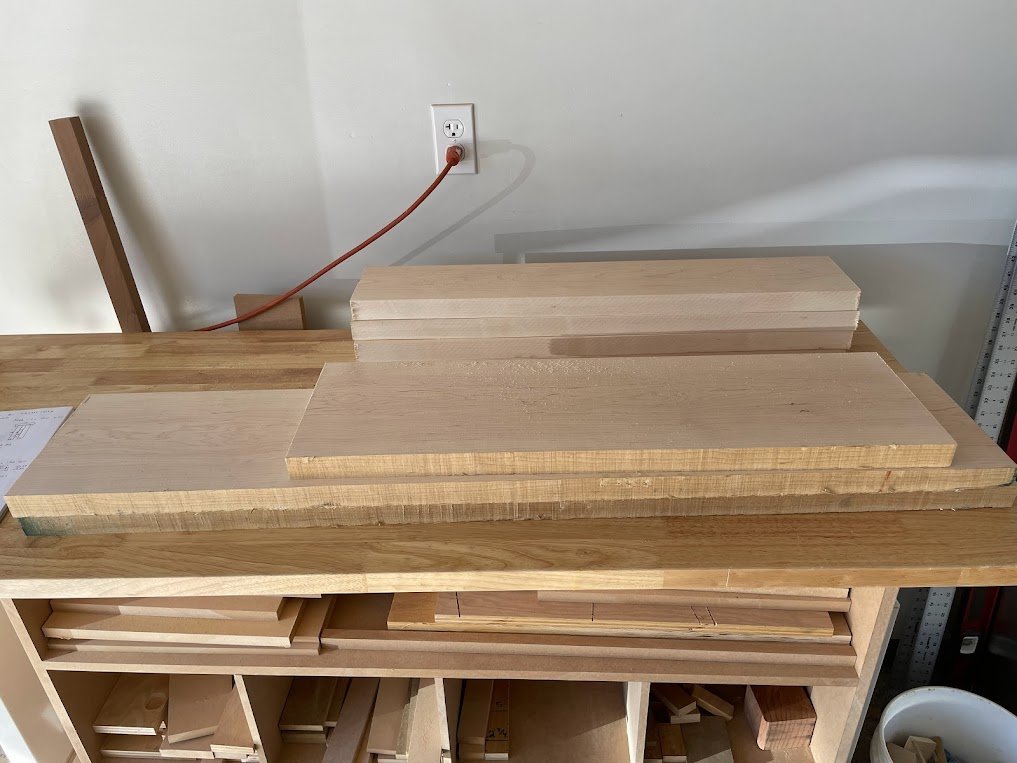
Fortunately, we found a cool slab we liked at Th&H that had a pretty straight natural edge on one side and was just under the length I wanted—so an easy change. For the rest of the table, we bought 6/4 maple (1-1/4” nominal thickness).

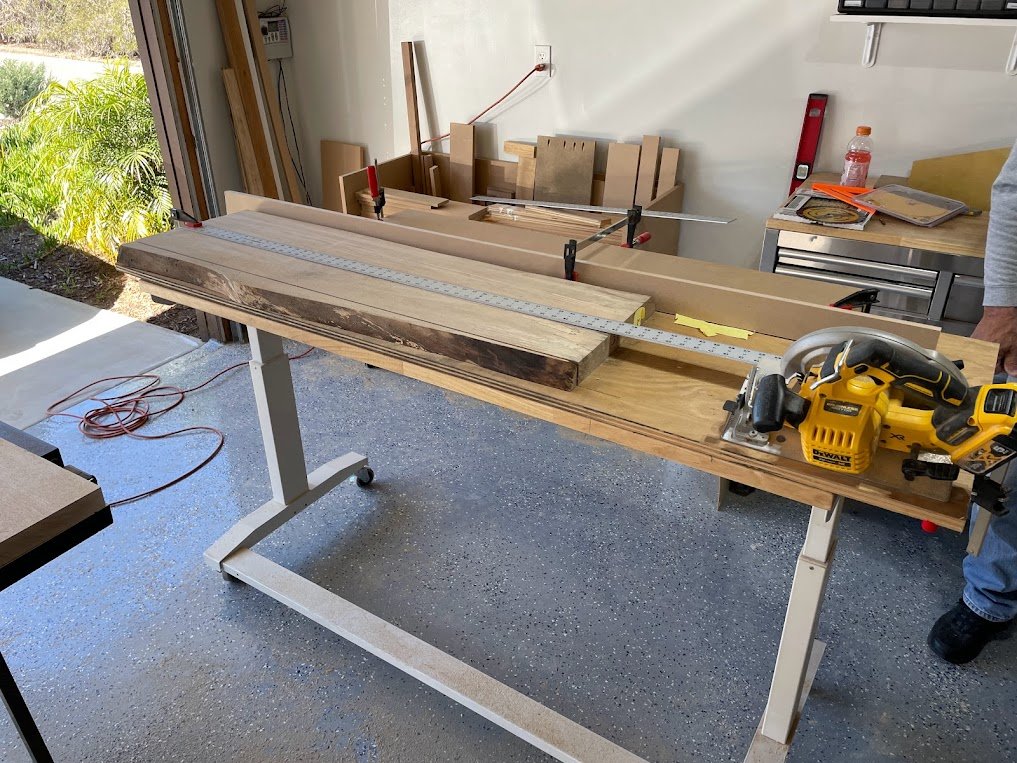
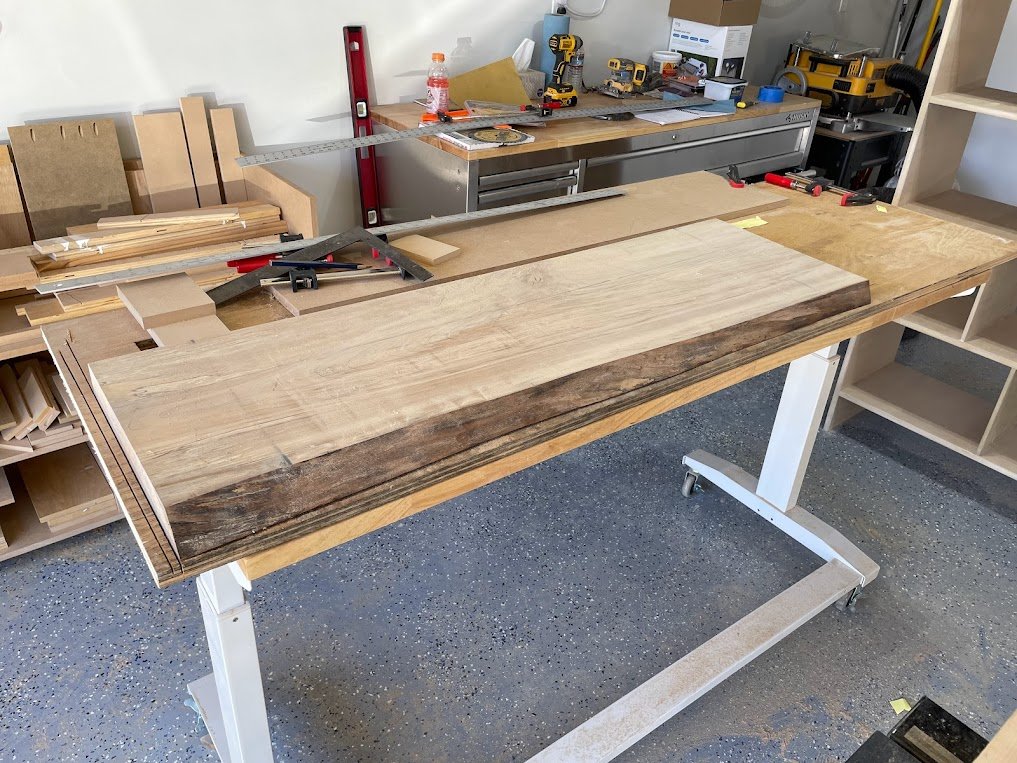
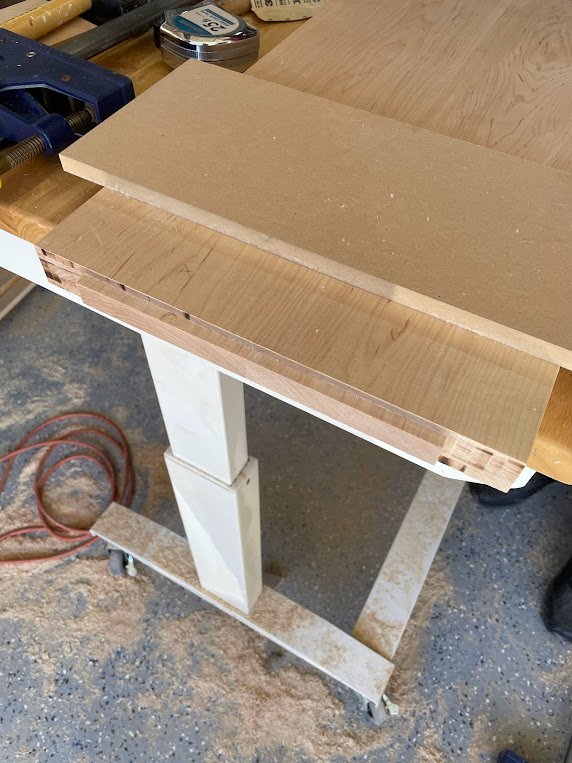
The first step once we had all the materials was to cut the live edge piece to width. This piece had live edges on both sides, but since the table would be up against a wall, we wanted the back edge to be square. We took a scrap piece of wood clamped to the table to act as a fence and then set up the live edge we were going to keep against the fence. This would create a reference straight line for the shape of the table. So we measured an equal distance from the fence on both sides and used a straightedge and circular saw to cut the back edge. Then we used the back edge and a square tool to trim the sides—both to clean up the rough edges and to make sure they were perpendicular.
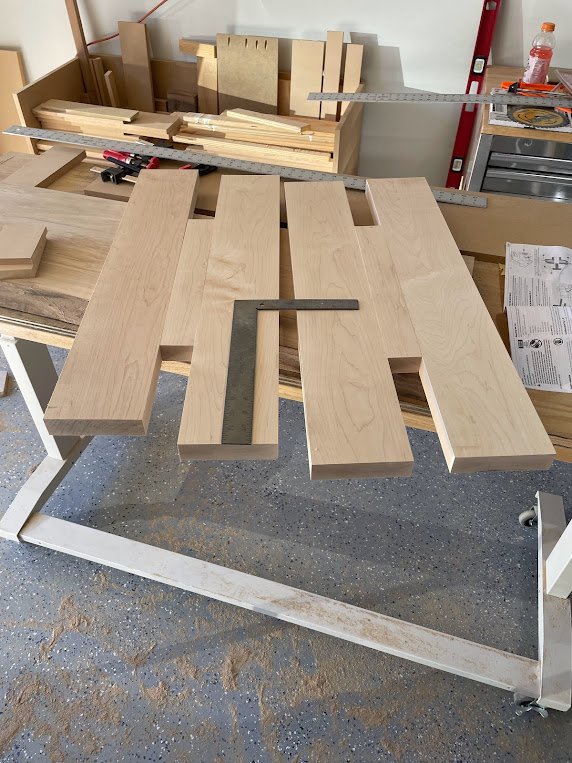
Once that was done, we turned our attention to the legs. For each leg, we cut the three pieces to form the “H” shape and then glued them together. Since the middle piece was purely decorative and wouldn’t take on any weight, a simple butt joint seemed fine.
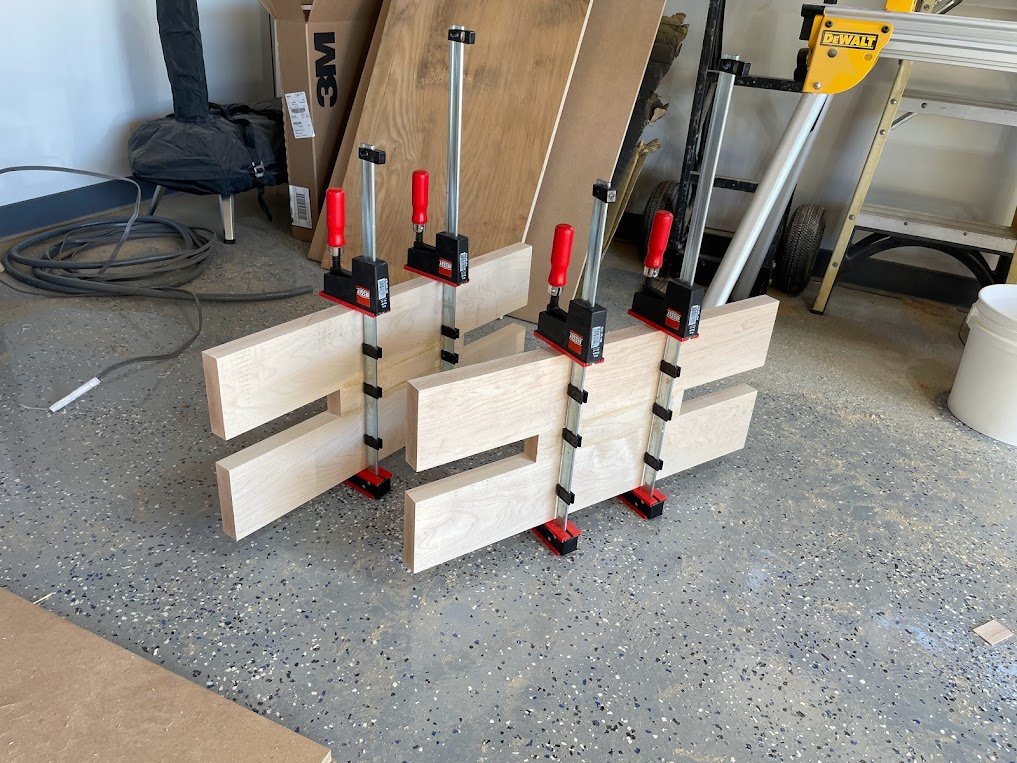
For the lower shelf, we joined two pieces of maple together to get the full thickness.

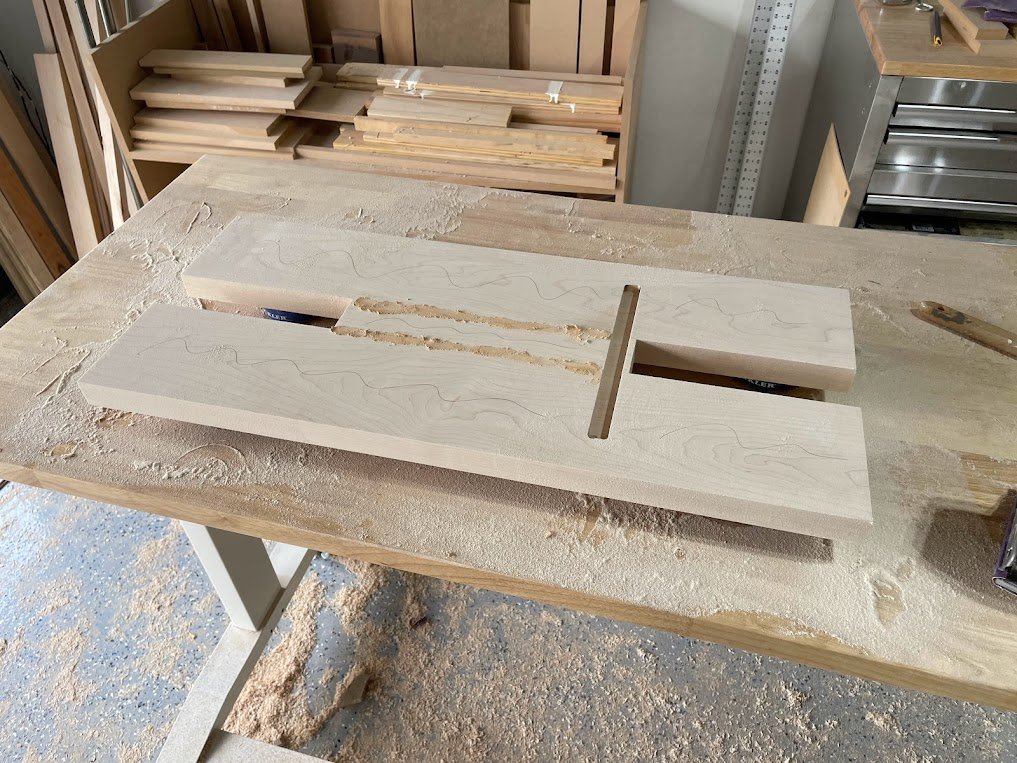
Now’s when the fun began. To make sure the shelf was as strong as possible, we didn’t want to do a simple butt joint (just glue the edge of the shelf to each leg). Instead we wanted to do a mortise and tenon joint. Essentially, we’d cut a receiving channel into each of the legs, and then trim the edge of each side of the shelf to fit into that channel.
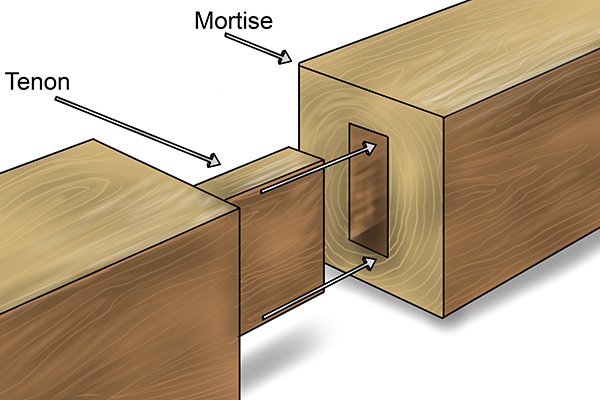
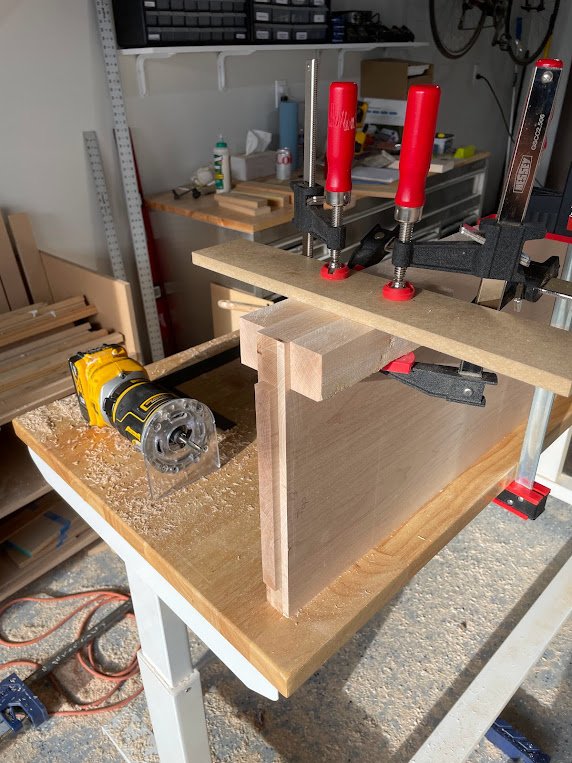
Despite being a classic and very common joining technique, neither of us had done it before. We started with the mortise side because we figured that would be the harder one. After tracing out the channel we wanted to cut, we set up a jig that used two scrap pieces of wood as fences on either side of the leg. The distance between the mortise edge and the fence was the same as the distance between the edge of the router bit and the router guard, so we just had to slide the router along each fence. We could have set up similar fences at the other two ends of the mortise, but we didn’t care as much about accuracy on those sides.
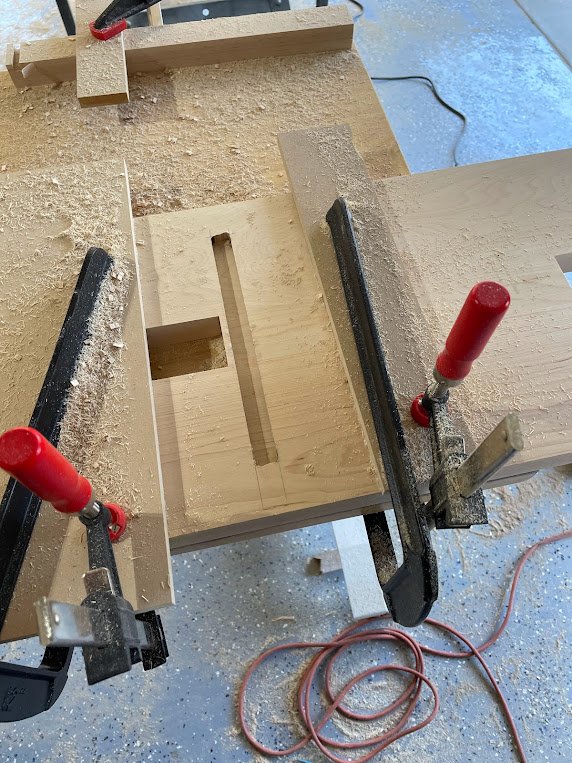
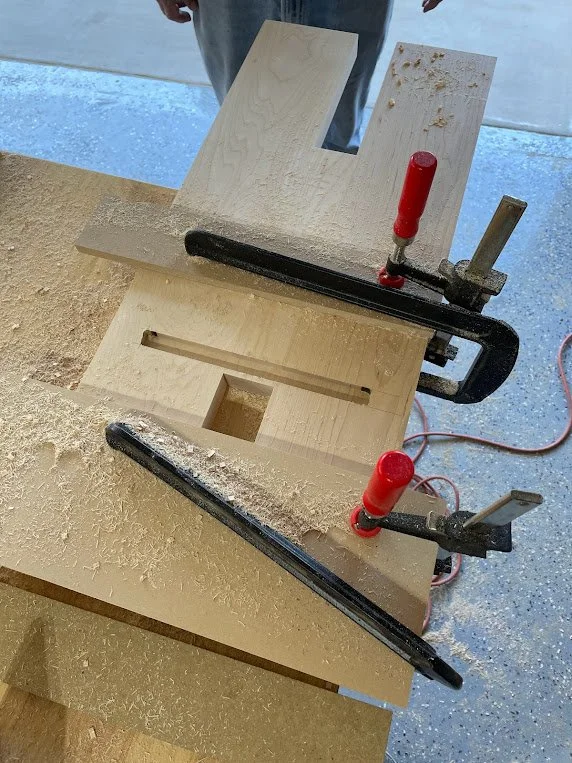
Pretty good! Definitely elicited a classic “that came out better than I expected” from dad.
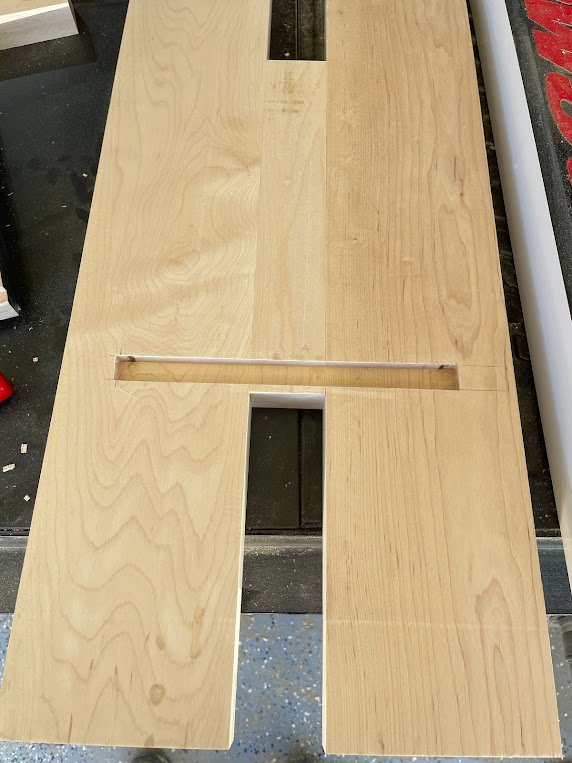
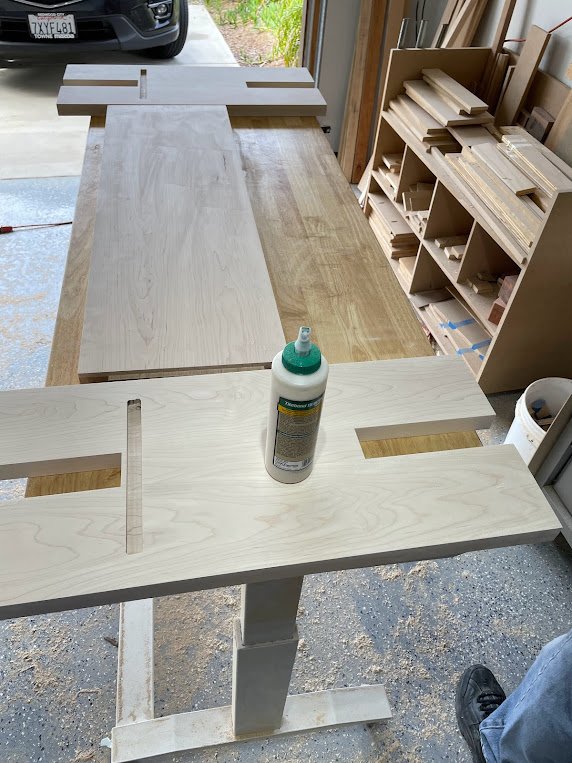
Next we worked on the tenon. We originally thought we might use the table saw, but the shelf was a pretty big unwieldy piece, and given our new confidence with the router, we decided to go that direction. Similar to the mortise, we set up fence pieces that would guide the router. We did some math to figure out the depth of the cut and tried to set the router accordingly. This took some trial and error as things were a little too snug the first time, but eventually we got both sides fitting together pretty good.
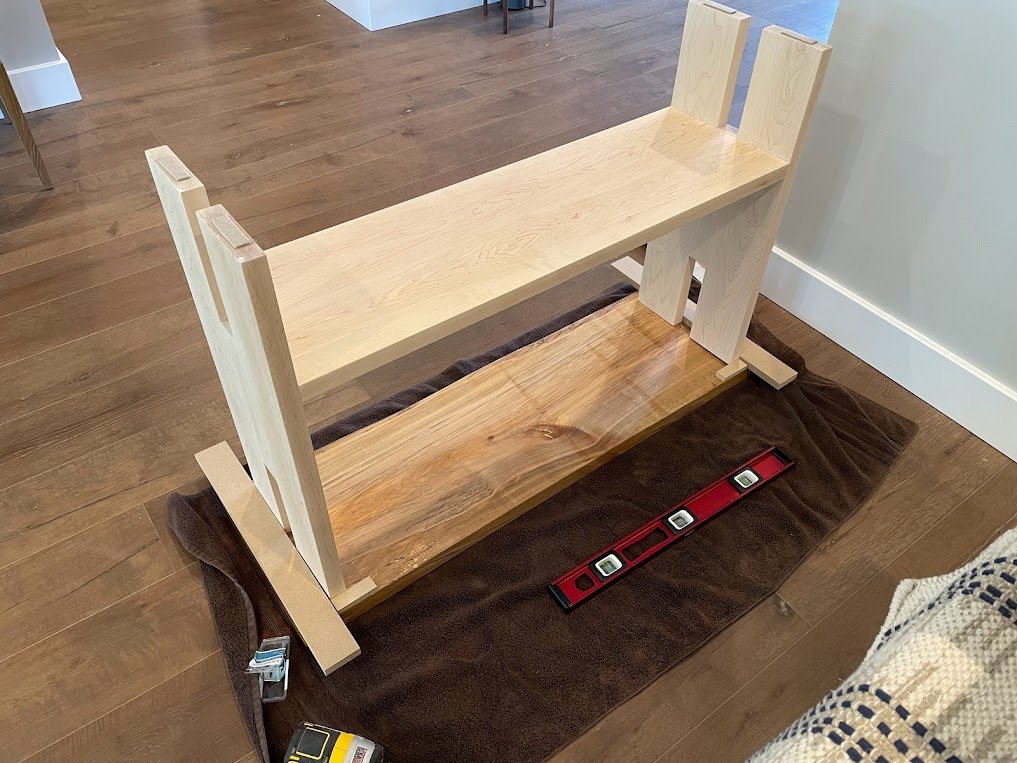
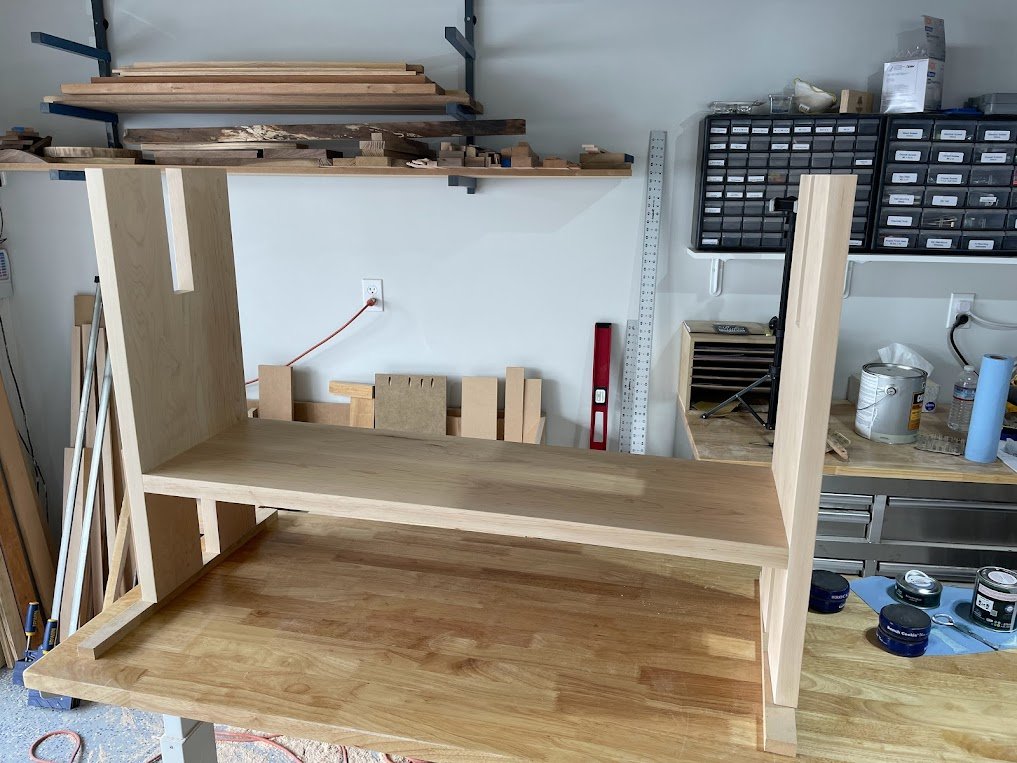
We put everything together for a test fit and it was looking good!
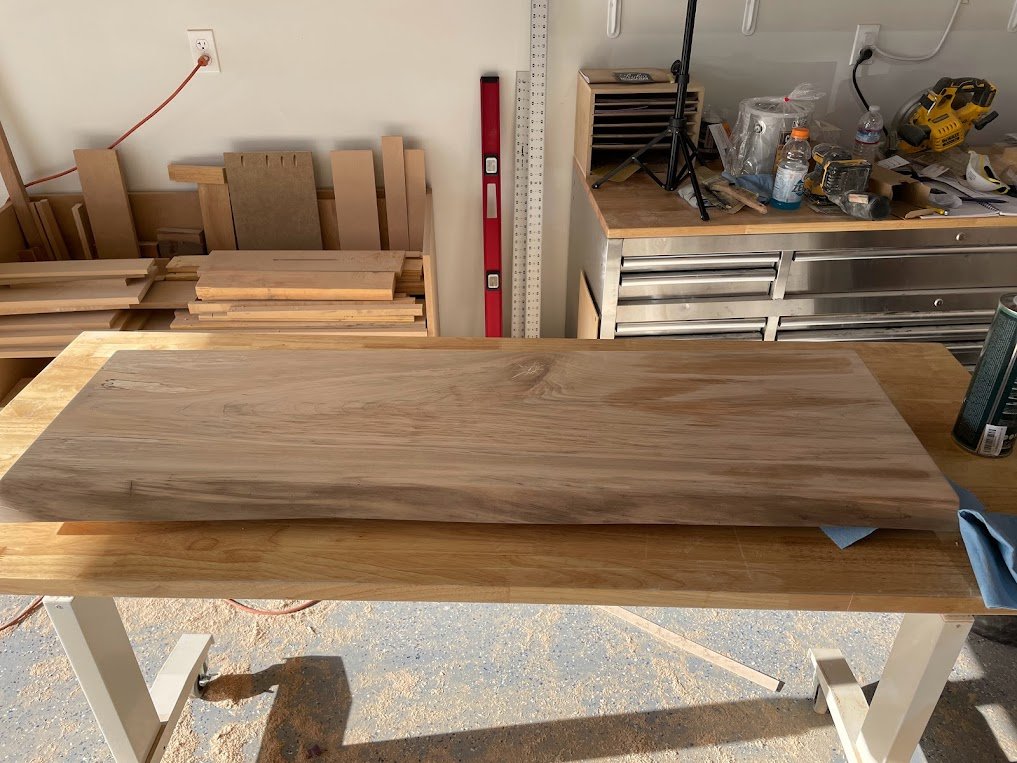
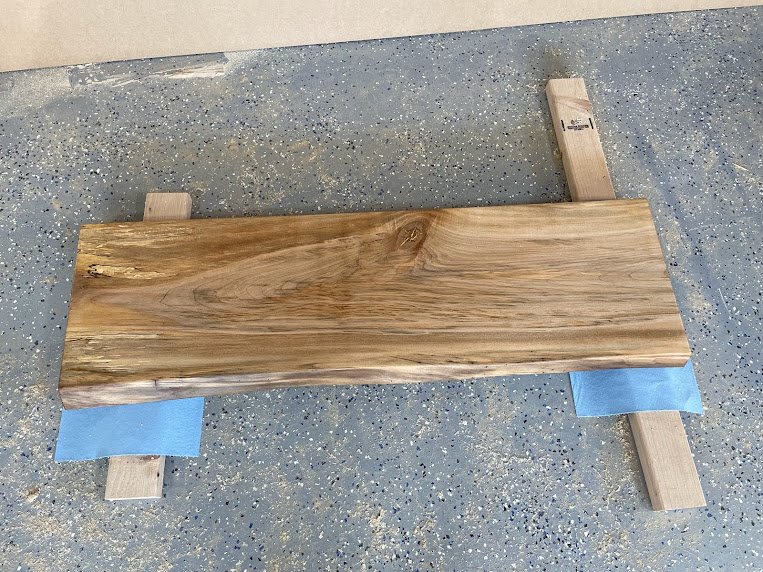
With everything ready to go, I took a little time to clean up the live edge of the top. We wanted it to be natural, but wanted to get rid of all the bark pieces that would eventually fall off otherwise. In parallel, I cleaned up the leg and shelf pieces with a little maple wood filler and a lot of sanding.
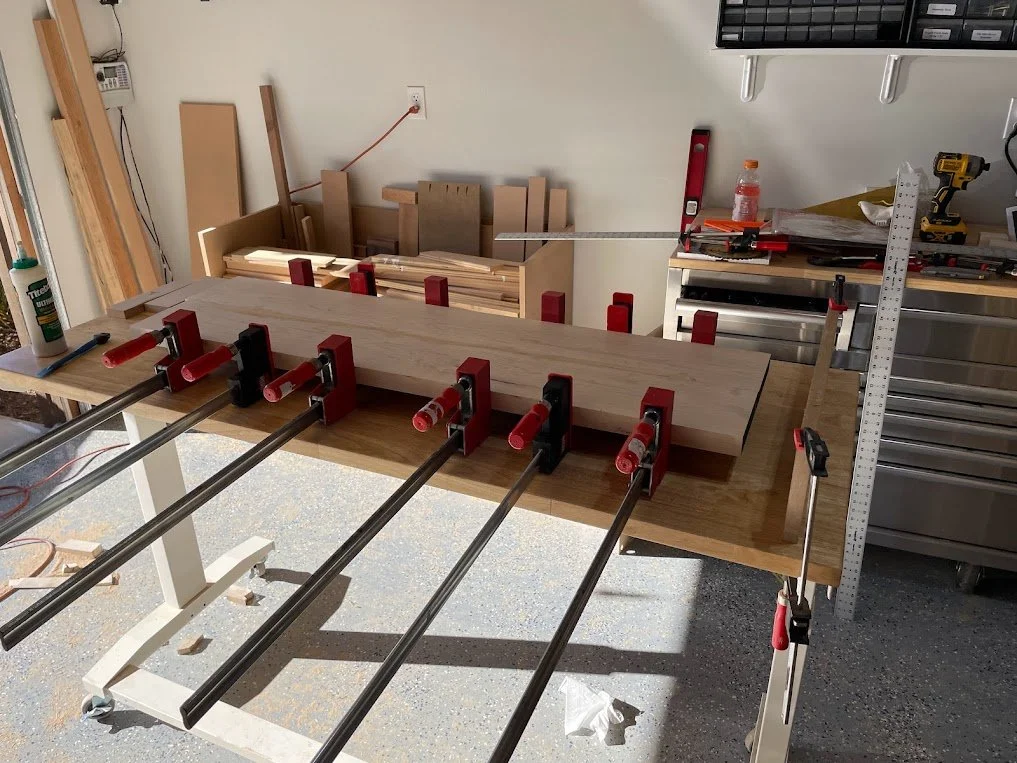
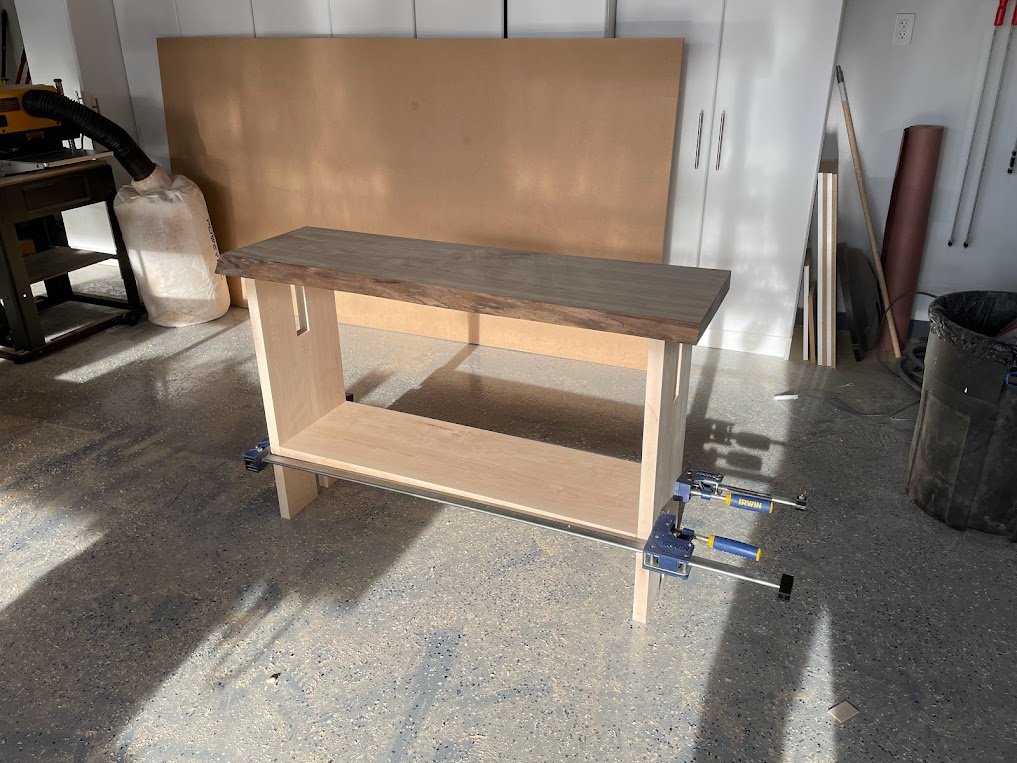
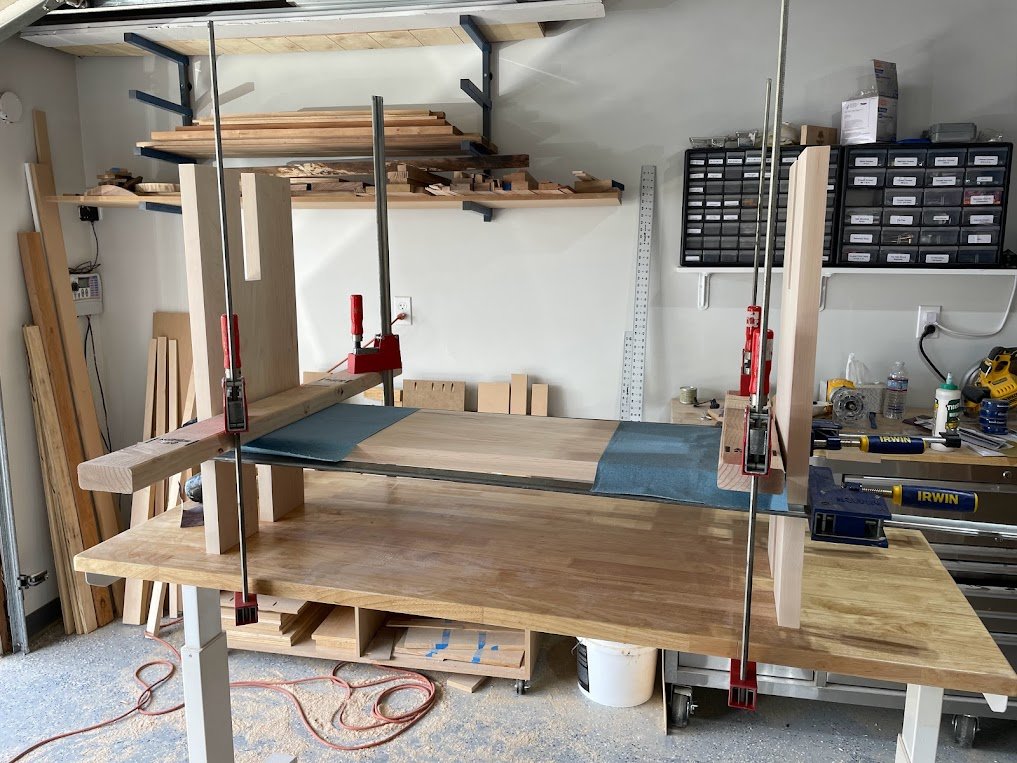
Once everything was good and sanded (given all the interior corners and edges, we wanted to minimize the amount of sanding that would need to be done after assembly), we glued the structure together. It really came out great—nice and straight with clean edges.

While that was drying, we tested a bunch of different finishes on cutoff scraps from the legs and shelves as well as the underside of the top. Despite these all being maple, there was some clear variation amongst the leg/shelf pieces and a big difference between those pieces and the top. In the end we decided to go with a “White 5” shade for the legs which does a good job keeping the natural look of the maple but preventing the yellowing that can come through with natural stain shades. For the top, I wanted the natural colors to come through as much as possible, so we decided on “Pure”.


Finally, I attached the top to the legs using 3 corner brackets. The reason for using only 3 was that our top was not perfectly flat—there were some variations in thickness that we had decided to leave—maybe if we had a giant planer we would have taken care of it, but alas, we don’t. So the underside of this piece wouldn’t lay flat and really didn’t want to be attached to all 4 legs unless we applied a lot of force to do so. That force would have in turn just been put on the legs structure without much benefit, so we didn’t want to do that. I saw that if it was anchored on a specific three of the legs, the top side of the piece sat very flat and was plenty stable. And from above you couldn’t tell that the top was hovering about a quarter of an inch over the 4th leg unless you were really looking for it. Good enough for me!
I used a couple of equal-width pieces of wood to make sure the legs were centered on both dimensions and attached the brackets. Done!