
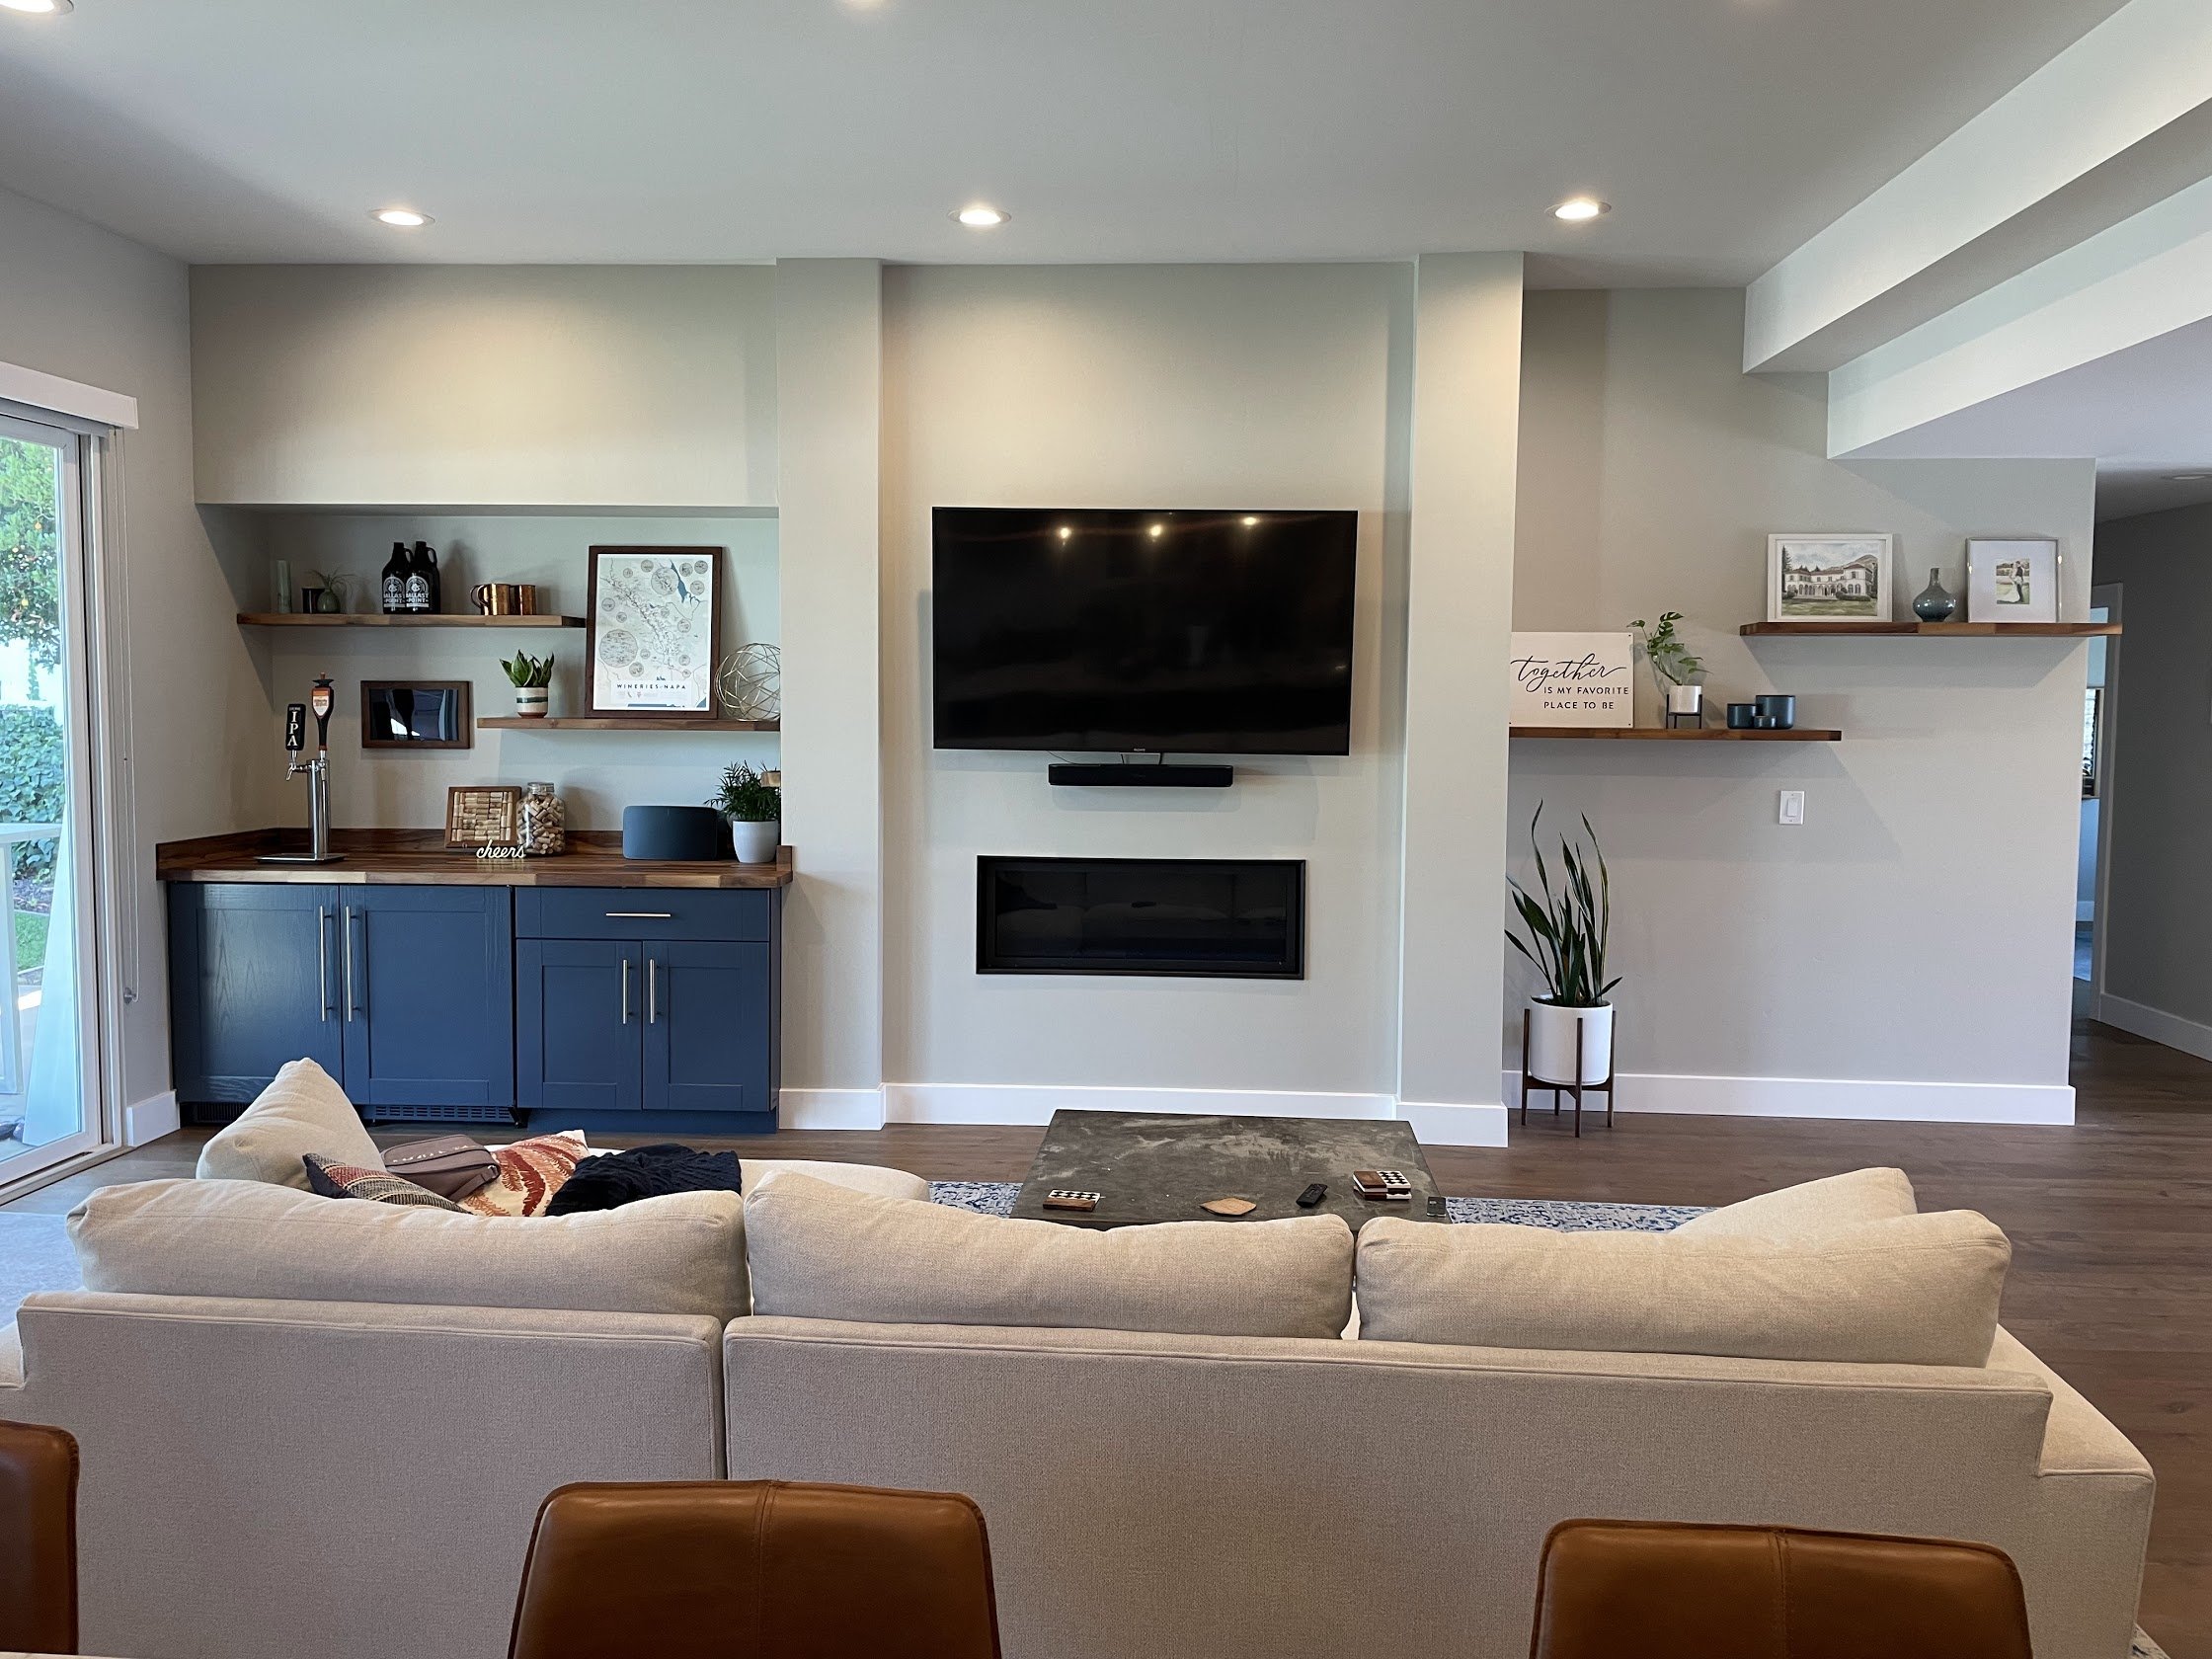
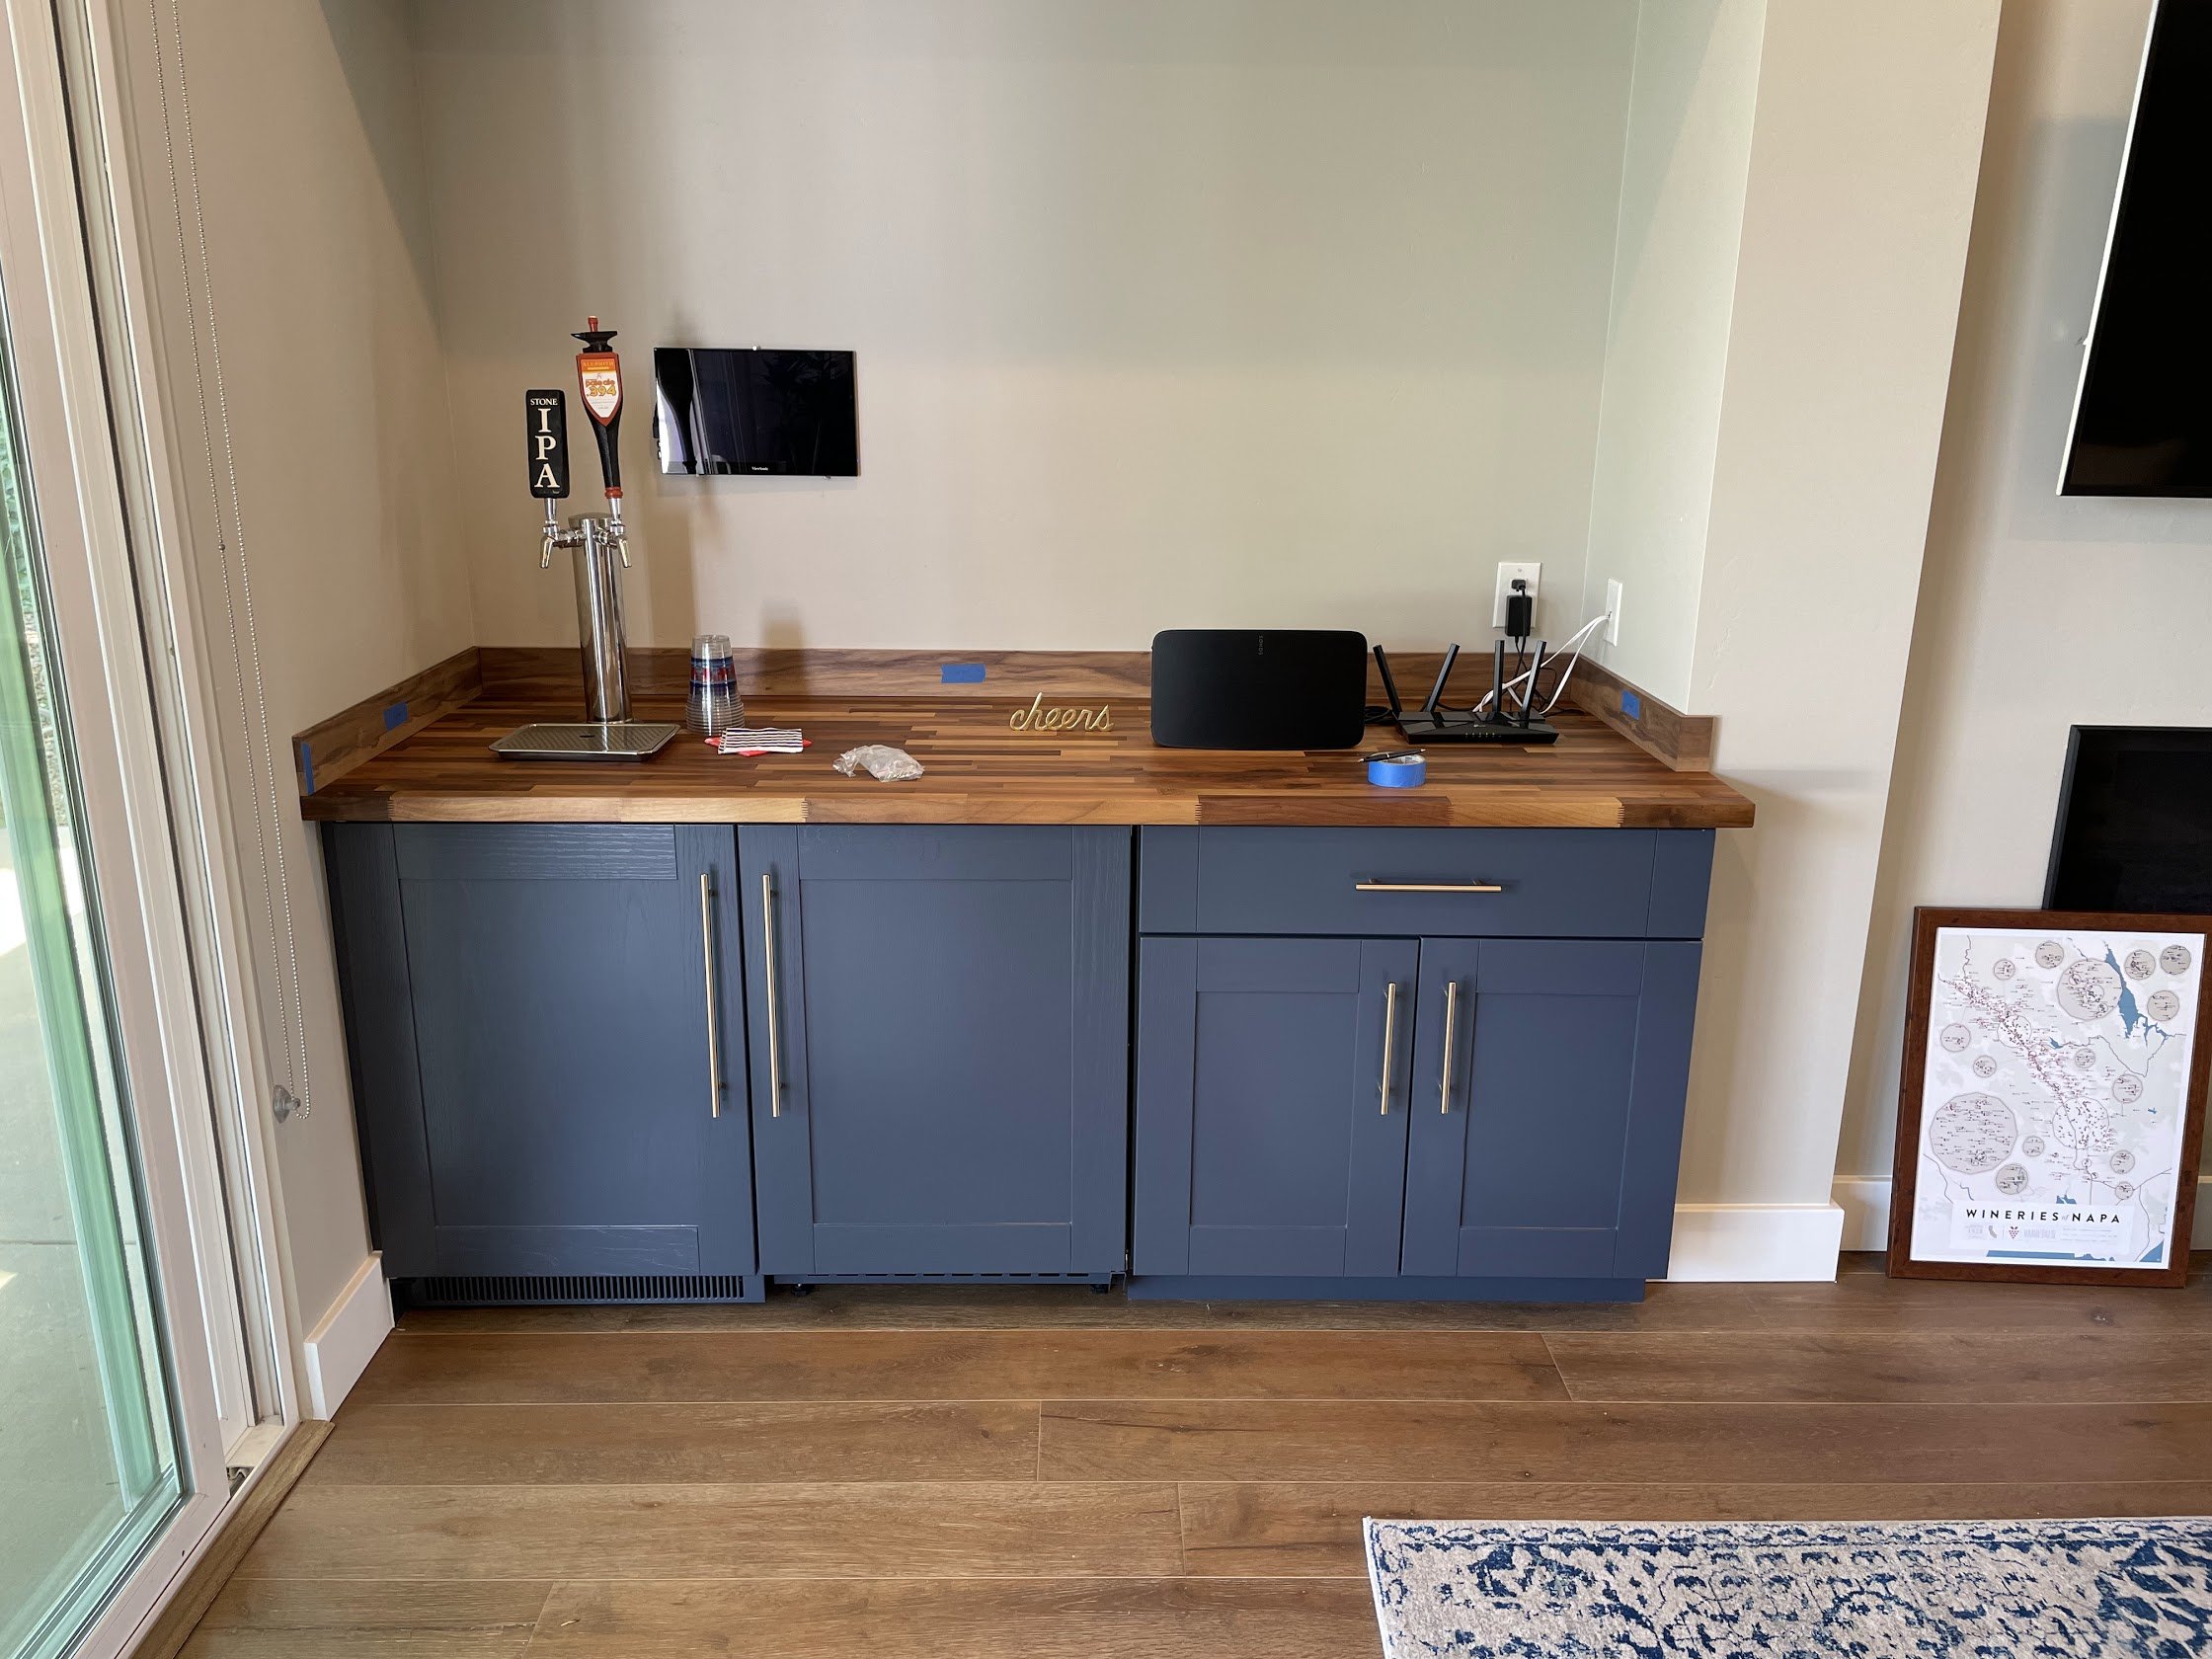
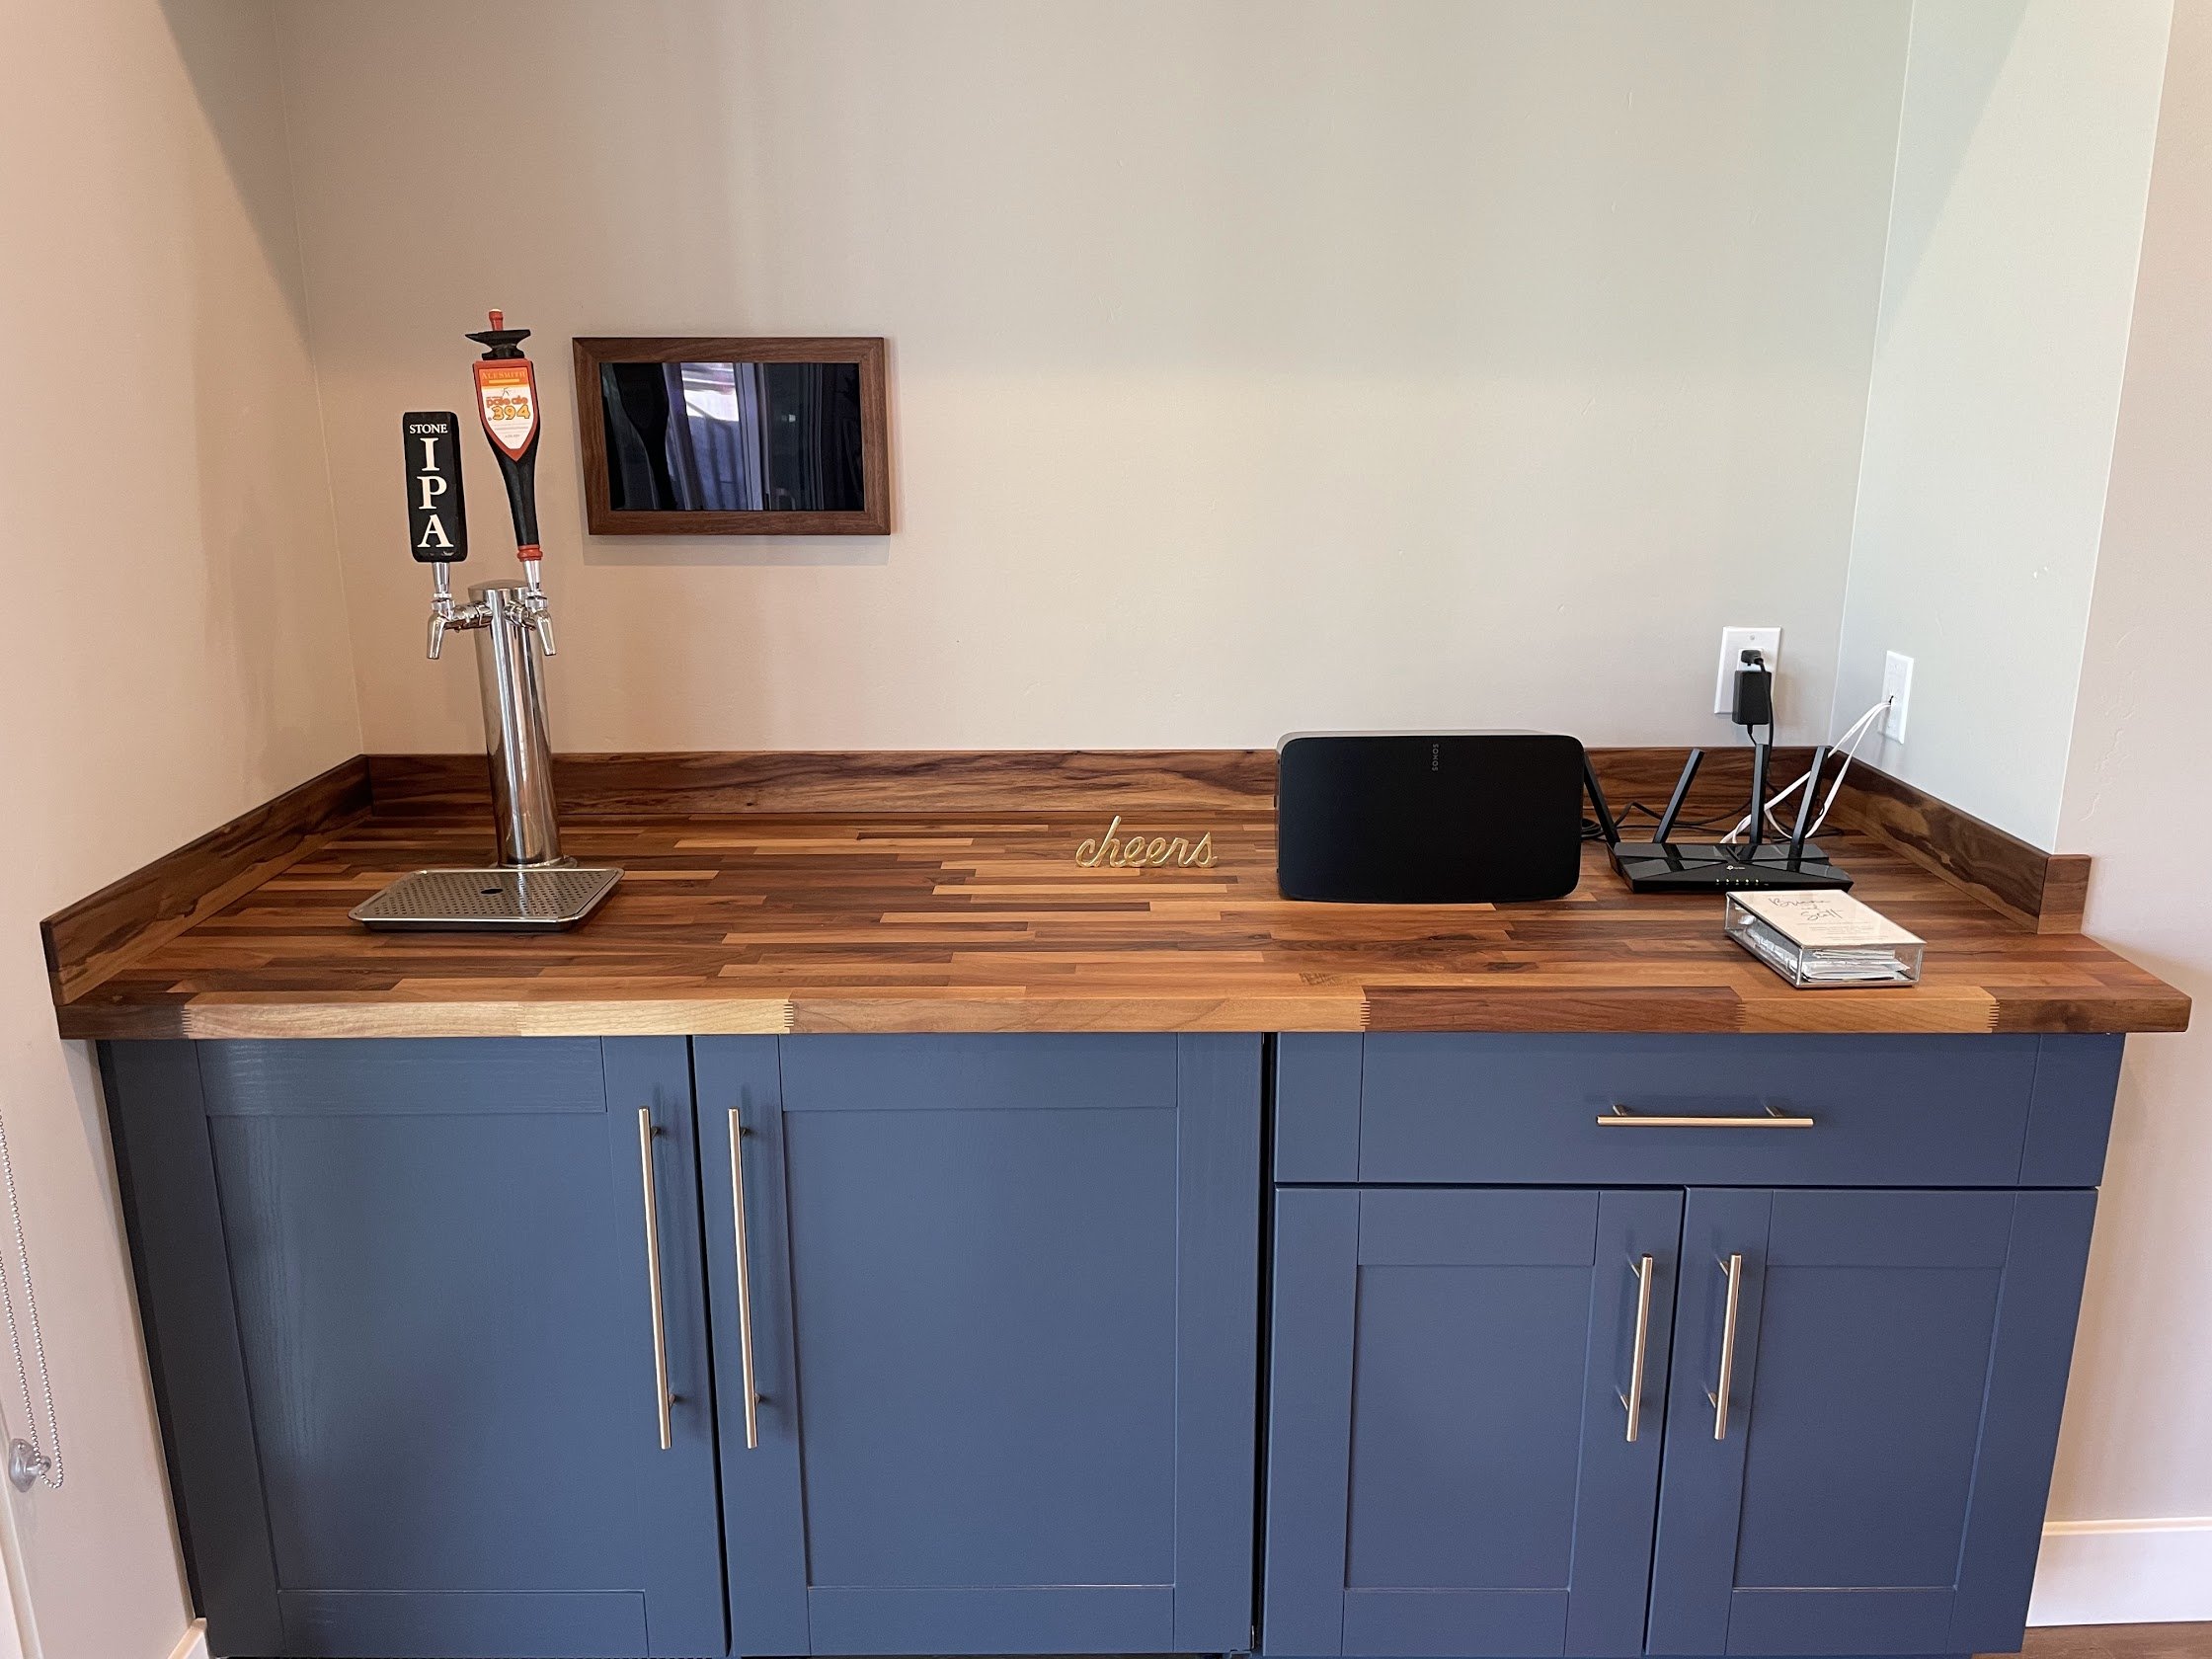
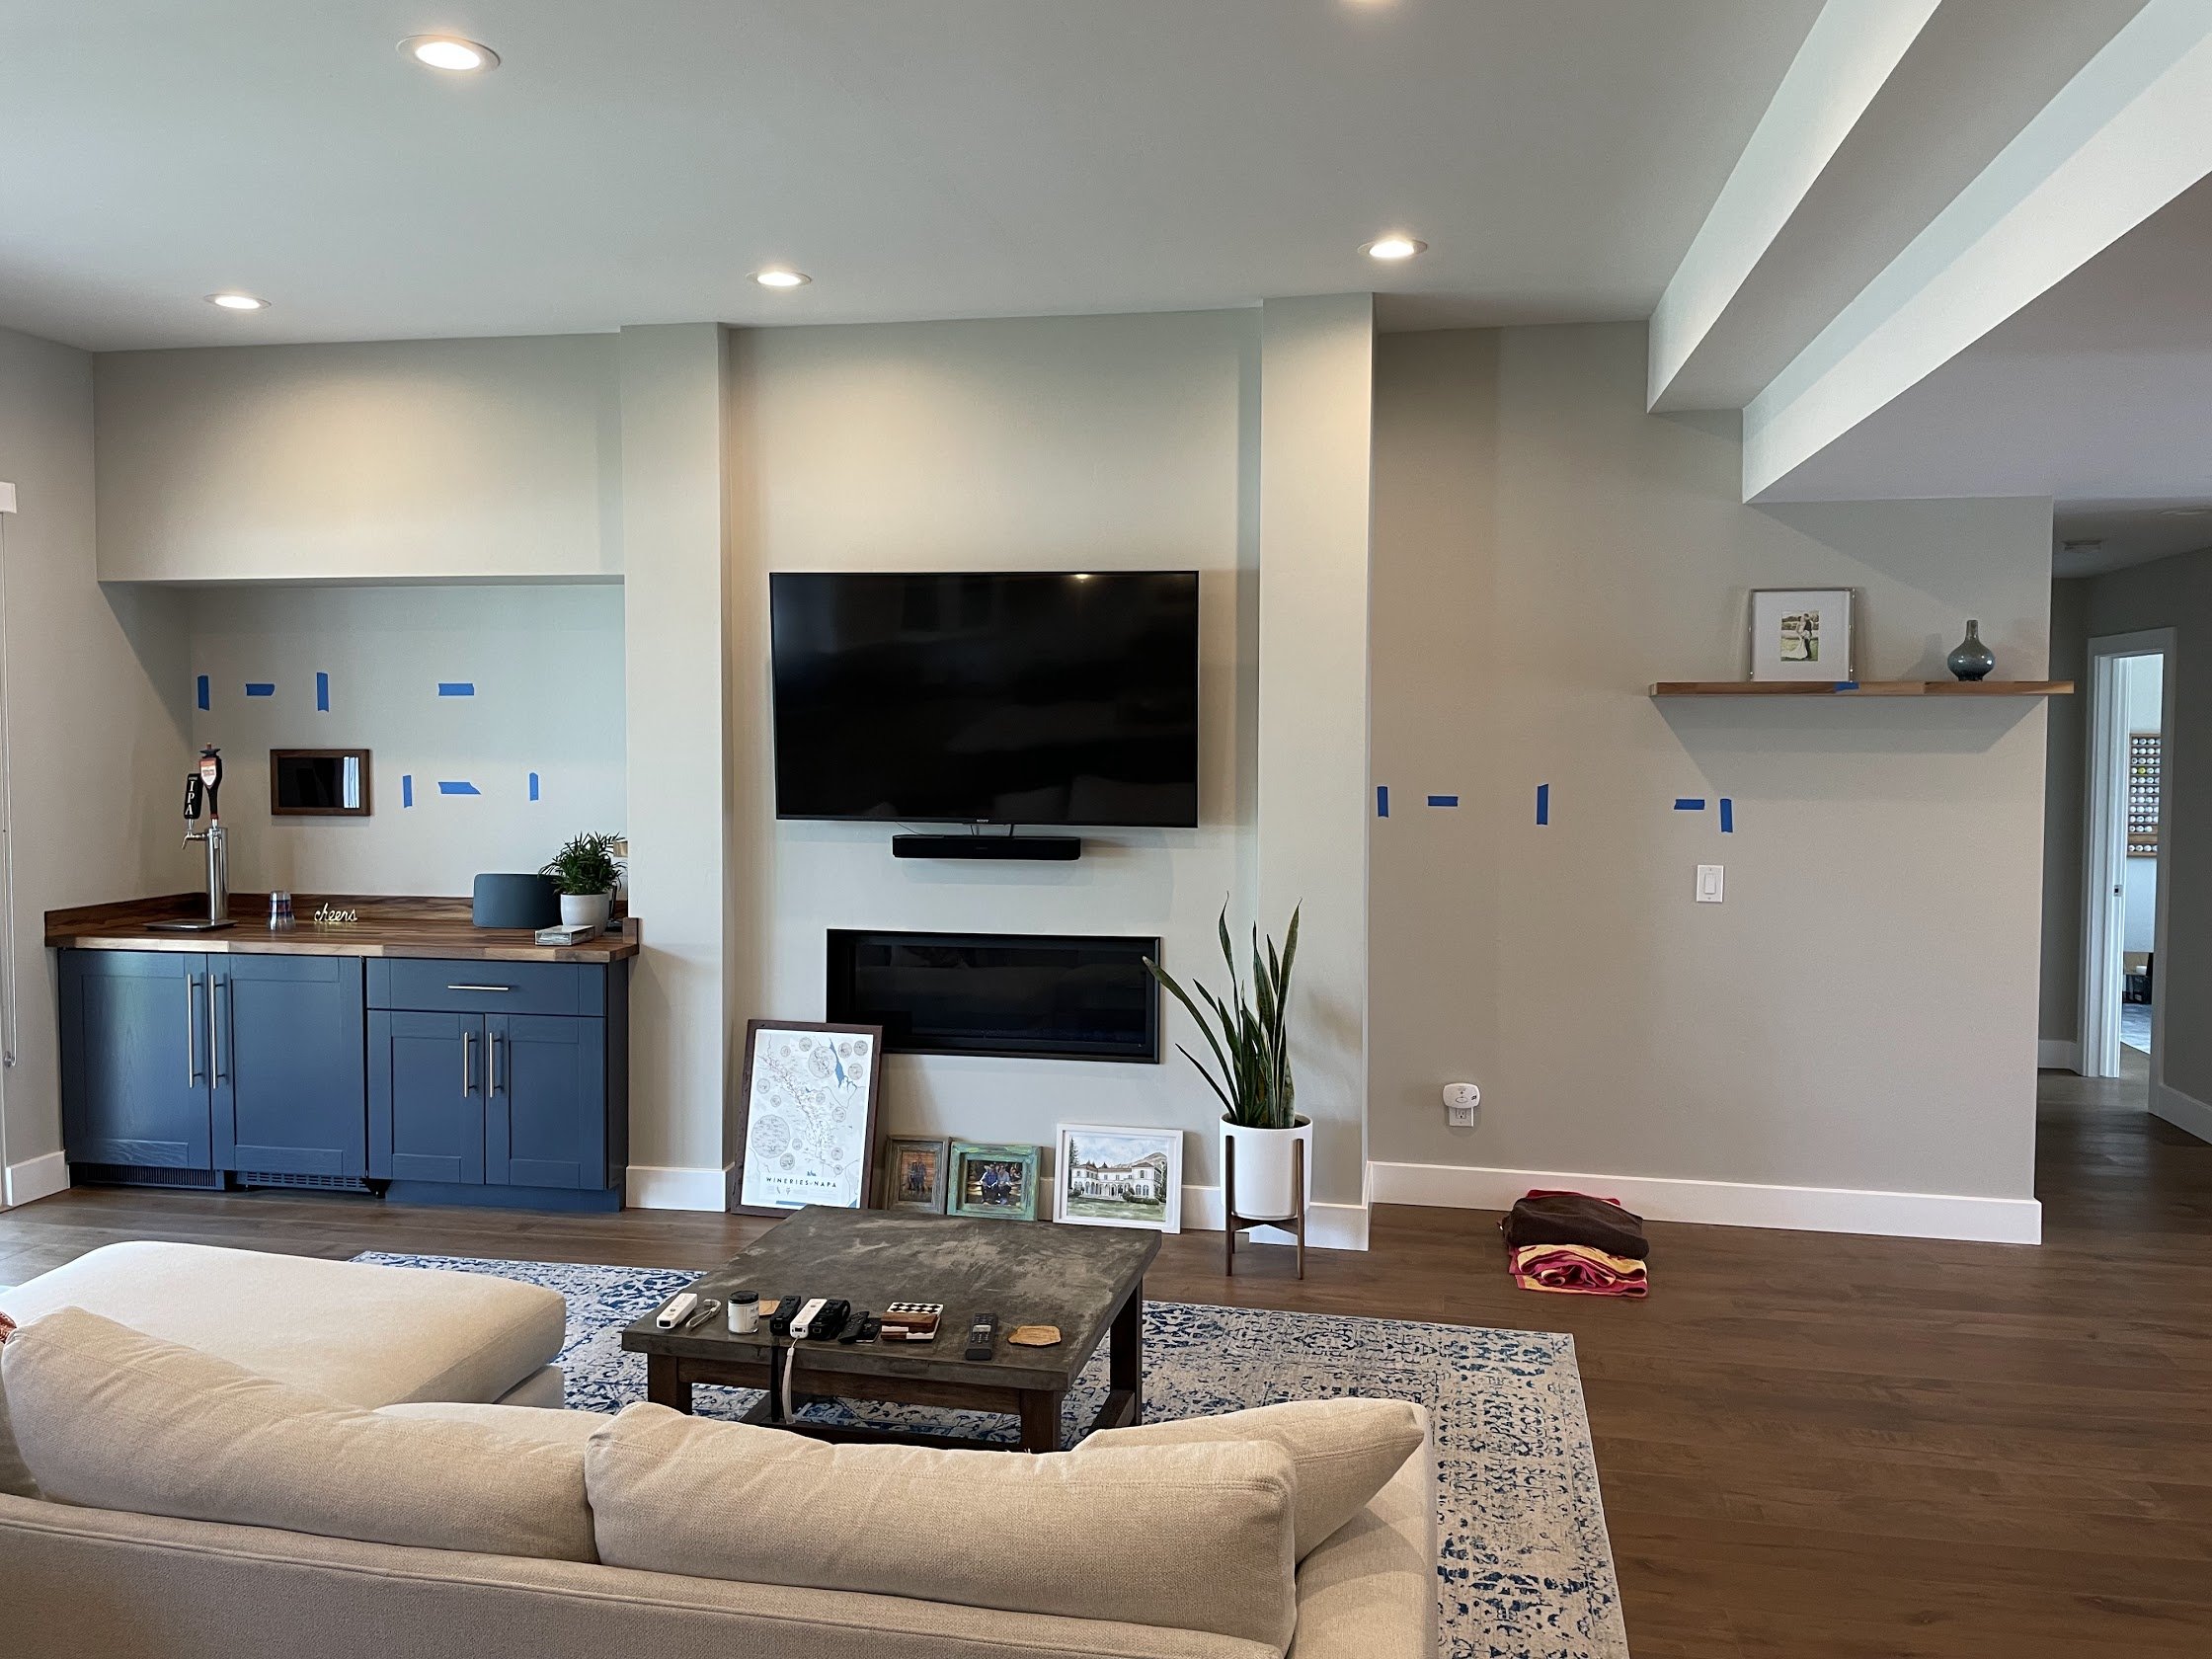
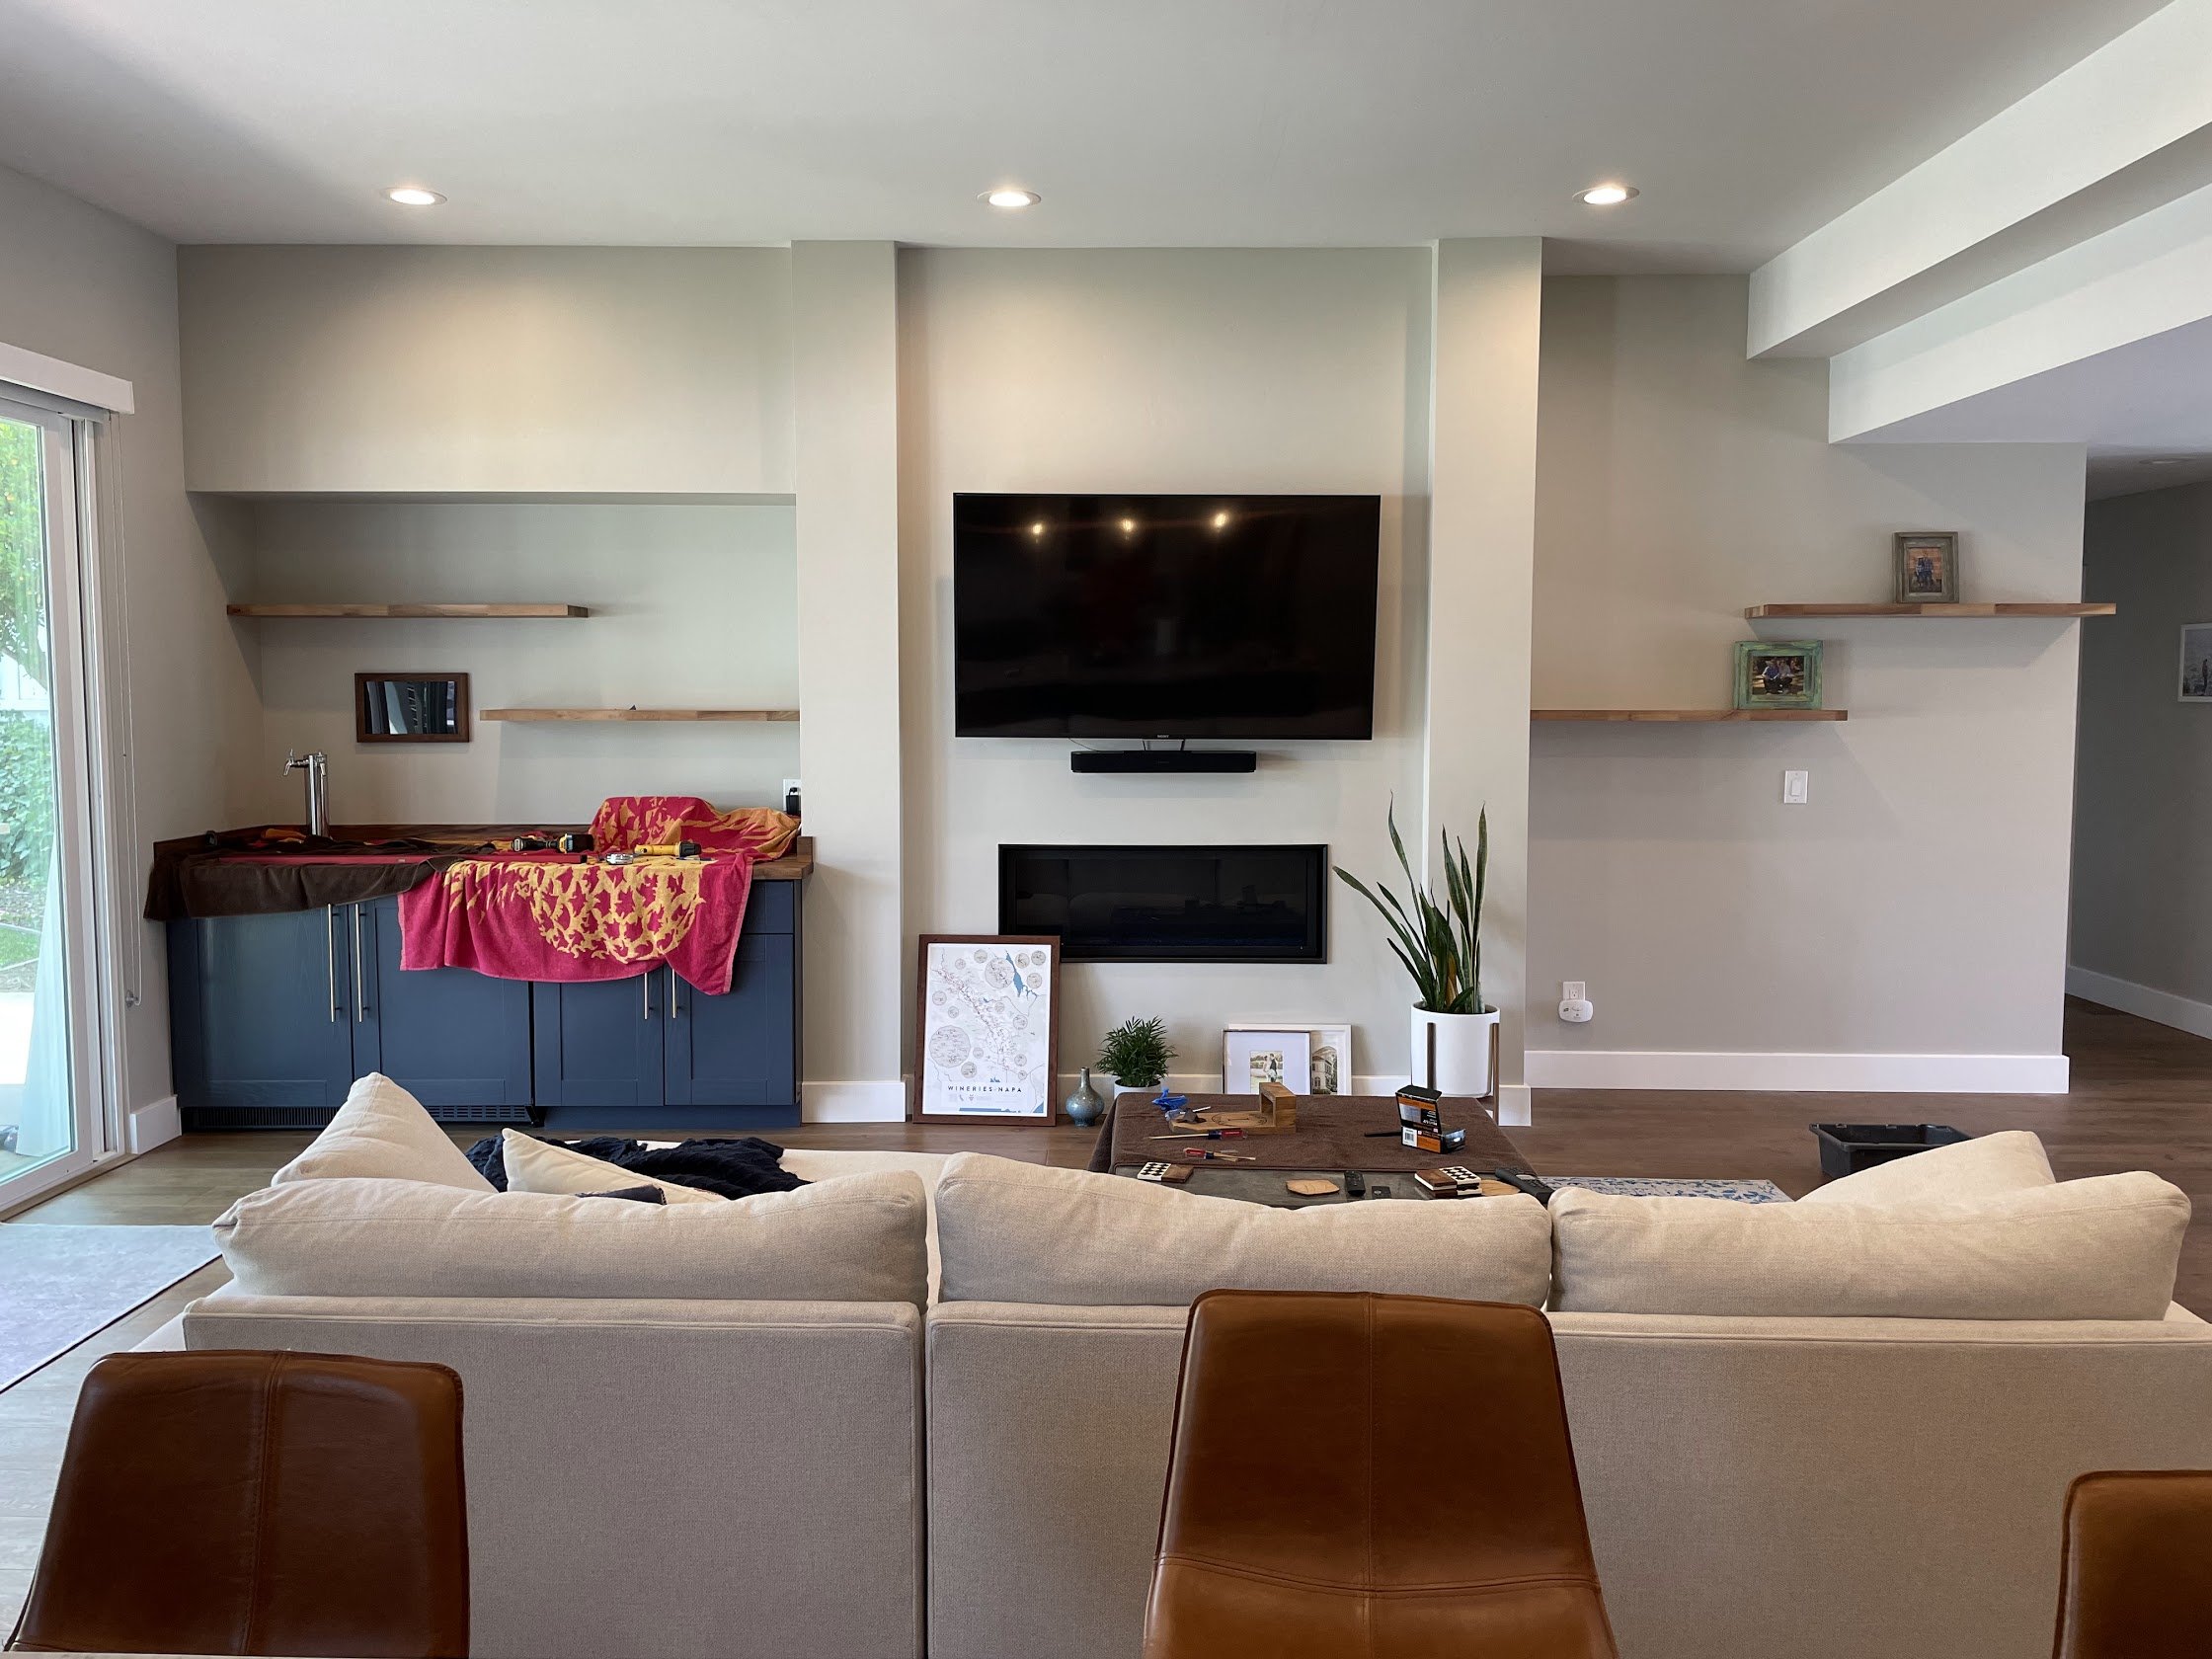
Walnut Built-In Bar
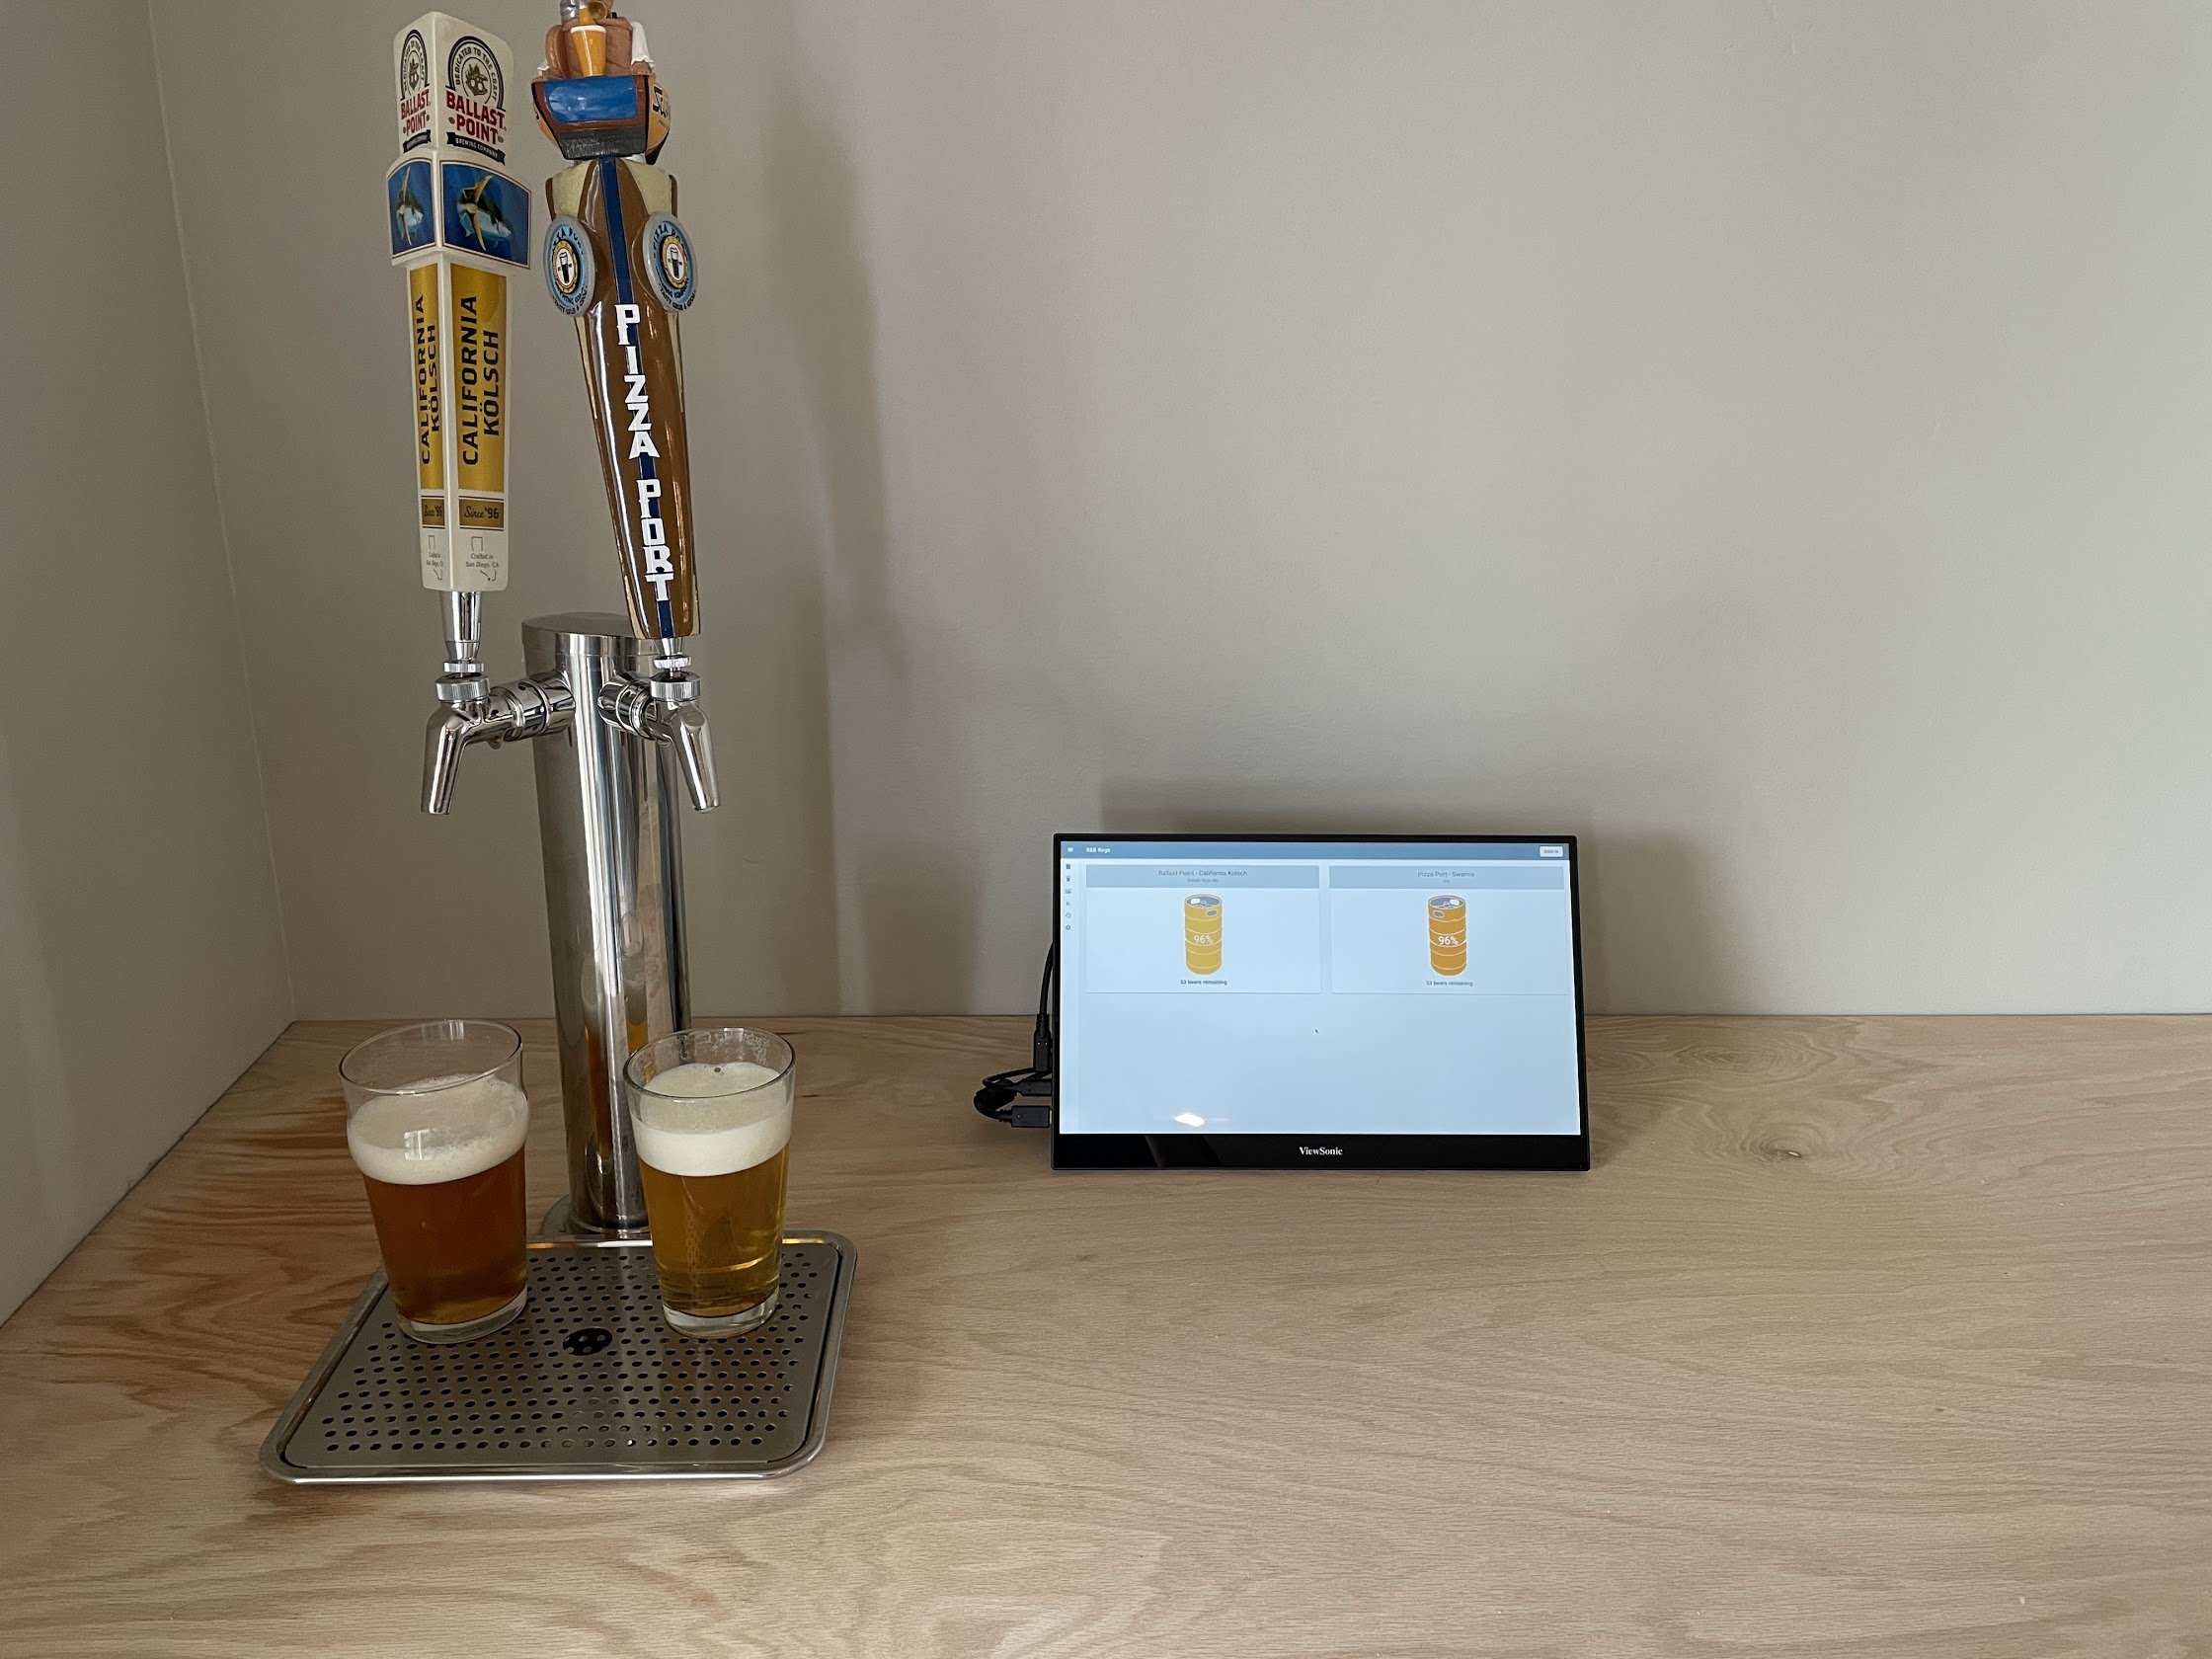
When we moved into our house there was an empty alcove in the living room to the left of the TV and fireplace. I thought it would be perfect for a custom bar. After some initial skepticism from Briana about the lack of classiness of “fridges in our living room,” my dad and I built a custom bar to fit the space. The left side of the bar has a kegerator and beverage fridge with custom panel fronts we built to match the cabinets. The right side is a custom cabinet built to match the style of our kitchen and bathroom cabinets. The bar top is walnut butcher block finished with Rubio Monocoat in “pure.” We used some leftover butcher block to build the offsetting floating shelves. The framed screen in the background is connected to the “Smart Kegerator” app that Briana and I built a few years back.

The Process
The area that would become the bar started as an empty alcove between the protruding fireplace and exterior wall. My thought was that it would be hard to do much of anything useful there, which was supported by the stagers’ choice to put a small console table and single plant. Briana was skeptical about extending the feel of the kitchen into the living room and was picturing something more like the old, black plastic, freestanding kegerator we had used in our last two places. To help convince her, I took to my favorite design tool—Google Slides / PowerPoint—and put together my design.

How the area was staged when we bought the house

The initial design
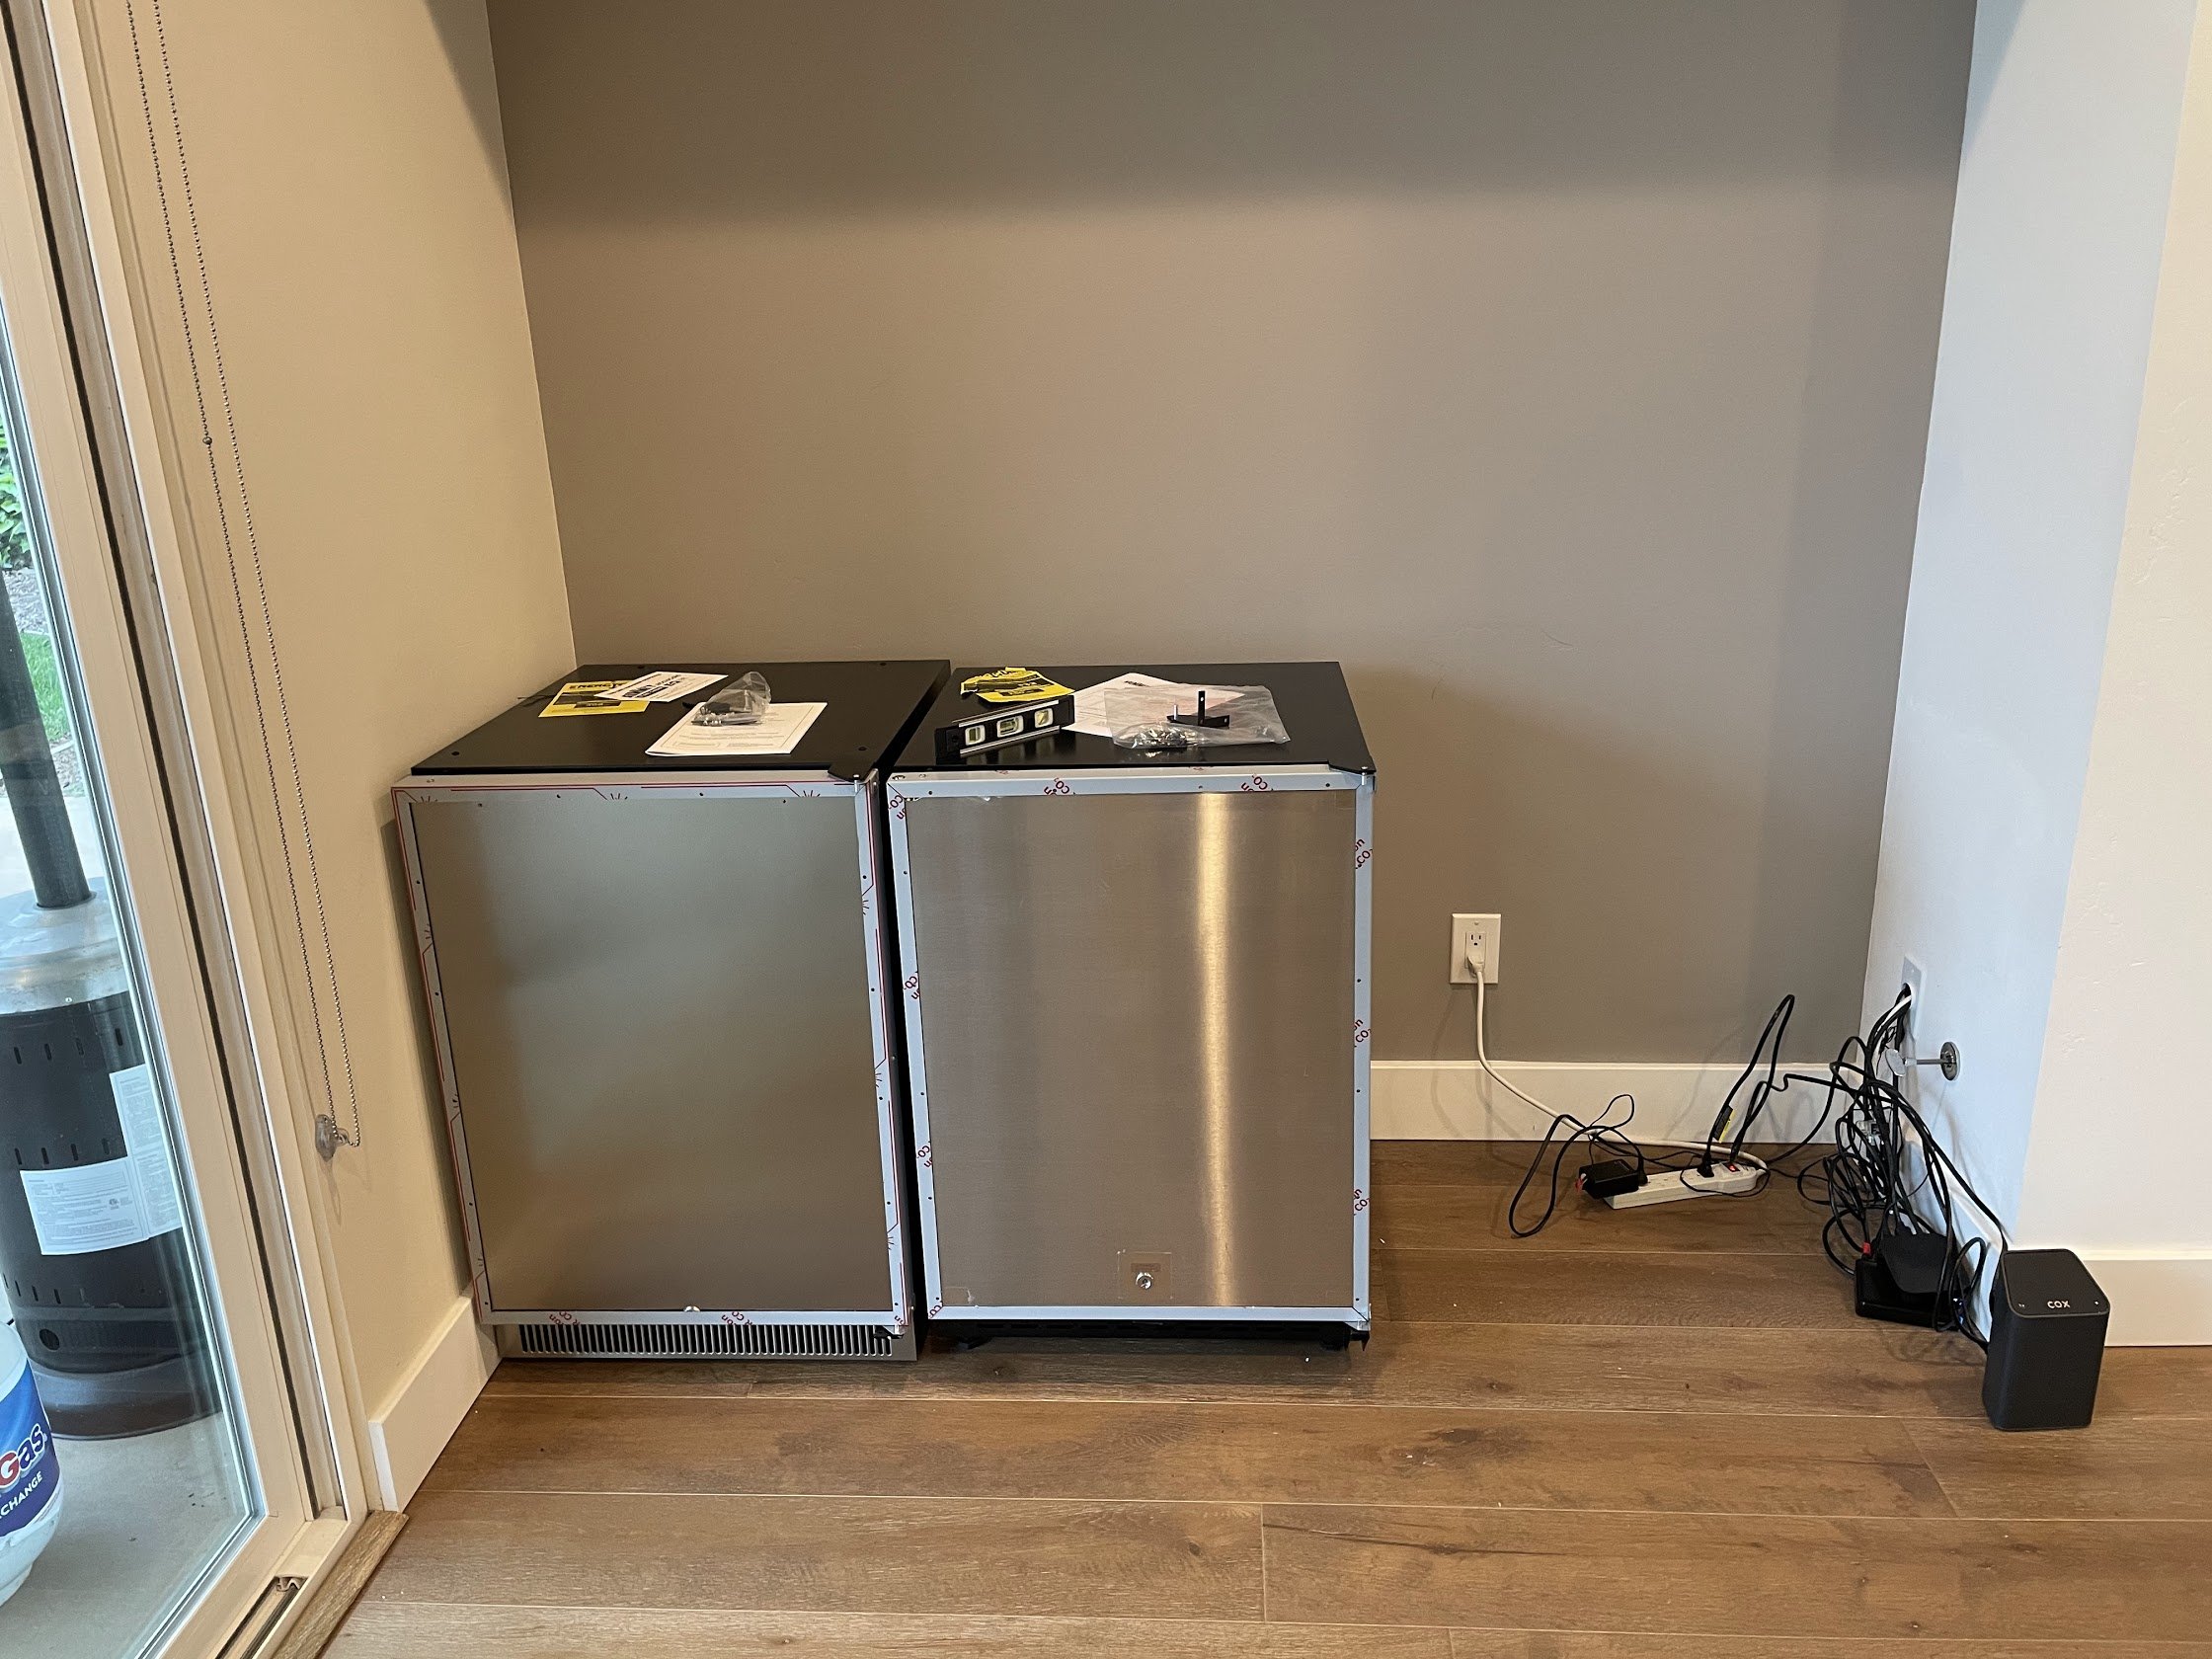
The key part of the design was first finding a kegerator that would work and then sizing the whole thing around that. I wanted a built-in (under-counter) unit with support for a custom panel (meaning we make our own door), room for two sixth-barrel slim kegs, and a double tap faucet. It turns out that pretty much narrowed it down to one from Summit. Fortunately Summit also carries a beverage fridge that is roughly (but for some reason, not exactly) the same width (though considerably less deep). With these ordered, we knew the depth of the whole bar (determined by the kegerator), and roughly how big the cabinet would need to be.
Side note: when I got the kegerator and plugged it in, I found that it did not get cold. This seemed like a key feature to me. The manufacturer sent out a super nice local guy who felt around for a few minutes and said “yep, this isn’t cold.” I had to get a replacement unit ordered (which was not too challenging) and then had to pack the first one to be picked up (which sucked), but all was good. About 6 months later the new unit started continuously beeping. The same guy came out: “yep, it’s beeping.” He cut off the buzzer, handed it to me, and left.

With the materials ready to go, we started by removing the trim molding along the base of the wall. We then built the sides of the cabinet out of oak plywood with a solid oak front. Since we were painting the whole thing, we definitely could have used a different (and cheaper) material, but we had a lot of experience using oak. The end result was that the grain of the wood showed through the paint. It’s debatable whether this is a feature or a bug.


We cut a big rectangle out of the right side wall for the wall outlet and fireplace gas key. Since this would be inside the cabinet, we didn’t need to be very precise. However when we went to test fit it, we realized we’d still have to unplug and replug everything every time we took it in and out. Doesn’t seem like a big deal except that what’s plugged in was the modem and router, and Briana was diligently working from home in the next room. So our rectangle was expanded with a big slit to the ground that let us slide the whole panel in and out without disturbing the precious internet.


We then cut, built, and glued the rest of the cabinet frame out of solid red oak. At this point we were glad we didn’t try to order any prebuilt cabinets, because nothing about this alcove was square. The cabinet itself is basically shaped as a trapezoid—with the front width longer than the back width—in order to fit perfectly in the space. We also added a strip of plywood along the entire back wall that the countertop would sit on, as well as some framing on the left side.

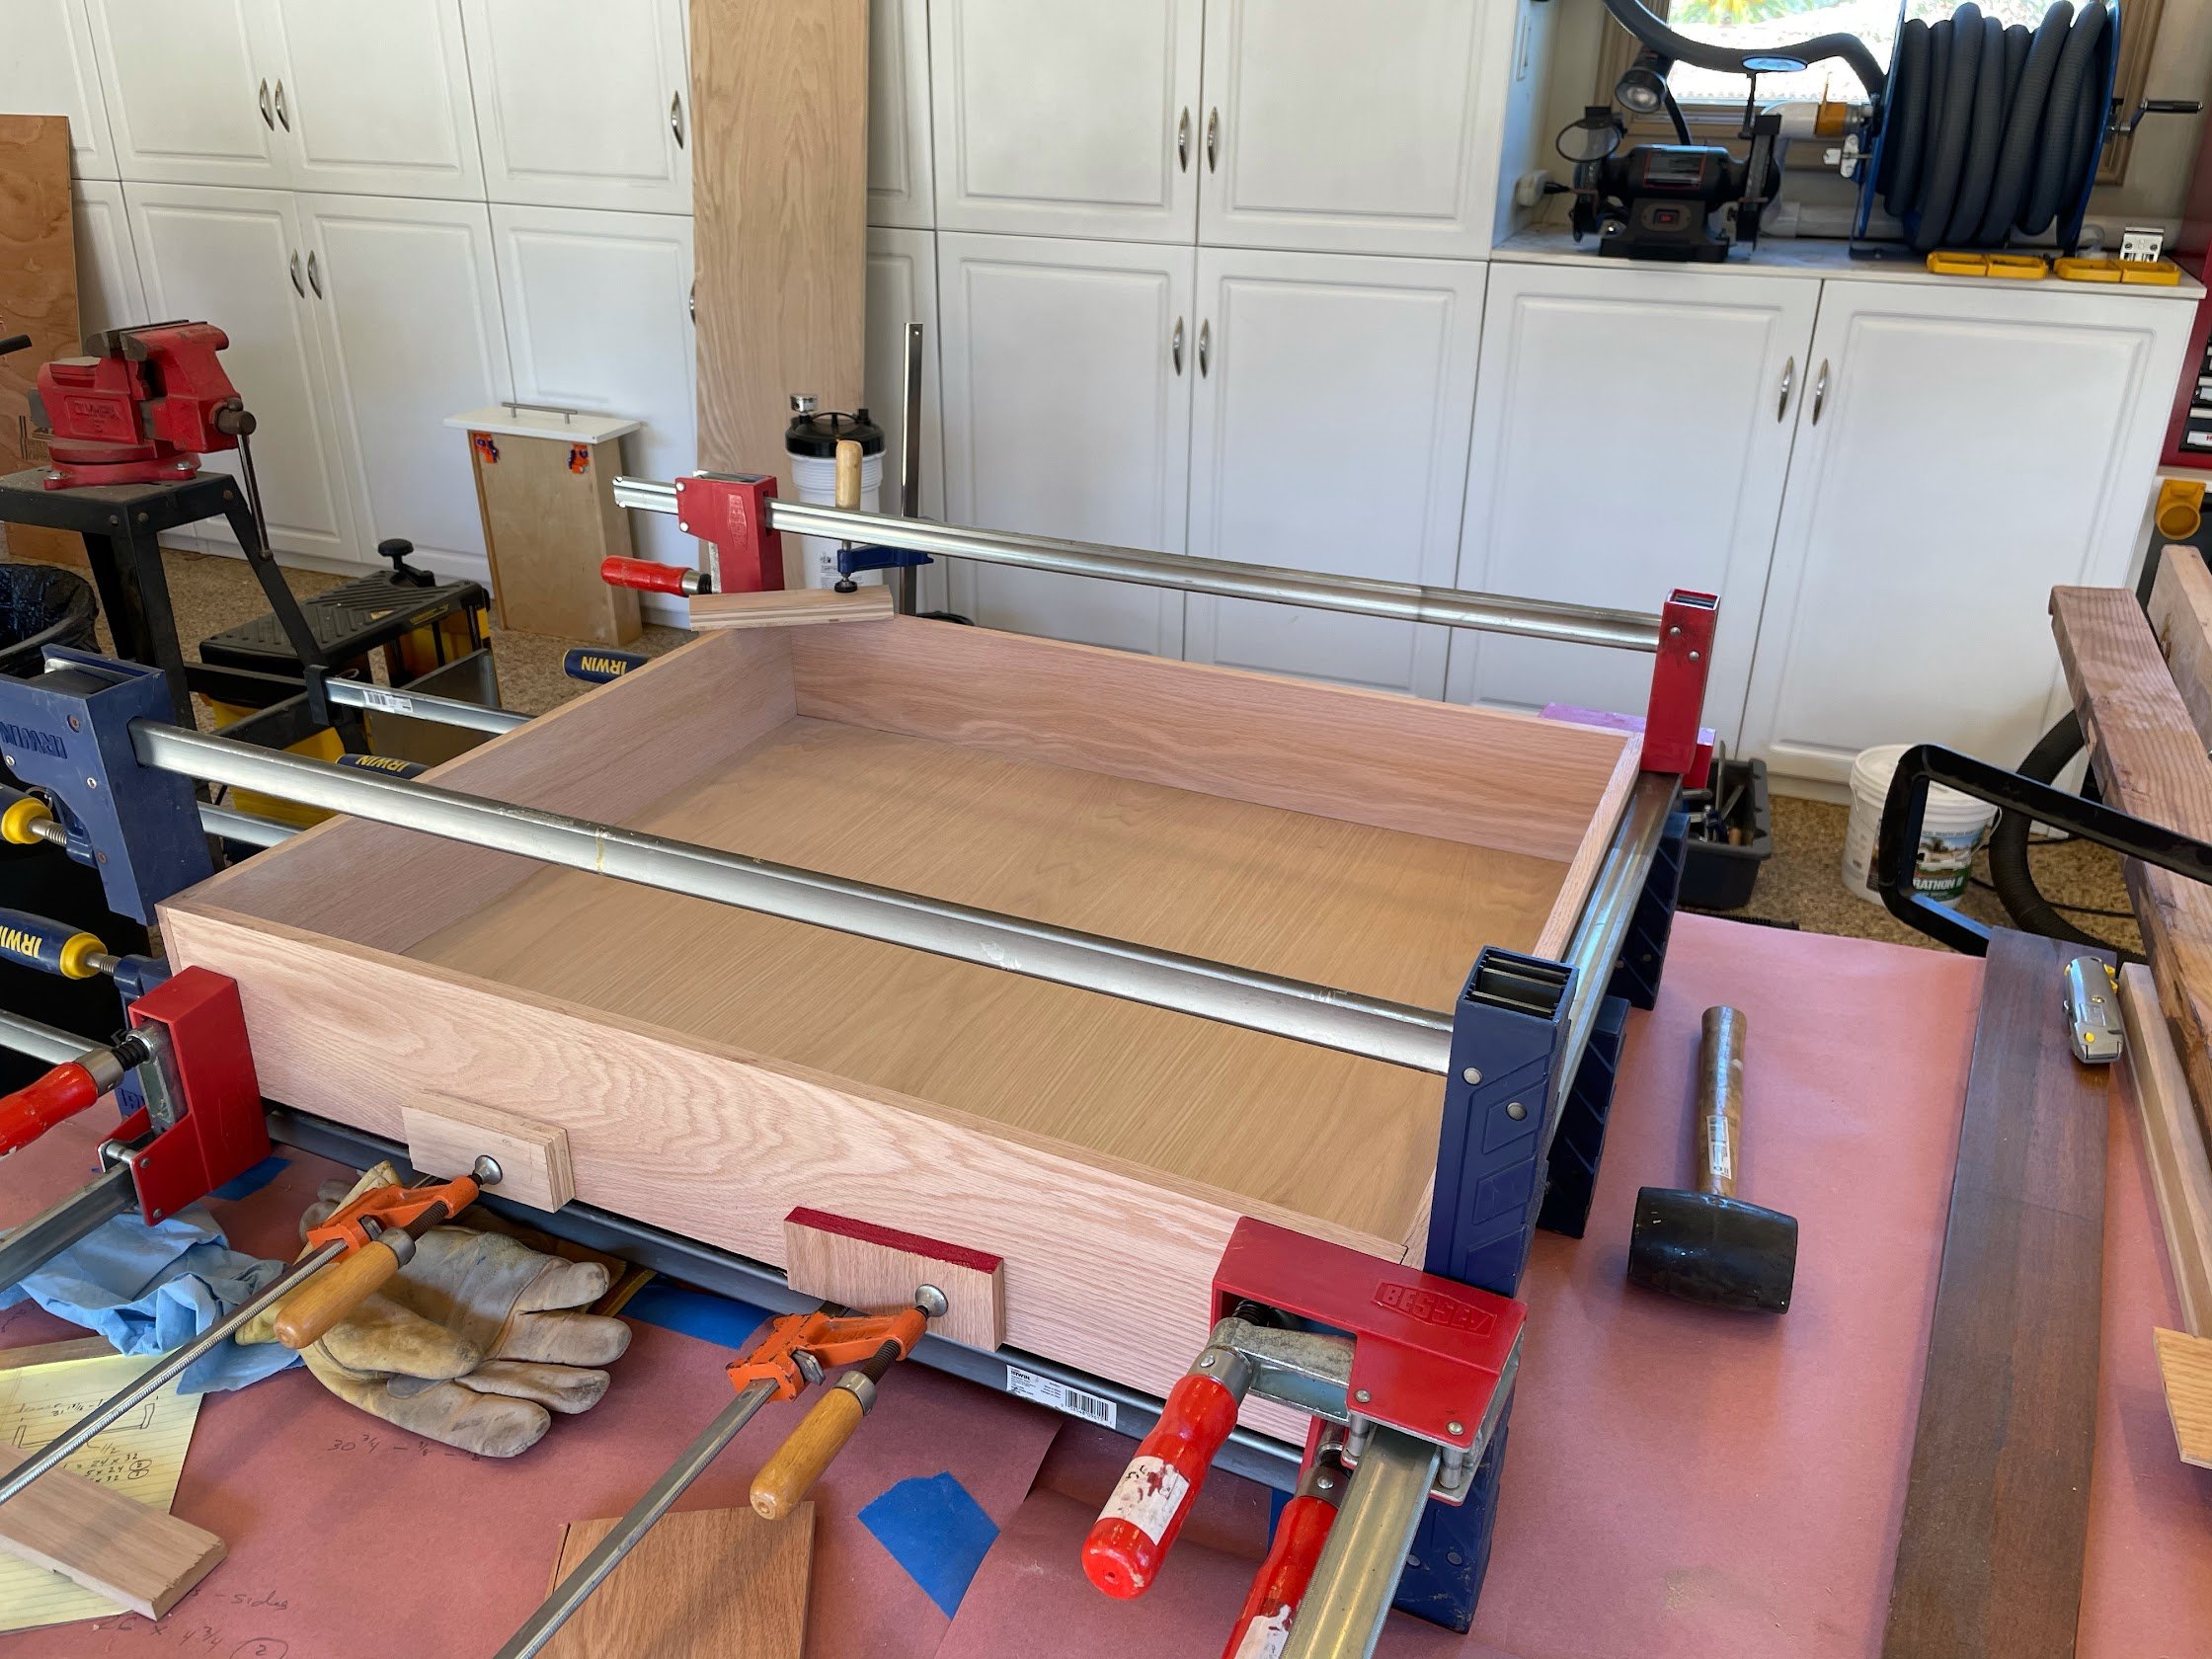
While I was working during the week, my dad made the cabinet doors and the drawer. The door style was built to match out kitchen cabinets which are basically a shaker design, but with an added 1/16 inch slit between the side and top panels.


With all the major pieces built, we hurried to prep everything for the painters who were coming to do the entire interior of our house in a couple of days. (When the guy originally came to do the estimate, I could tell he was skeptical when I told him this empty space would have a full bar for him to paint in a couple of weeks.) We put a chamfer edge on all the doors to match the kitchen design, and then assembled everything to make sure it fit. We were a little worried about the weight of the door panels for the fridges, but everything seemed to work ok.
The paint we used was Benjamin Moore “Hale Navy,” which we also painted our kitchen island cabinets to match. The painters did a phenomenal job and we are really happy that it was them and not us.
At this point, my coworkers at Udacity very generously sent me a keg as a going-away gift. While the full setup wasn’t quite ready for tapping, at least it had a home.


With the base of the bar complete, we turned our attention to the countertop. We were originally thinking we might do a live edge slab. We thought it would be a cool look if we could find something that worked. Our favorite lumber store, Th&H, has a lot of very cool slabs so we went and took a look. At the same time, we were considering butcher block as something that would be a little easier to work with. Ultimately we decided to go with the butcher block because we wanted the front edge of the bar to be a relatively straight line.


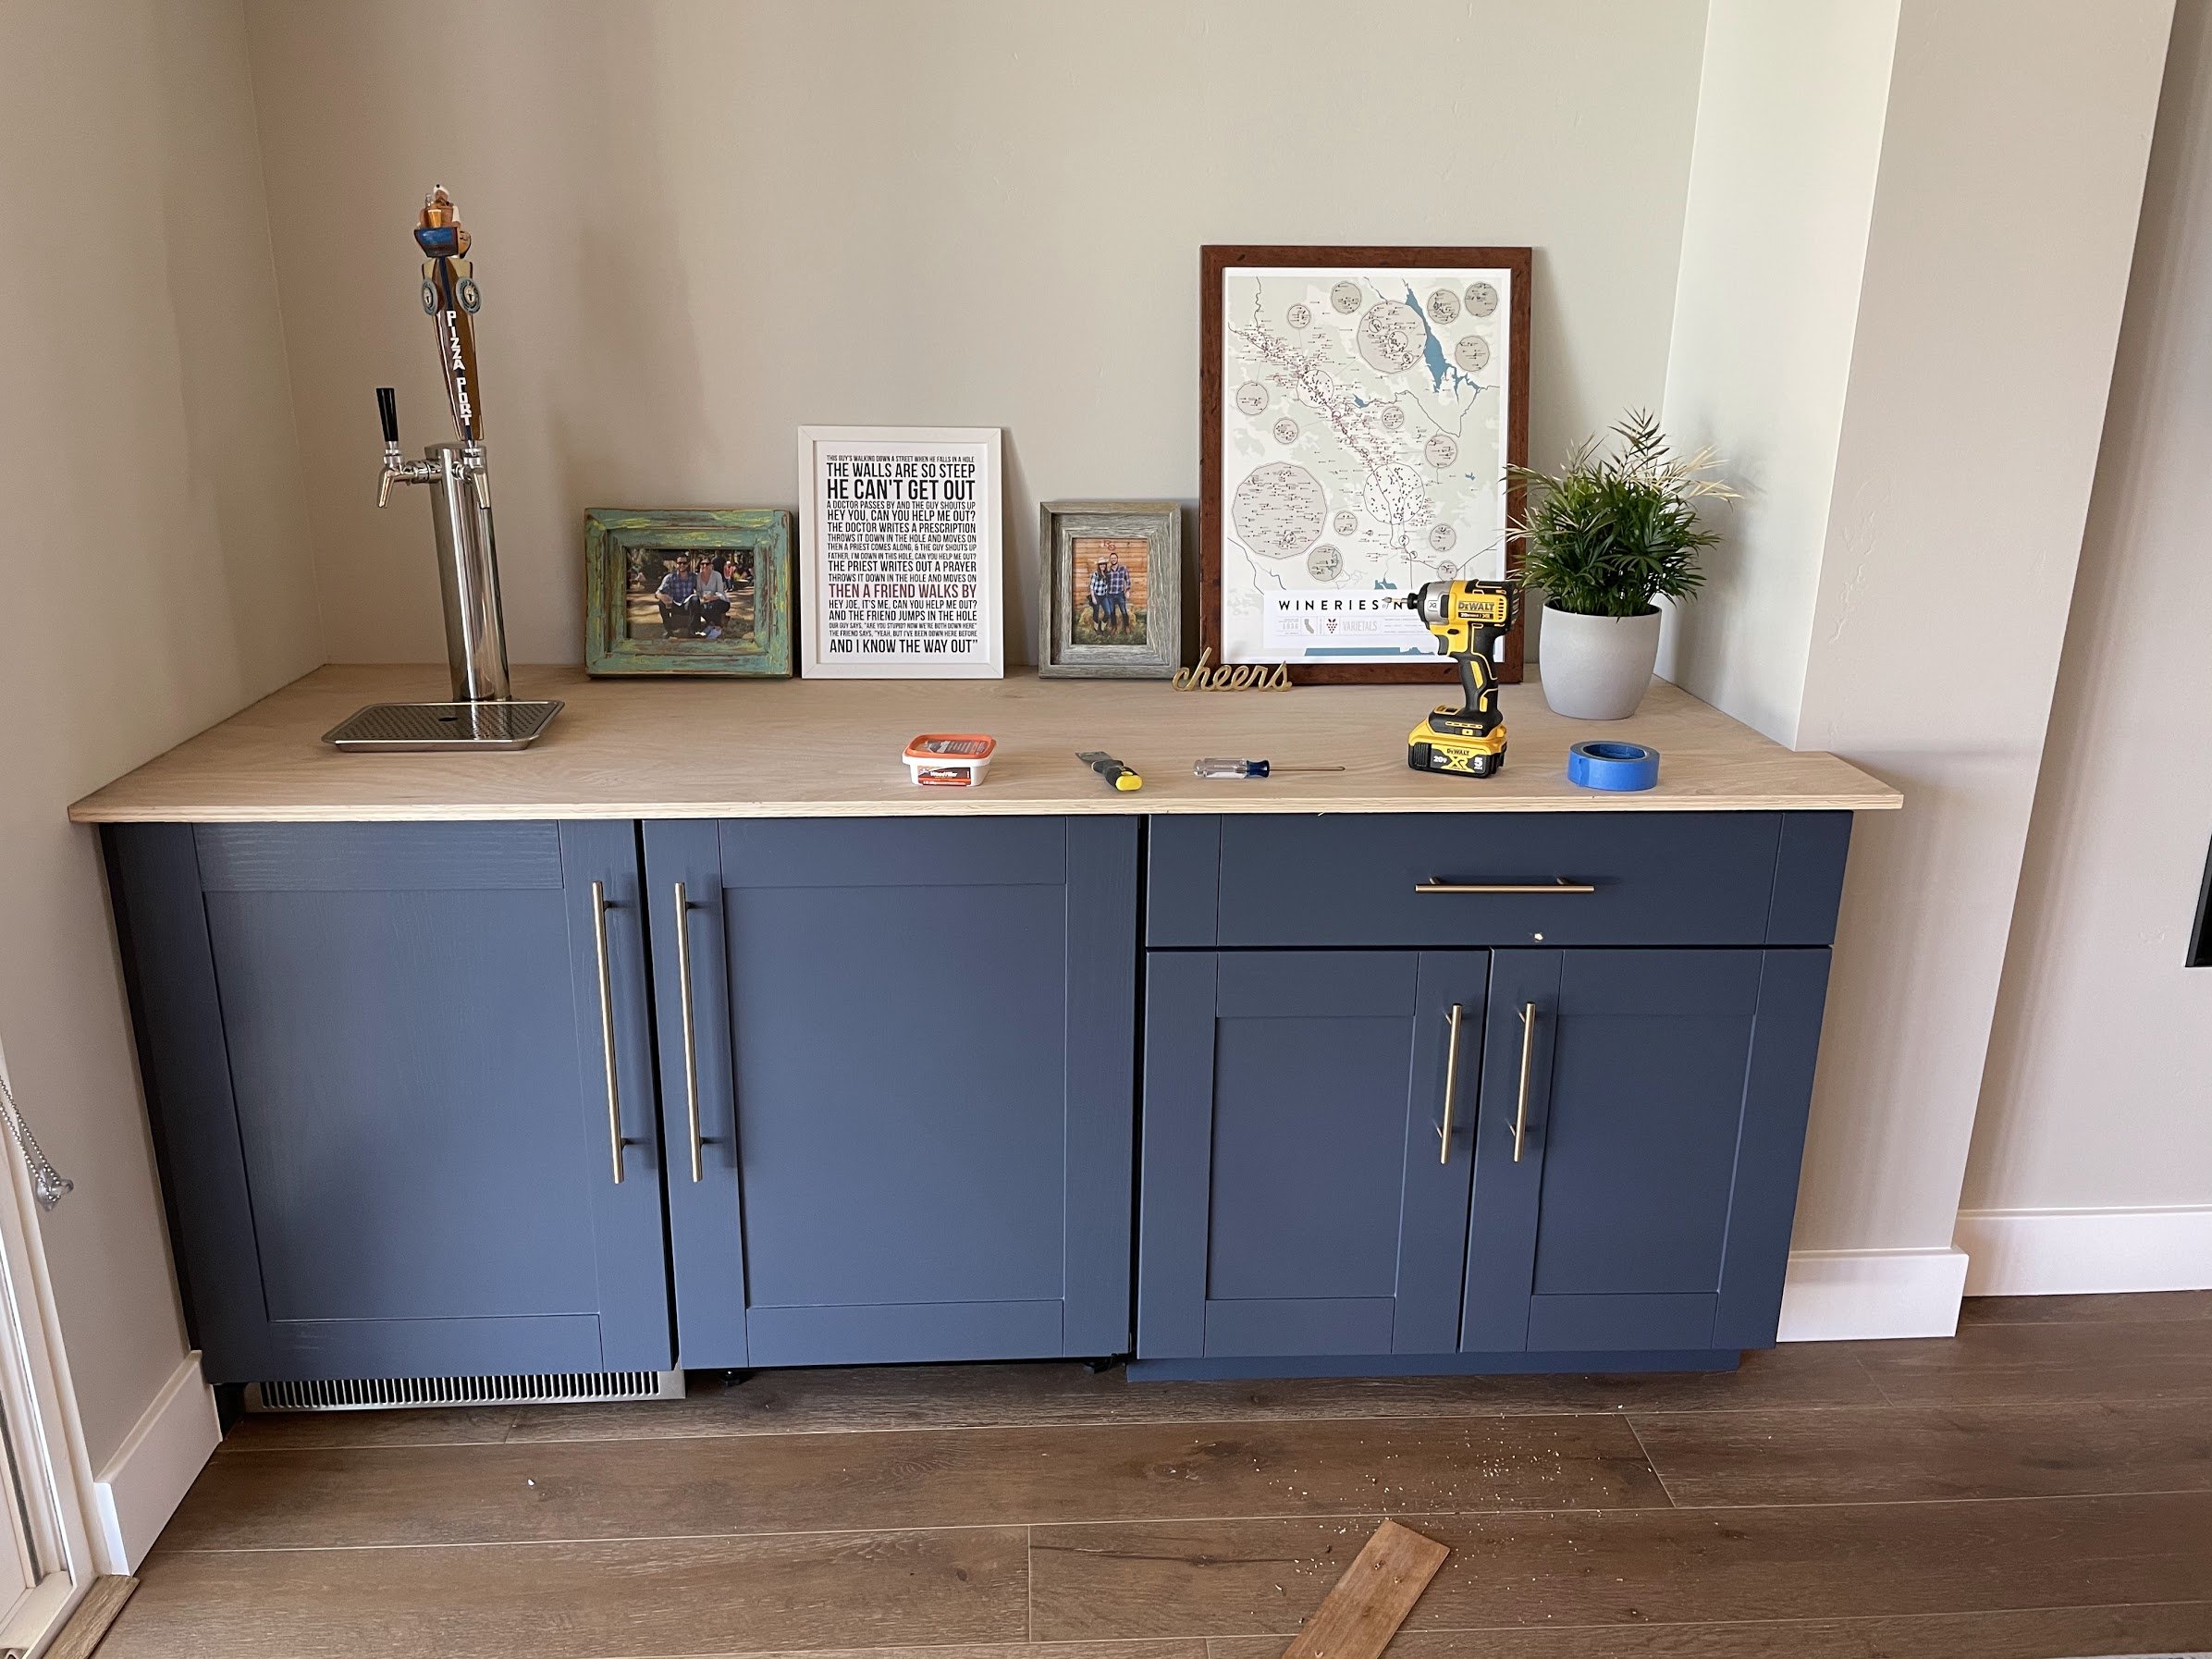
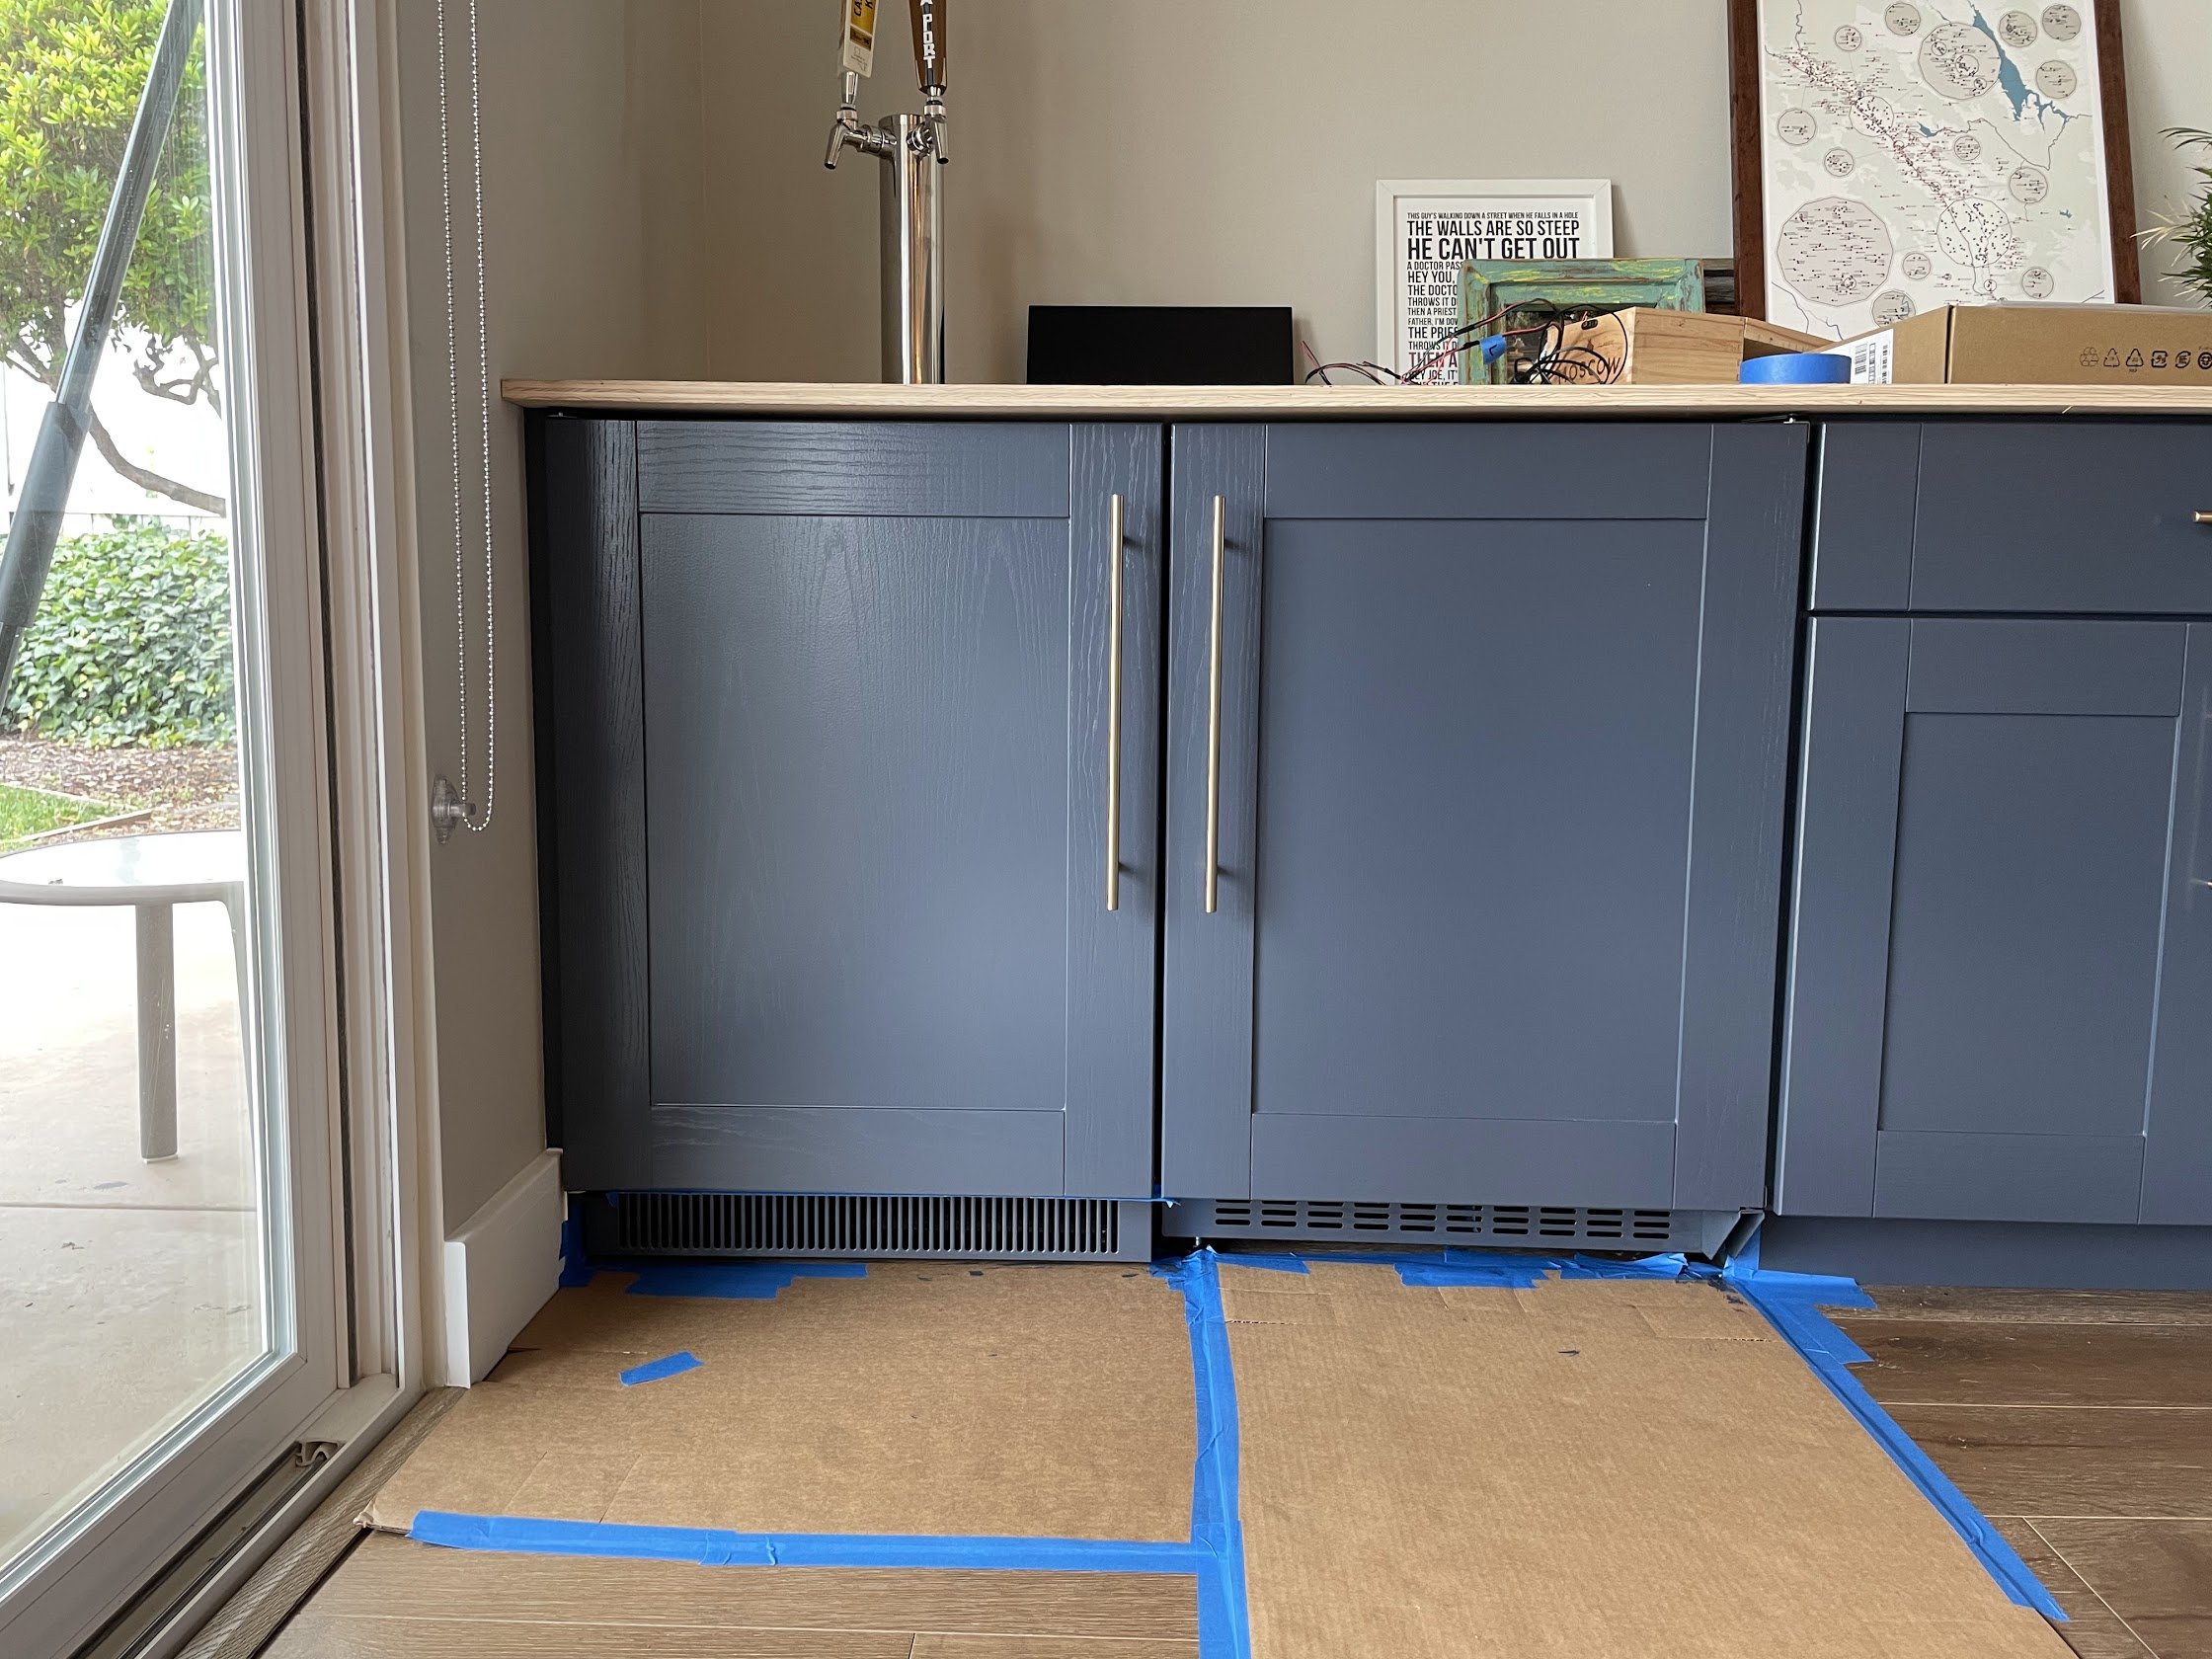
We decided on a walnut butcher block from Hardwood Reflections. Because our bar was pretty deep in order to accommodate the size of the kegerator, we had to order two of the standard-size pieces that we would join together to create a single surface. With these on order, I decided something needed to be done about the idle keg sitting in the fridge. We made a quick temporary top out of plywood (that would also later serve as a template for our real top), cut some holes, and got the beer flowing. At this point I also decided to paint the two fridge grates the same Hale Navy to match the rest of the cabinets. I wasn’t sure whether this would be necessary at first, but since one of the grates was stainless and the other was black (why, Summit?), we decided it was worth it.
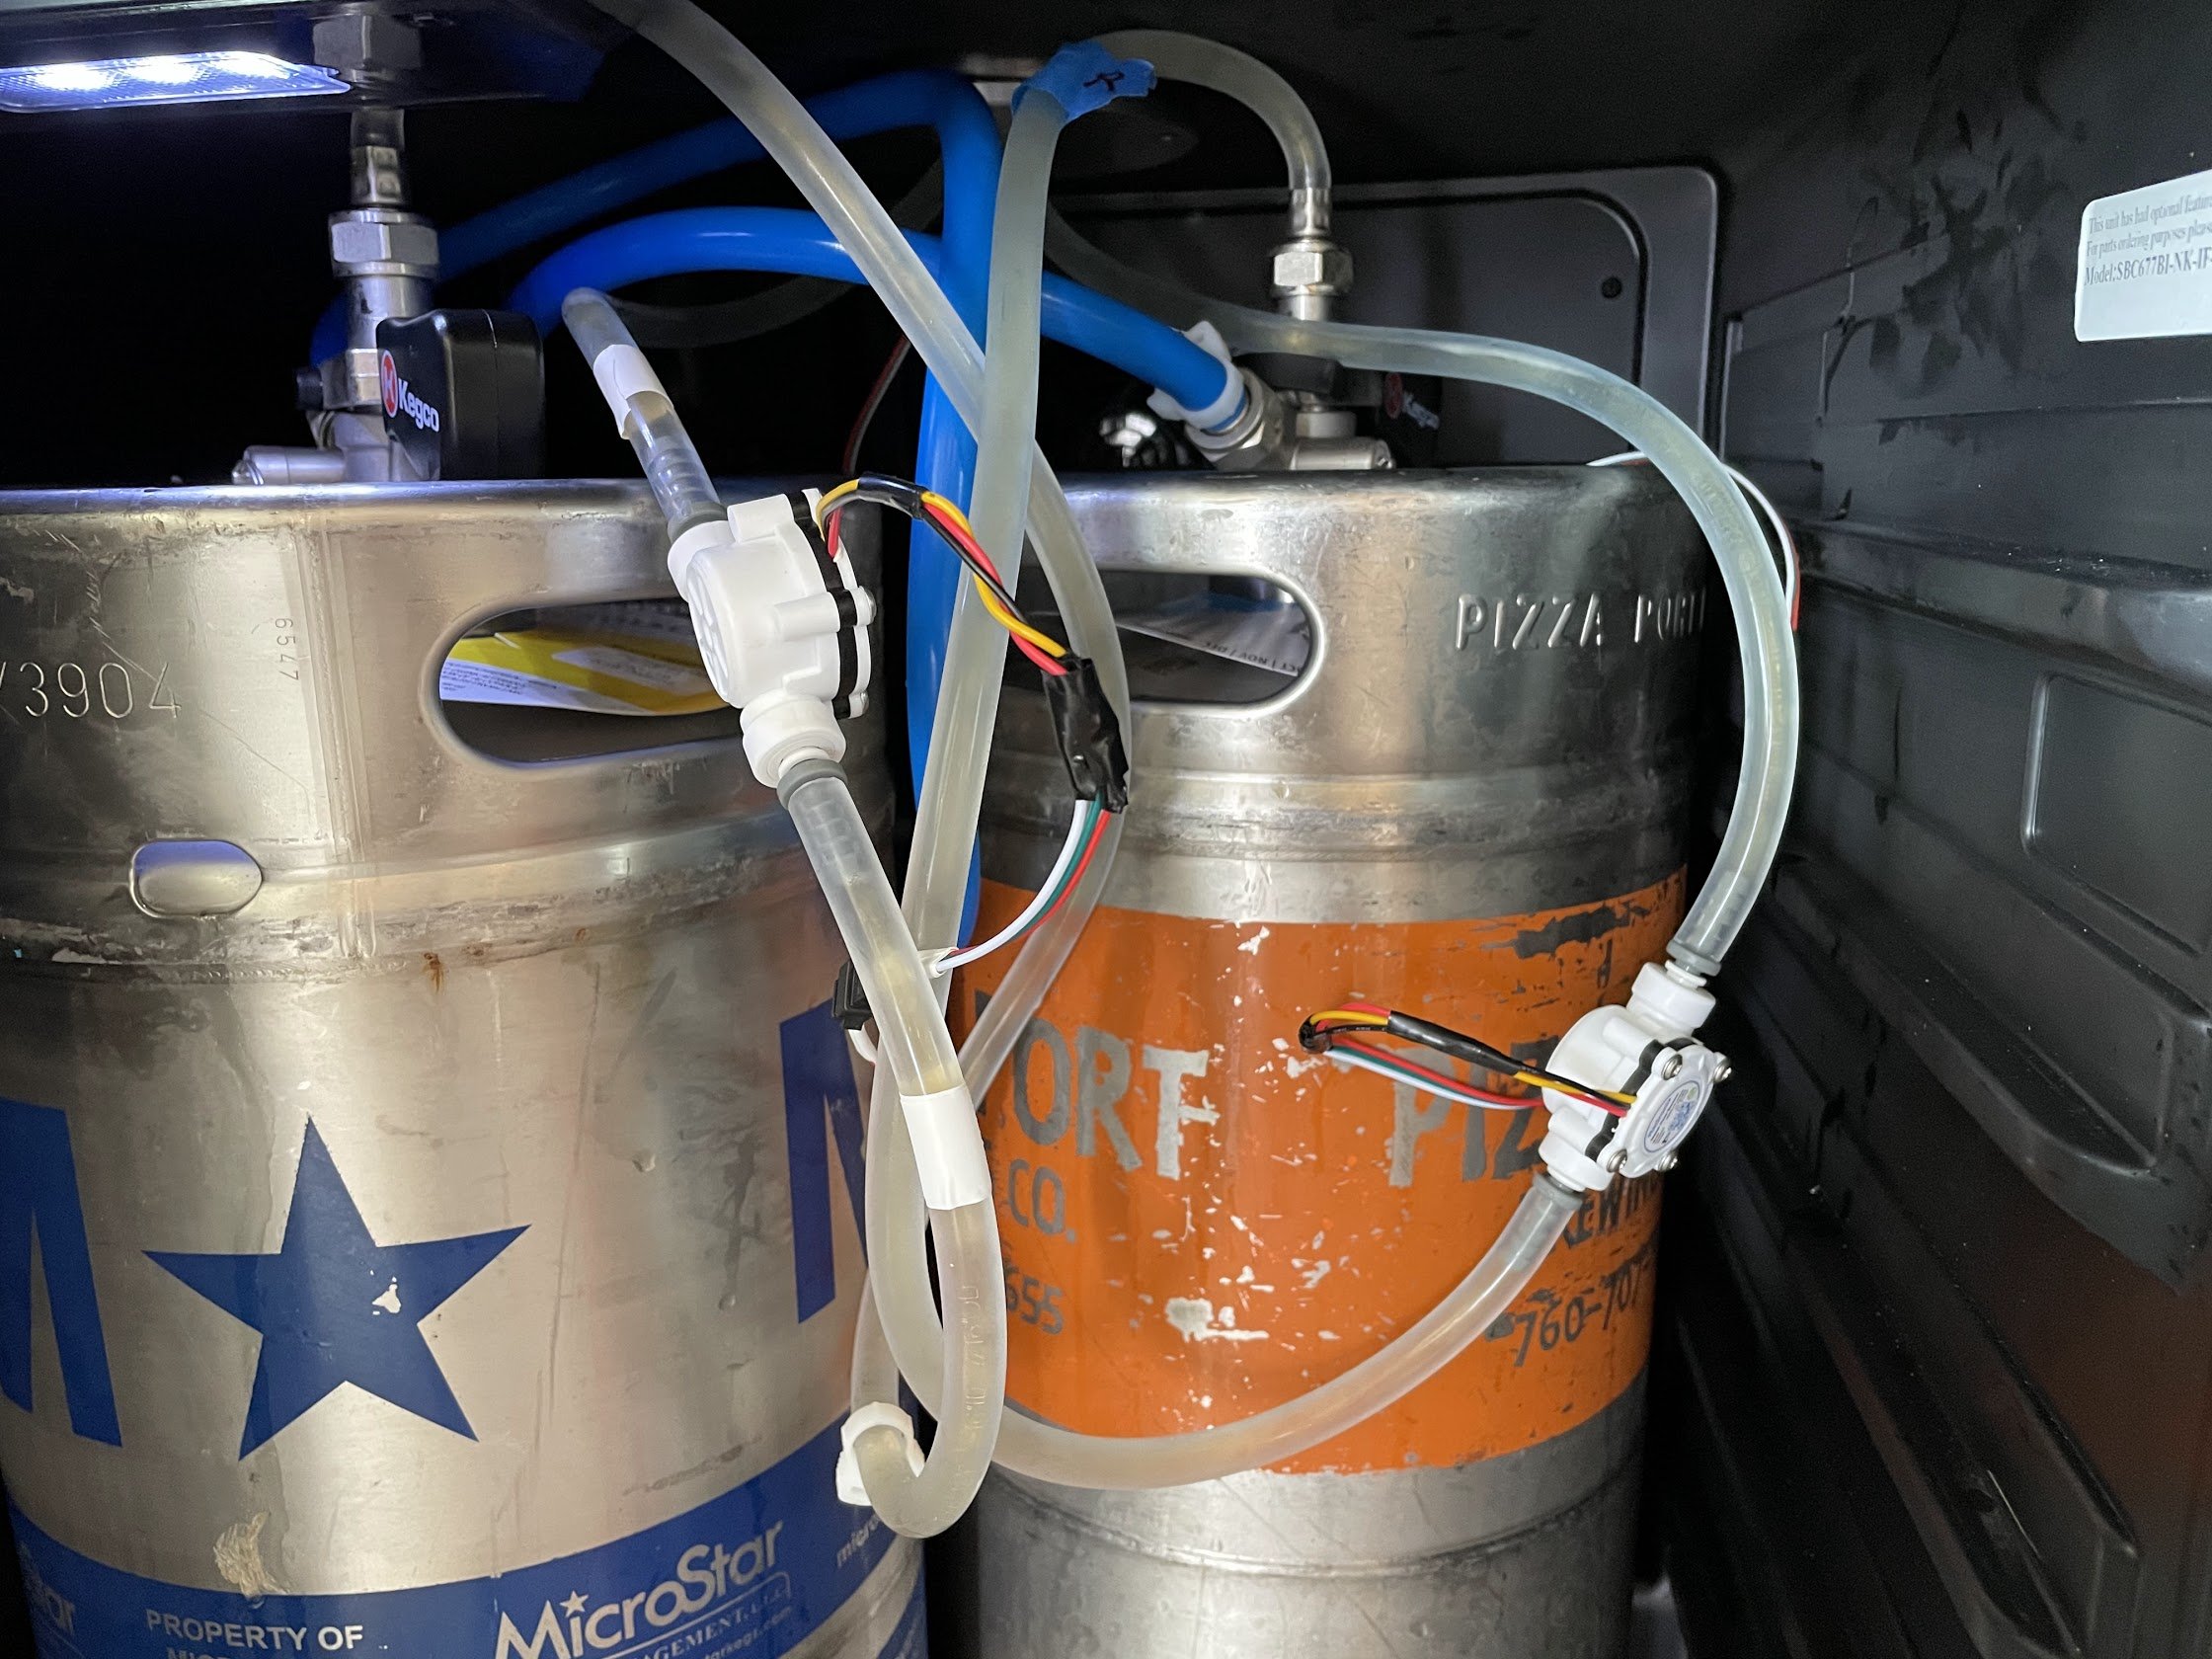
Still waiting on the butcher block, I decided it was a good time to re-install our Smart Kegerator hardware, which was originally set up in a free-standing kegerator in our previous place. I spliced the beer lines going into each of the taps and installed our flow sensors. Then I ran the sensor wires up through the interior tube of the tap and back down and under the counter top into the cabinet on the right where the Raspberry Pi running our tracking software would sit. This was also connected to a new touchscreen monitor that would display the tracking. Somewhat surprisingly, everything worked in the new setup.

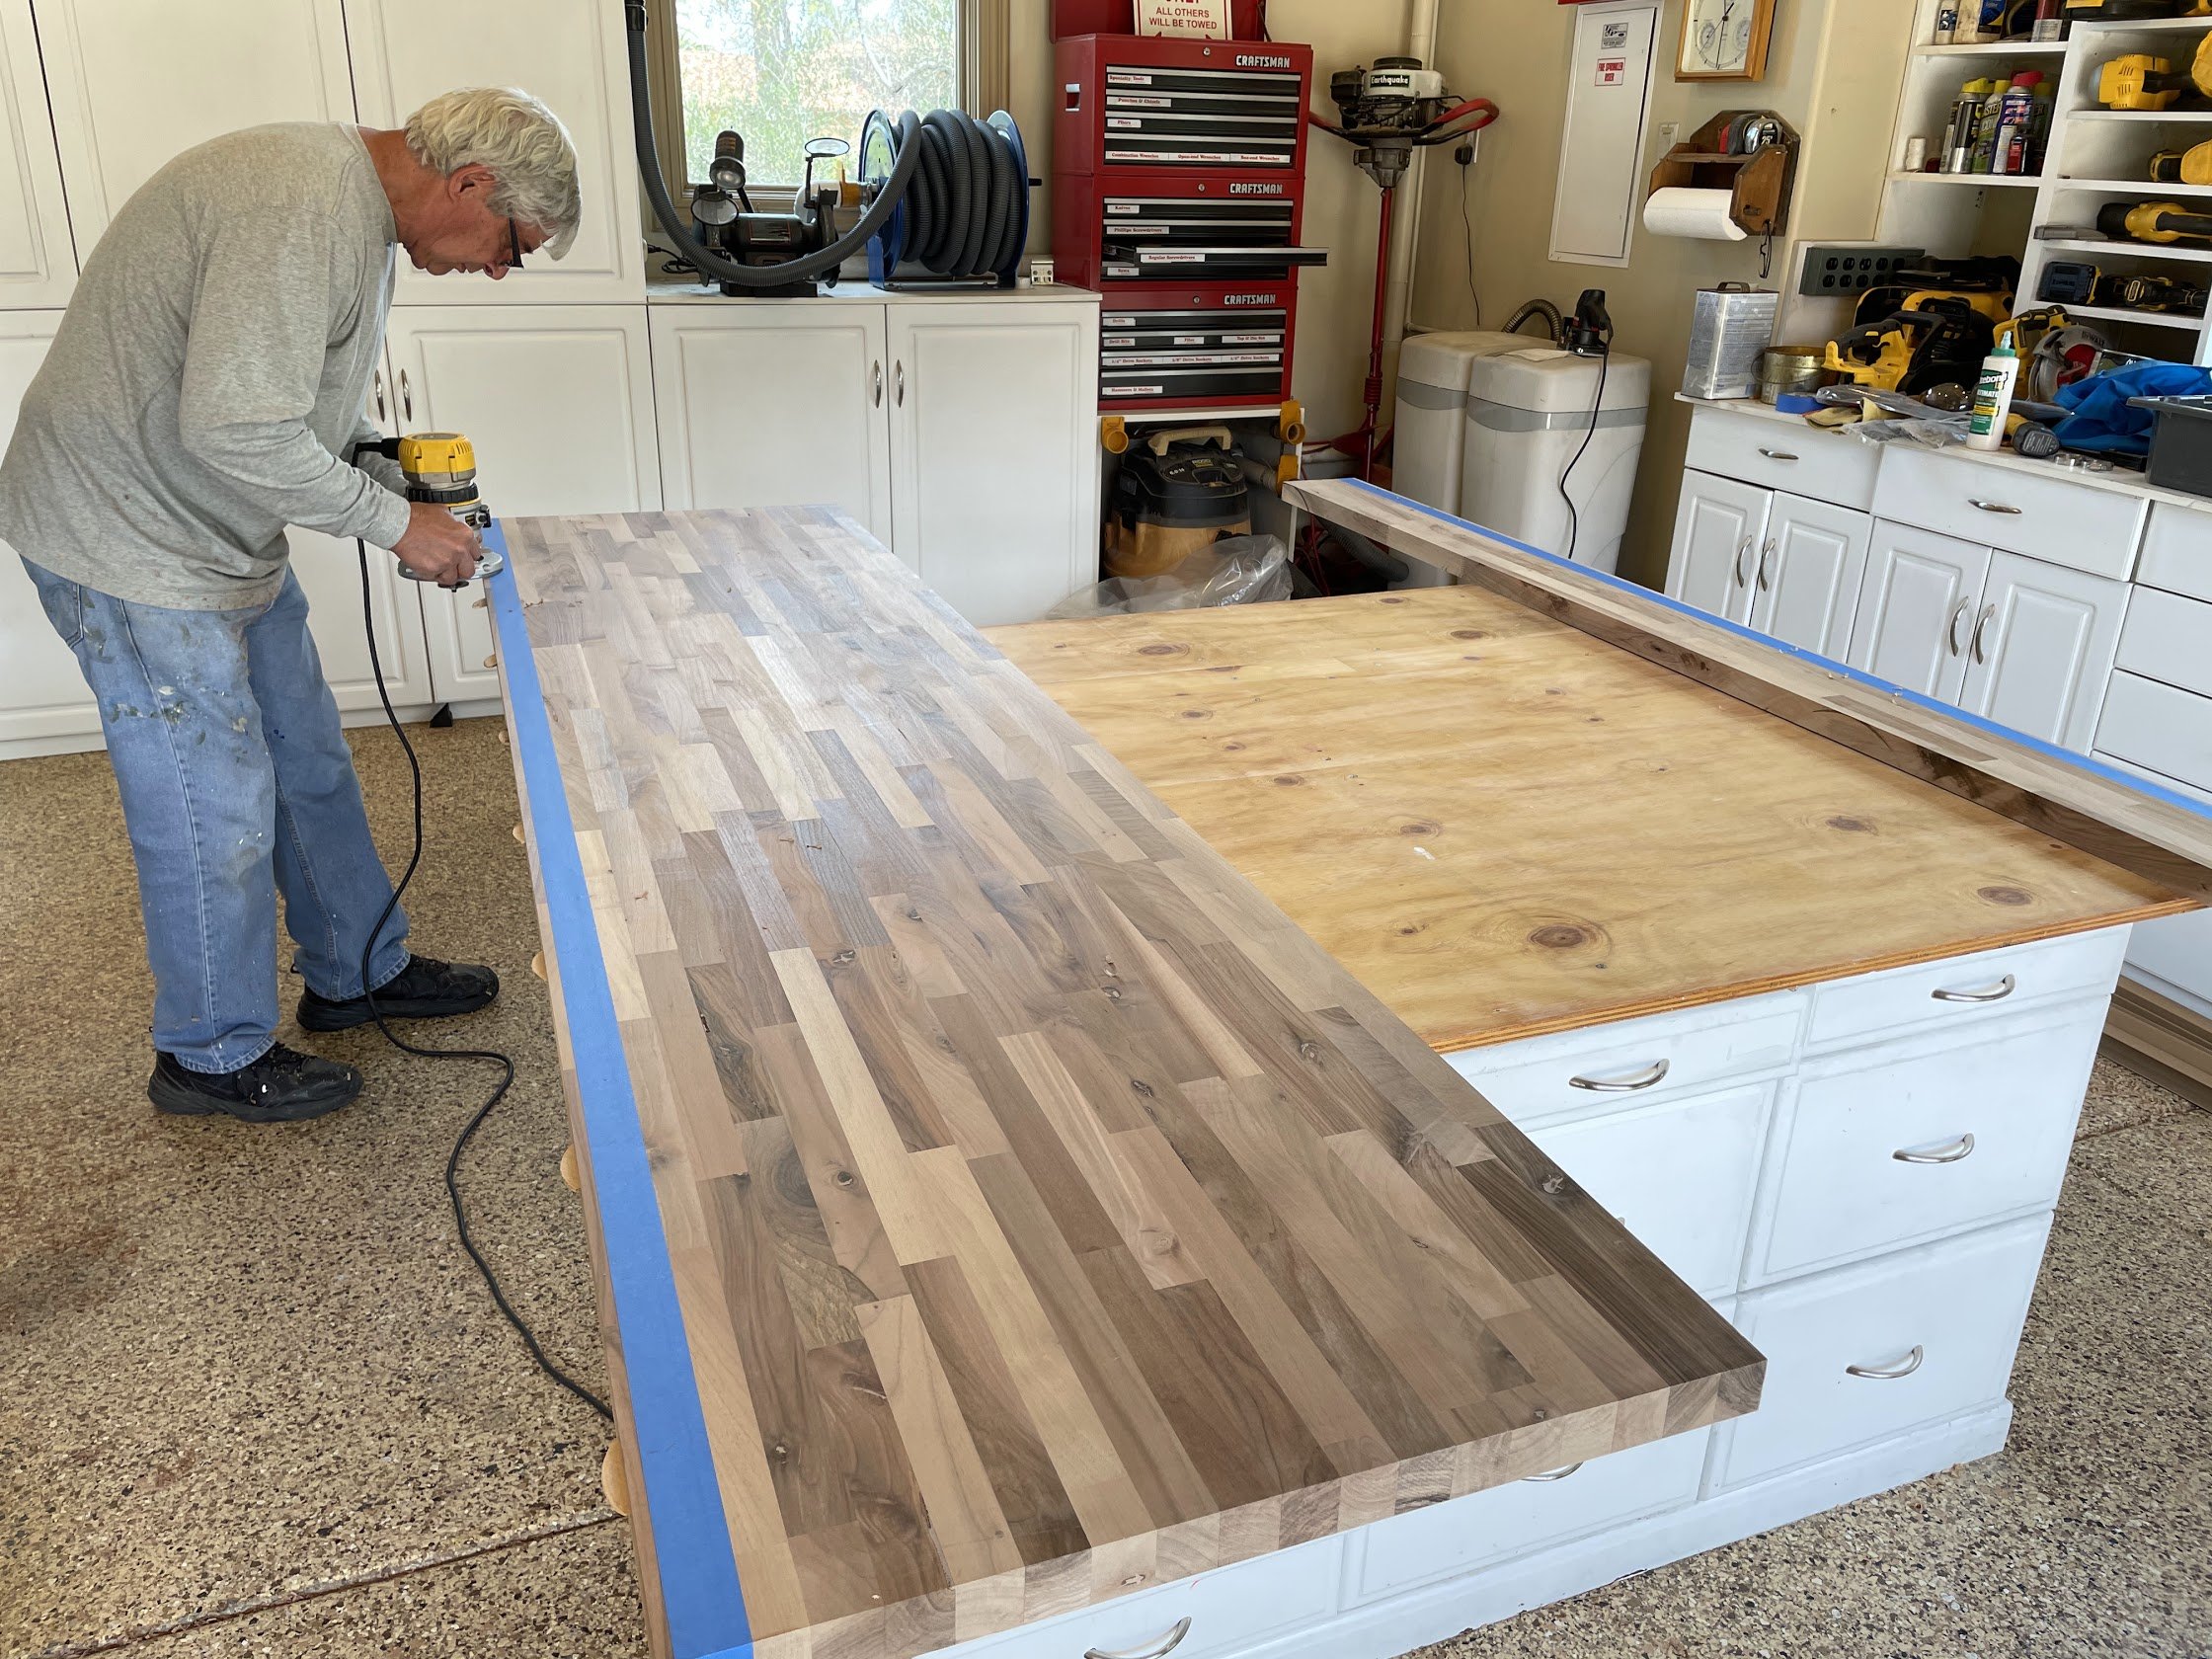
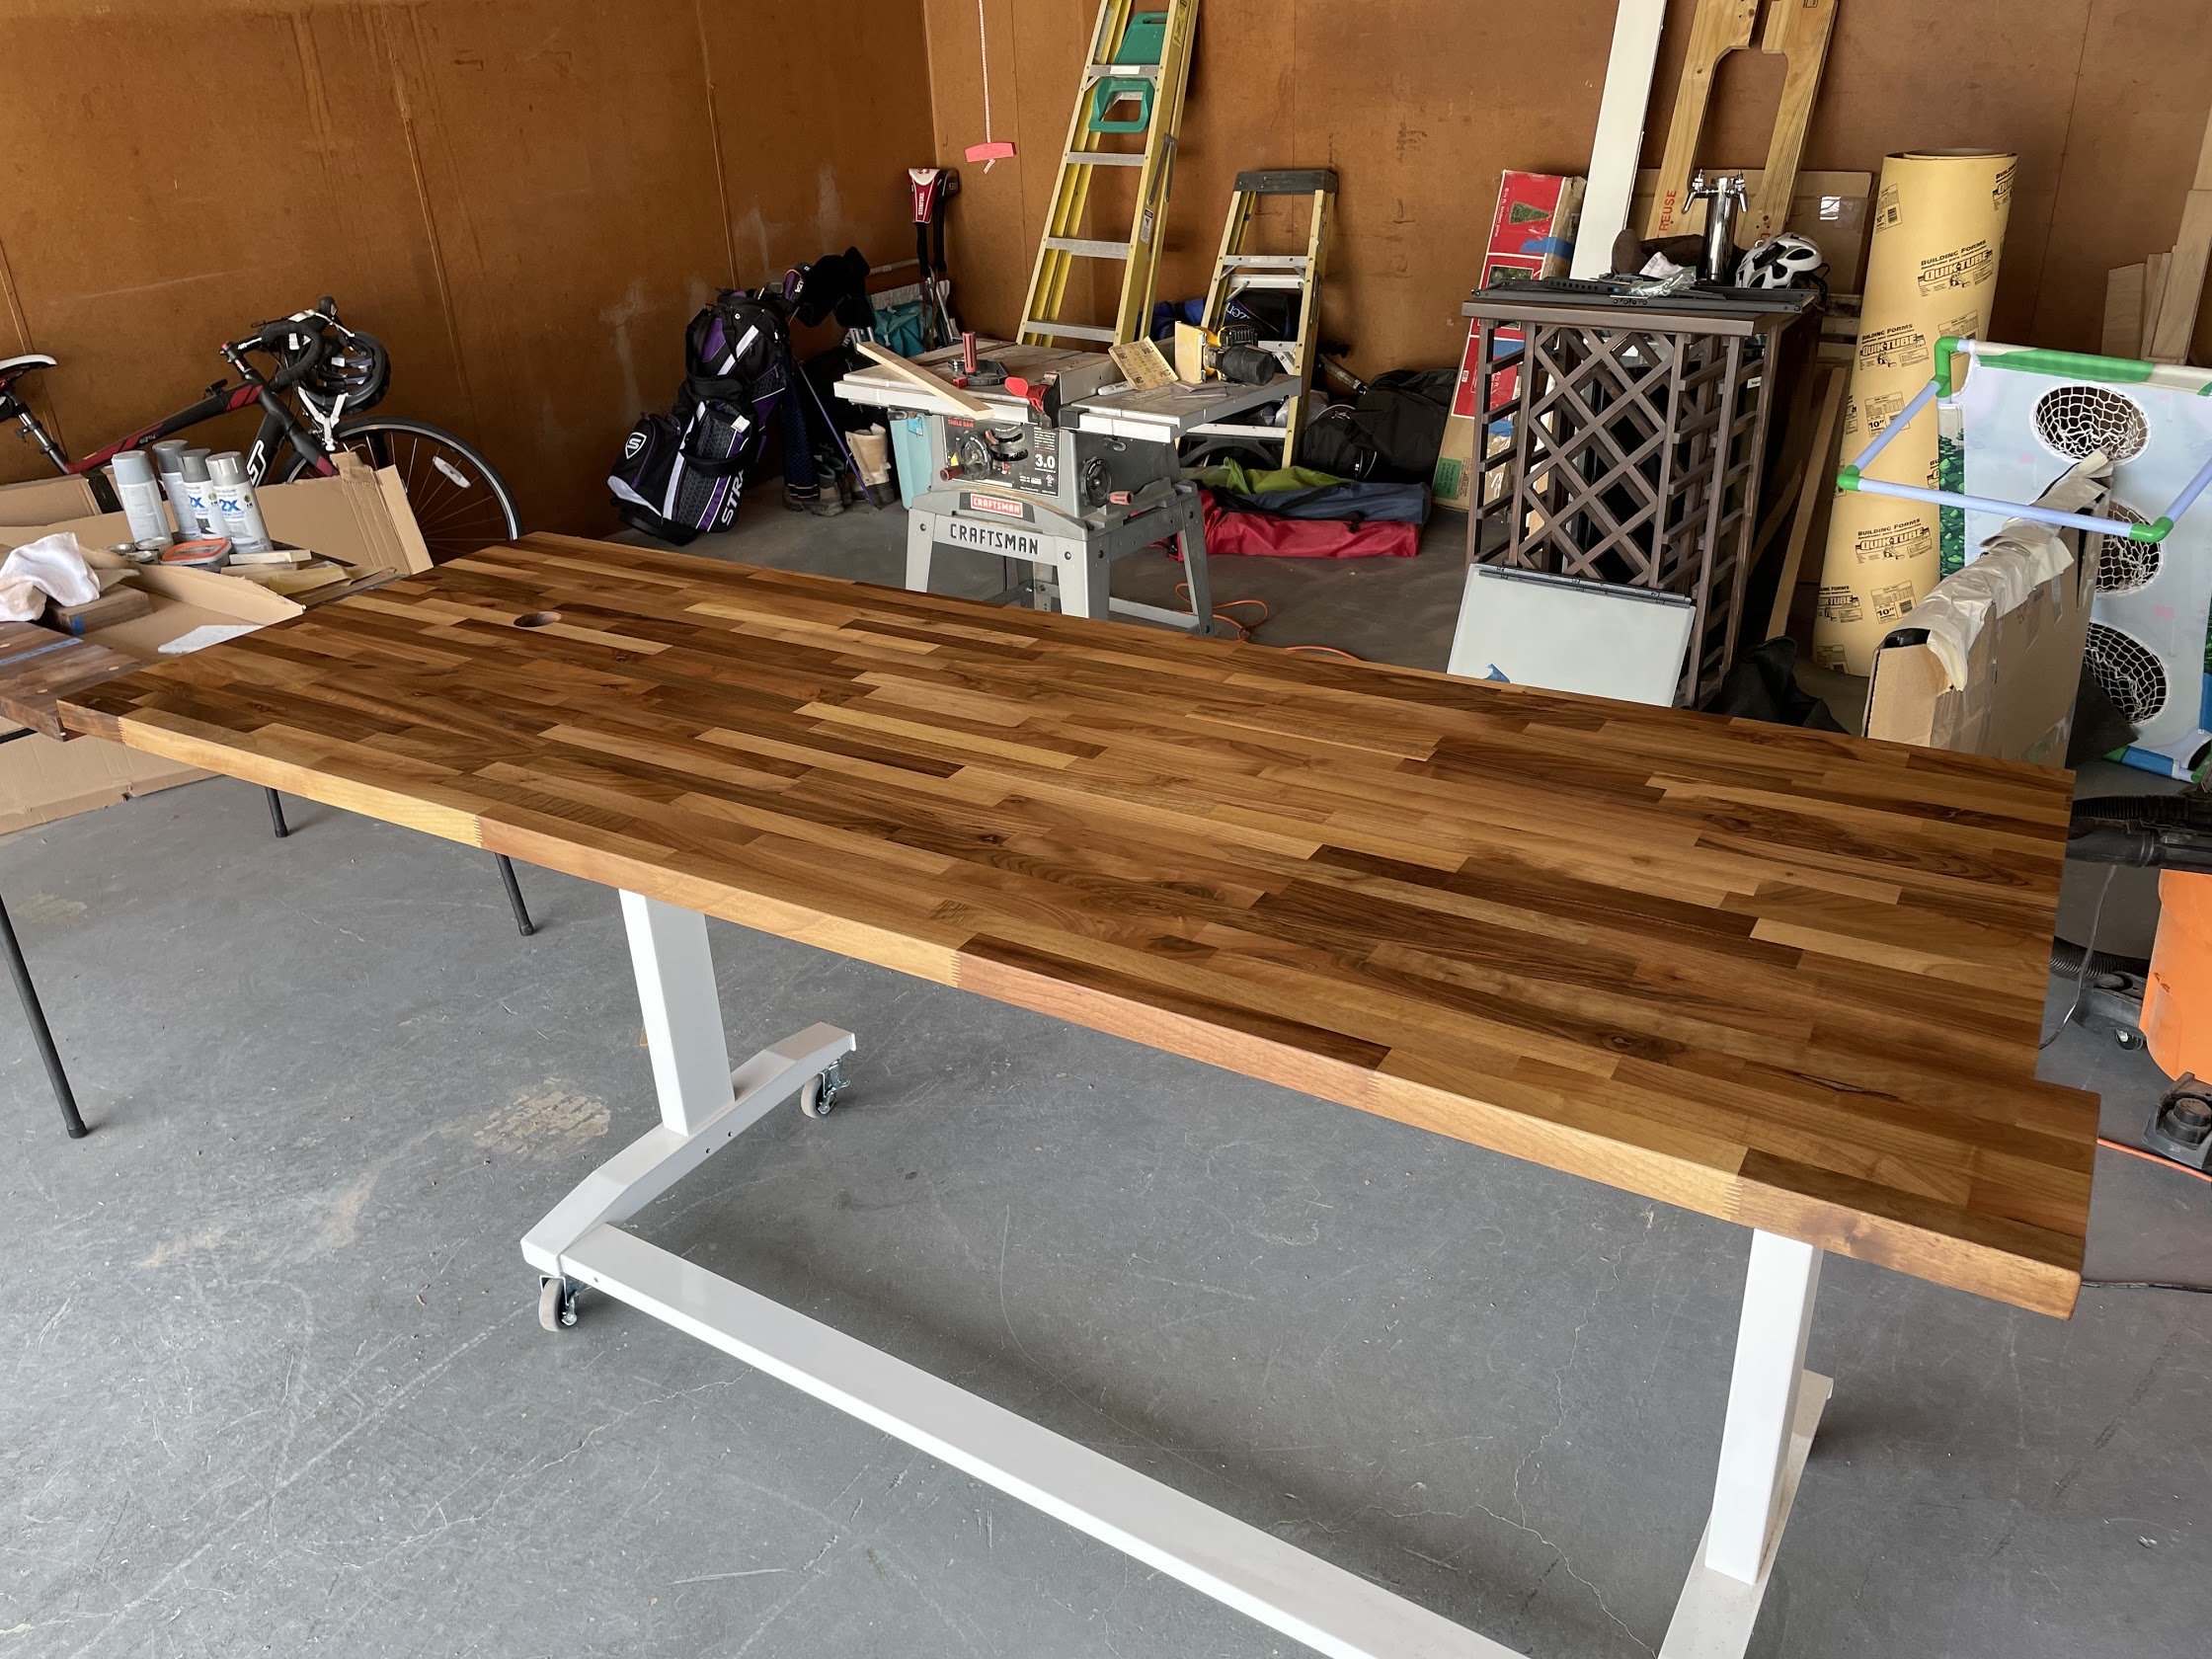
Finally, we started the process of connecting our two pieces of butcher block together to form a single continuous top. This…did not go well. We assumed that the factory edge of the butcher block would be straighter and cleaner than anything we’d be able to cut. Since the slabs were too big and heavy to run through the table saw, any cutting would have had to be done with a hand-held circular saw, which is tough to get straight. So we lined up two of the factory edges, added “biscuits” into each side to line up the pieces, and fit the two pieces together. It looked ok in some spots but not others, so we decided to try to knock down the problematic spots with a sander. This started a pretty much unending game of whack-a-mole, where we would get one section right only to find it had created some unevenness in another area.
After going about this for a while, we decided to do our glue-up and hope for the best. We glued and clamped everything and let it sit overnight. When we came back the next day, we decided it really wasn’t a good join at all. There were several gaps that were much larger than we would have liked. After some discussion, we decided to take the circular saw and do our best to cut right down the middle of the join. If we made sure that for the whole length of the cut, we removed at least a little bit of material from both sides of the join, then regardless of the straightness of the cut, the two sides should fit nicely back together. We also decided to forgo the biscuits in this second attempt, because we didn’t think they were helping us with stability or alignment. Unfortunately, I have only a single picture from this whole process. In peak frustration/problem-solving mode, documenting the experience just wasn’t top of mind.
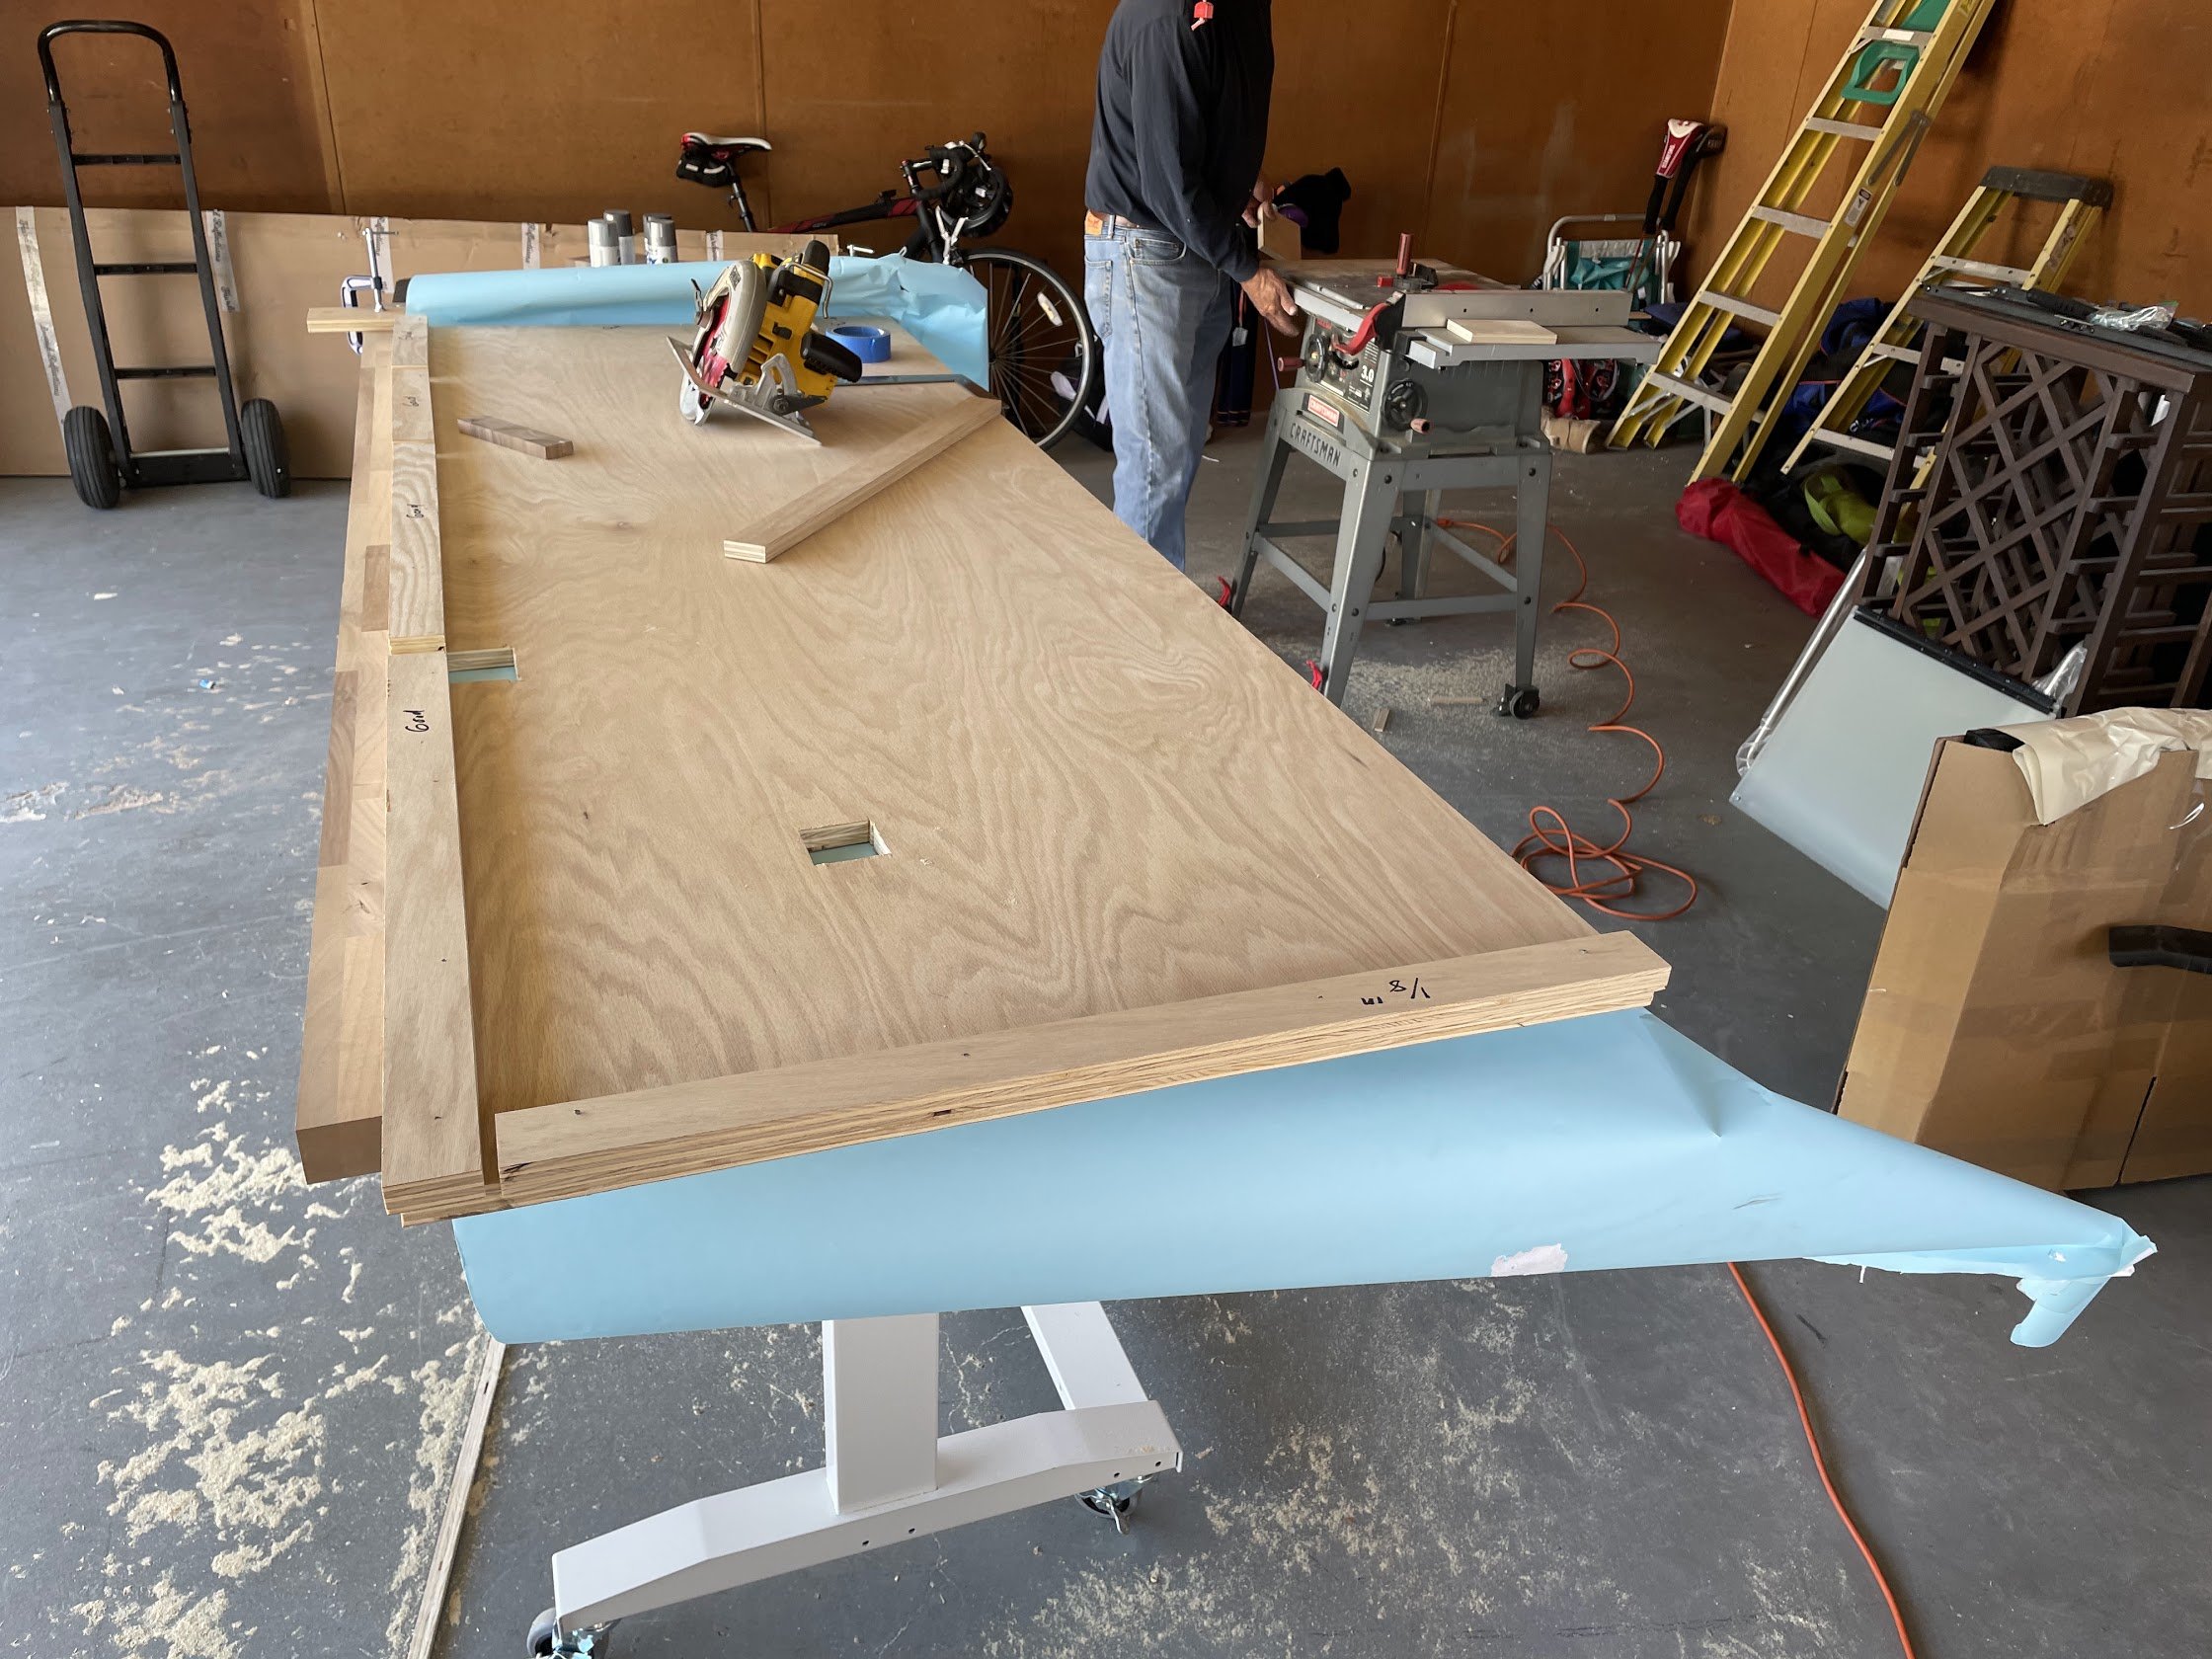
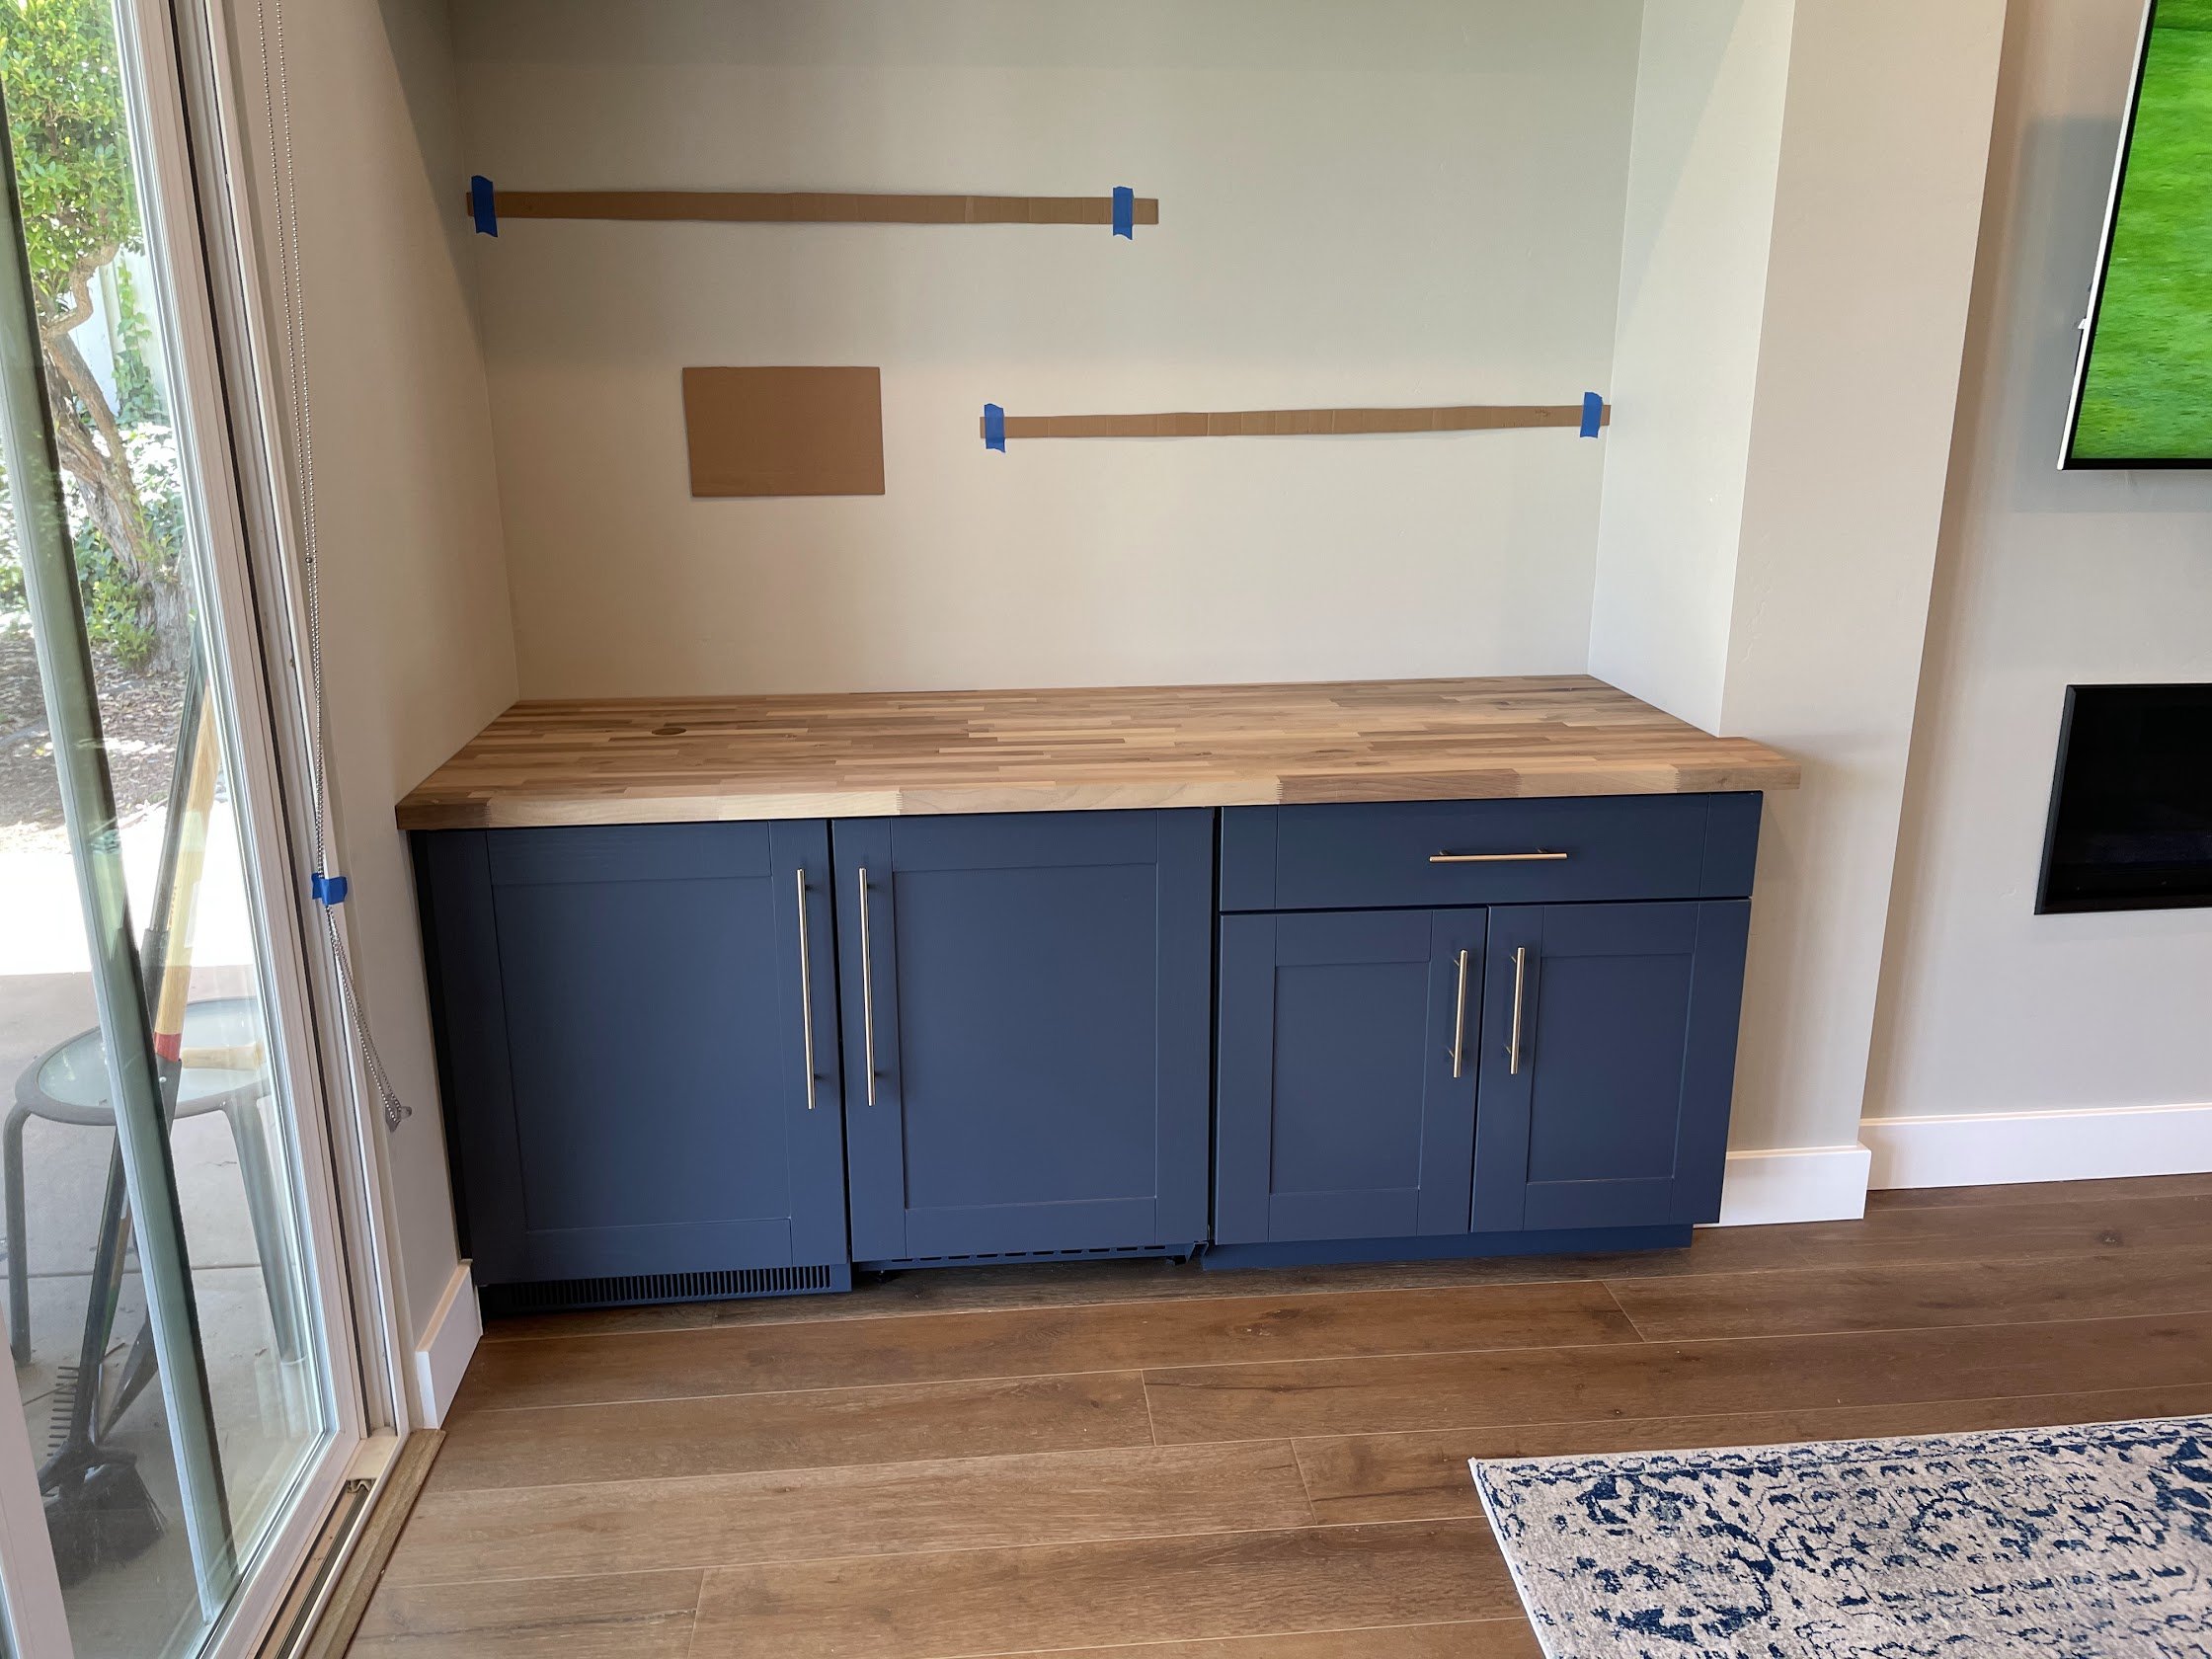
With the top finally together and roughly sanded, we took our temporary top and turned it into a template for the exact size and shape our finished top would need to be. We put the template on top of our real piece and then cut out the final shape and fit it into place. We left about 1/8 of an inch gap between the counter top and the wall on each side to allow for the wood to expand. This worked pretty well overall. One corner fit a little roughly so we shaved that down and were able to dry-install the top. You can also see some cardboard templates for the shelves and the keg monitor.
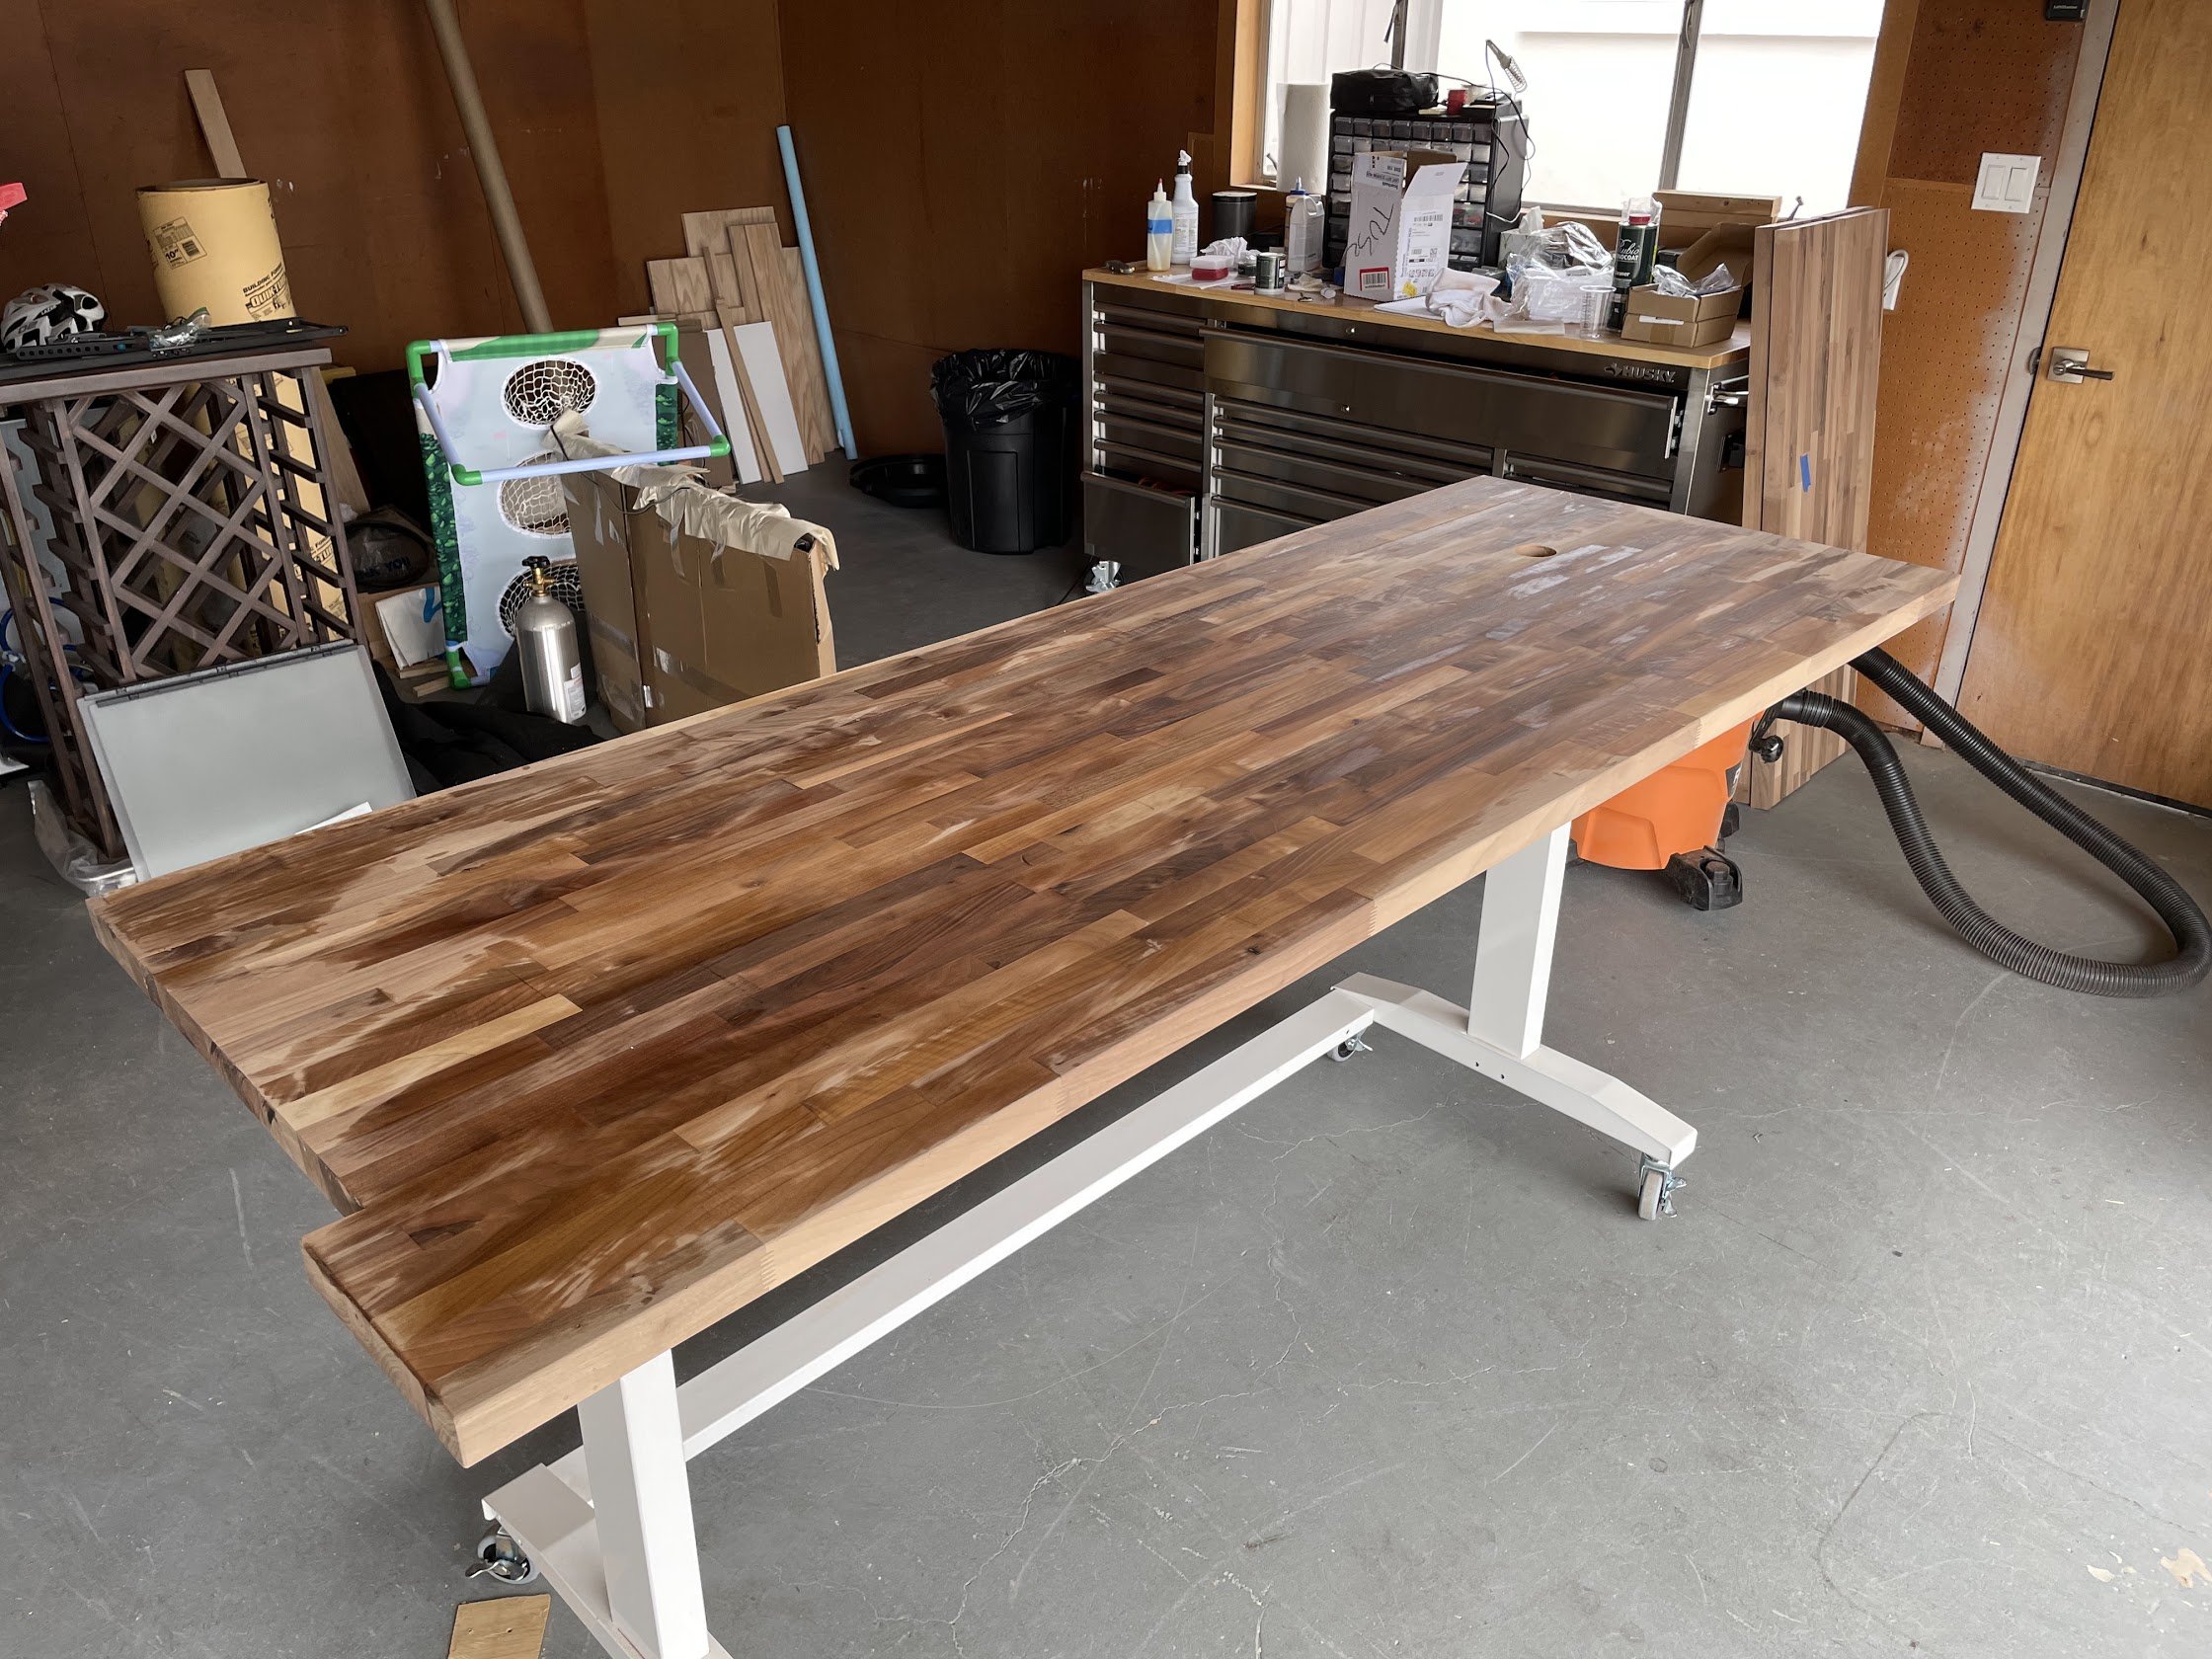
I took some of the cut-offs butcher block and started testing different shades of wood-filler and two different finishes we were considering. We wanted a natural finish that just highlighted the walnut. We had heard from one of Briana’s co-workers who built a similar bar that he had used Tung Oil as a finish, but wished he had used a 50/50 mix of Tung Oil and citrus, so we decided to try that. After doing some research, I also came across Rubio Monocoat which seemed to be recently popular, so I wanted to try that as well. In the end, both finishes looked pretty similar, but the Monocoat was a lot simpler to apply and didn’t have the strong scent of the 50/50 mix.


With that decided, we added a slightly rounded (1/8 inch) edge to the front of the top, filled all of the small imperfections with wood filler, sanded the whole thing to 220 grit, and cleaned it with mineral spirits. Then we applied the Monocoat one side at a time.
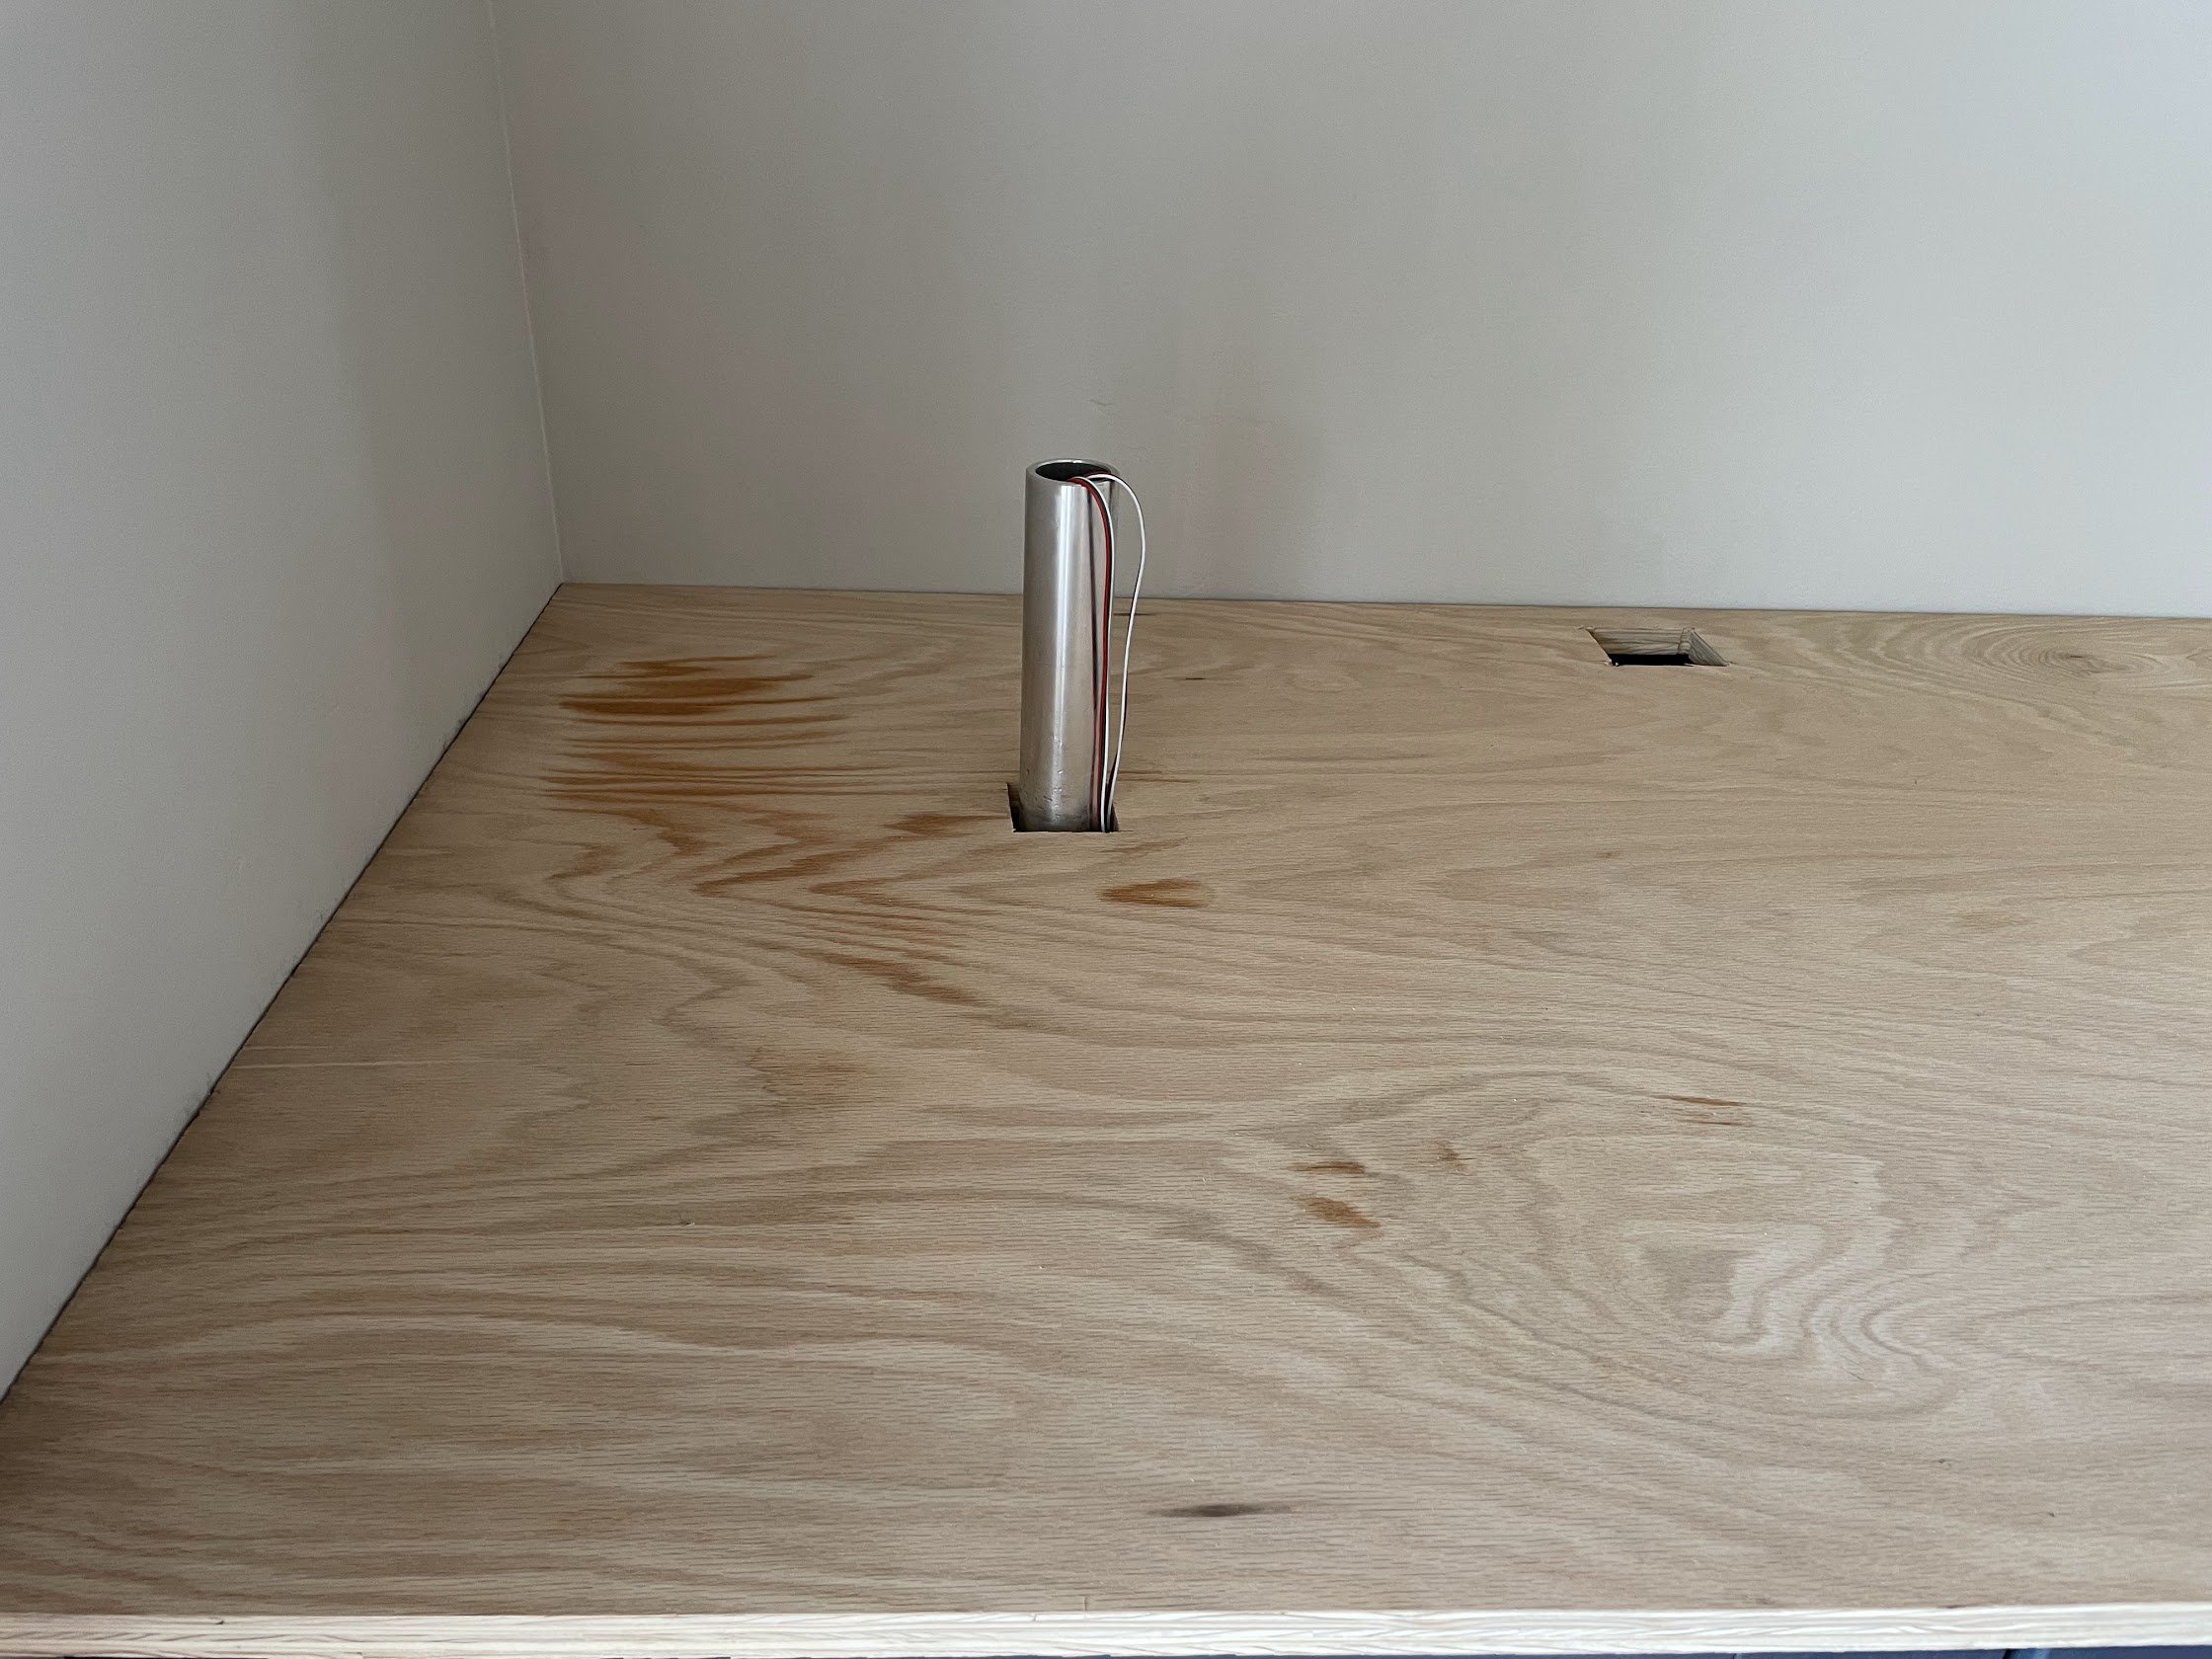
Before installing the top, I added an electrical outlet on the right side of the bar (by connecting into an outlet on the other side of the wall in our master bedroom), as well as another flexible opening to run wires from the cabinet (where all our TV and internet equipment would be) to the top. I also cut a big hole in the wall where the monitor would be, both to run cables and to allow the thick parts of the monitor to be recessed into the wall. Finally, we put the bar top in place.


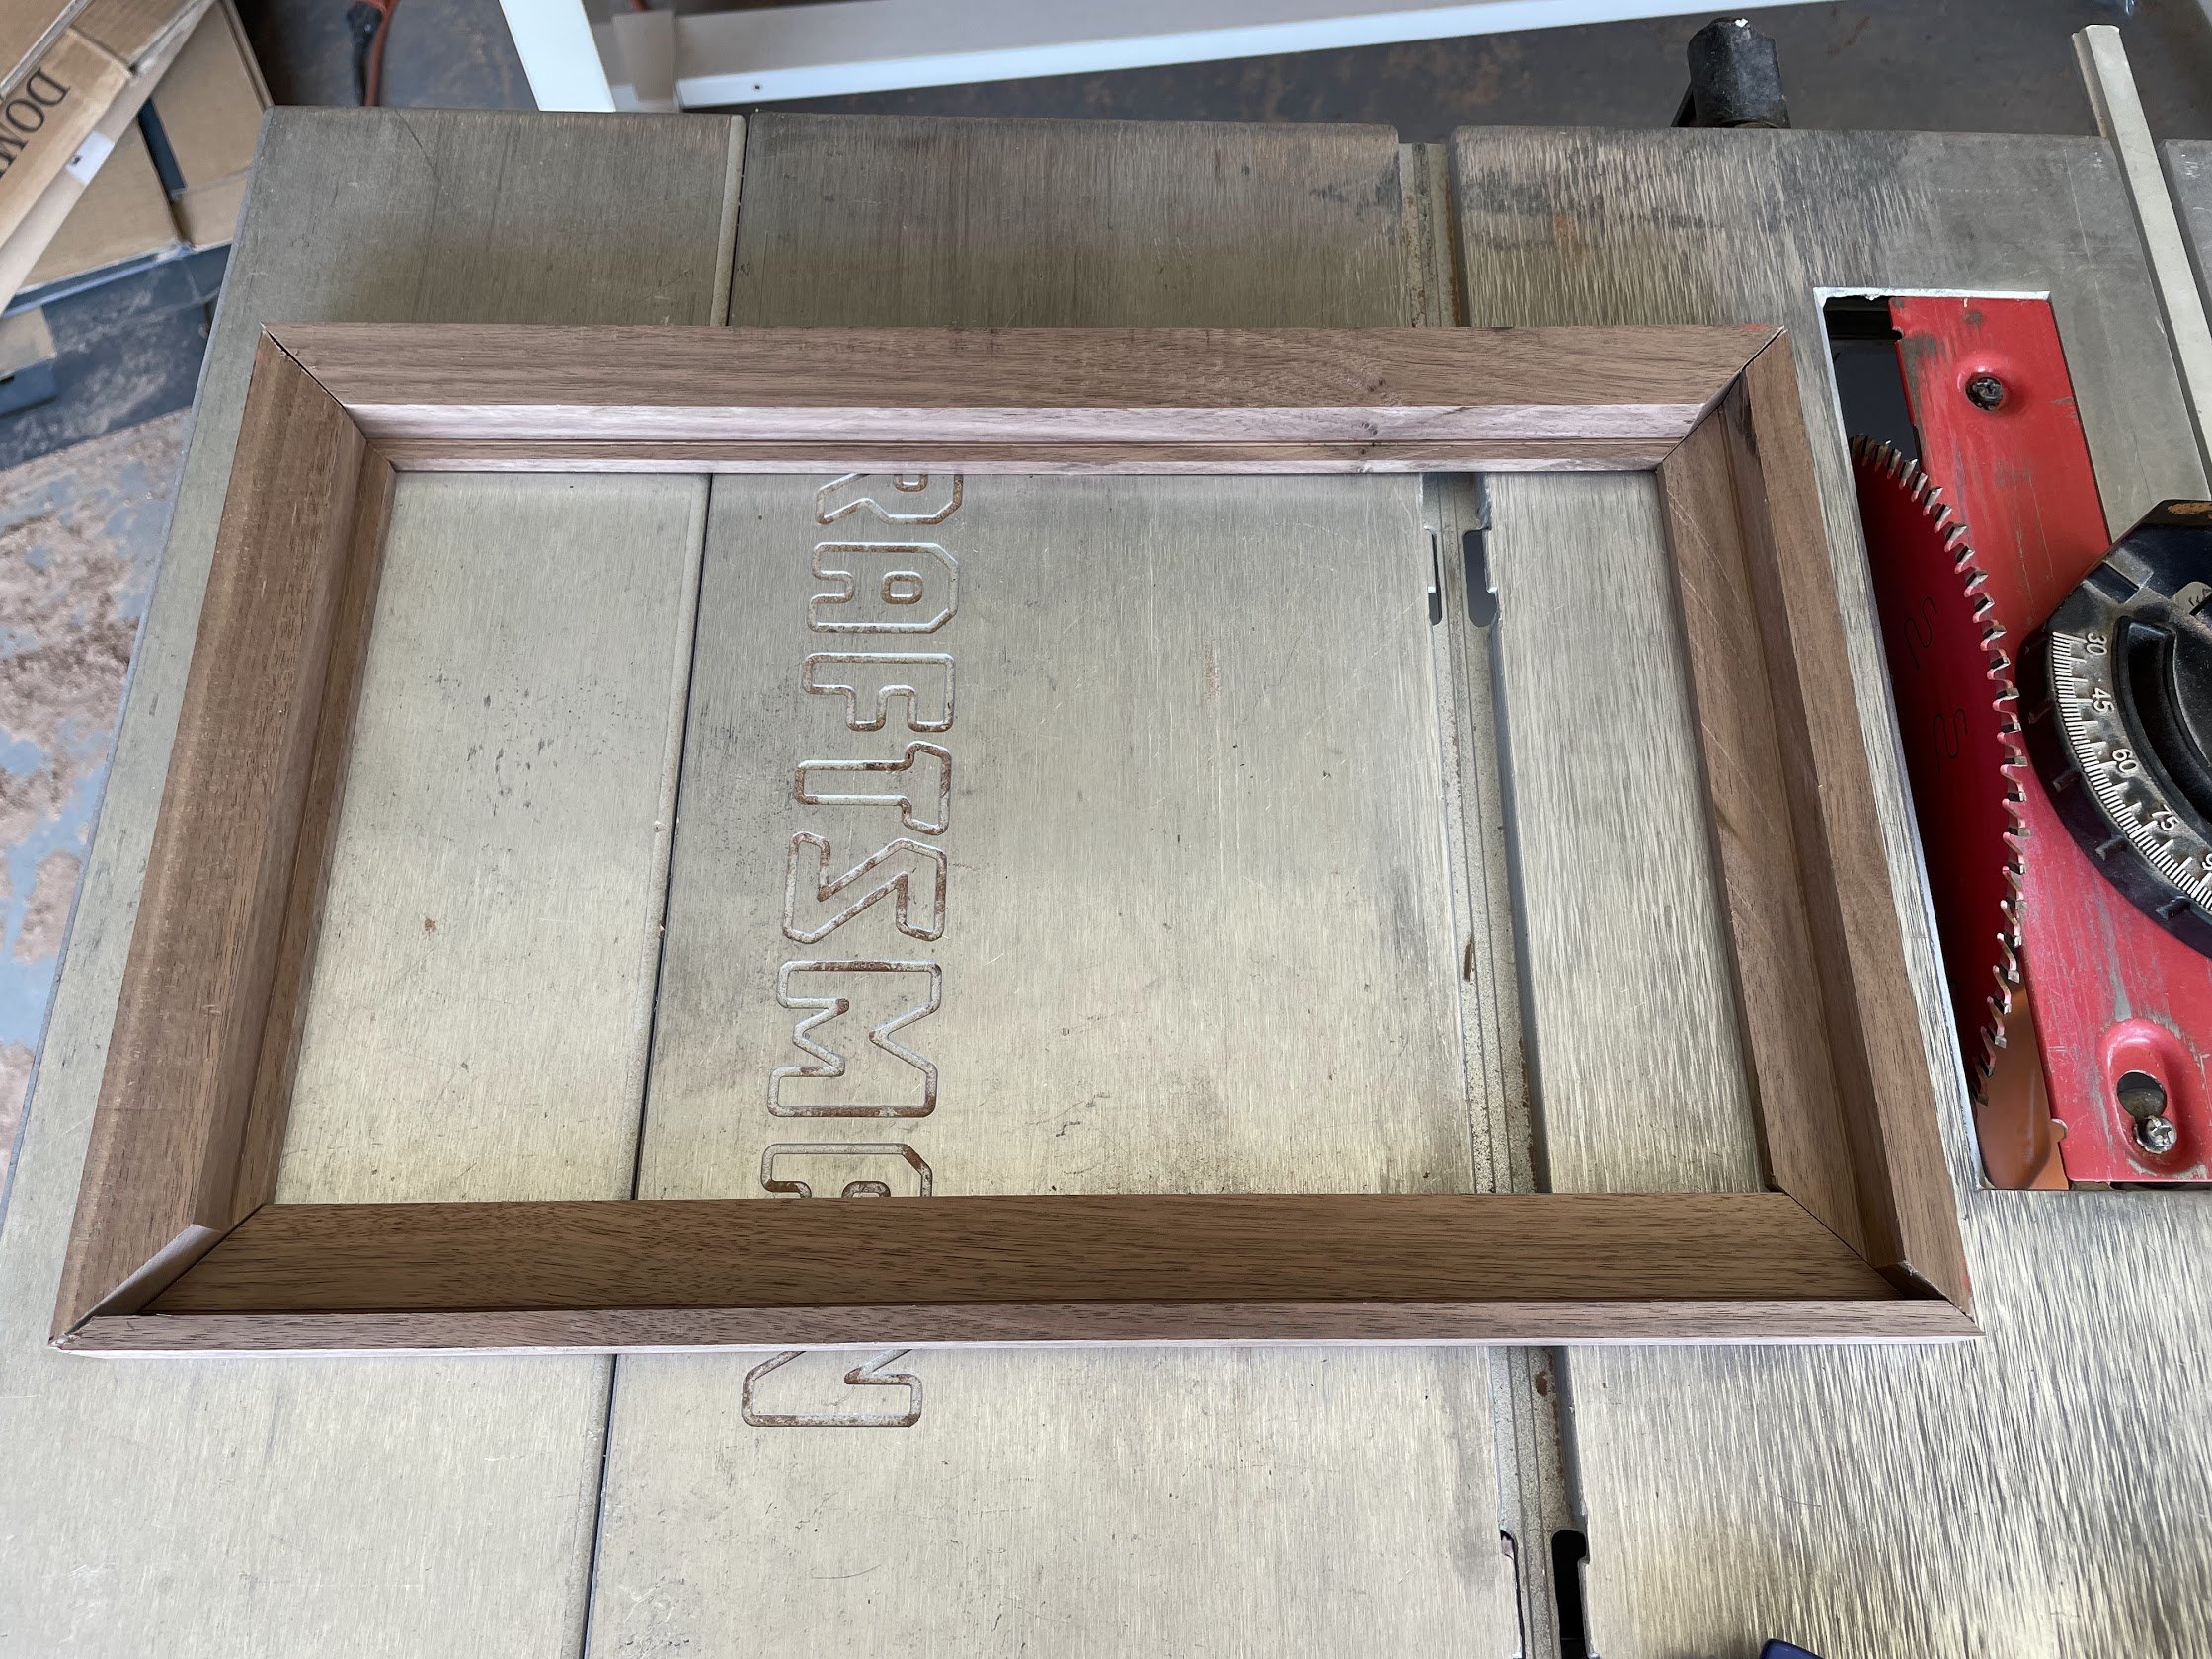
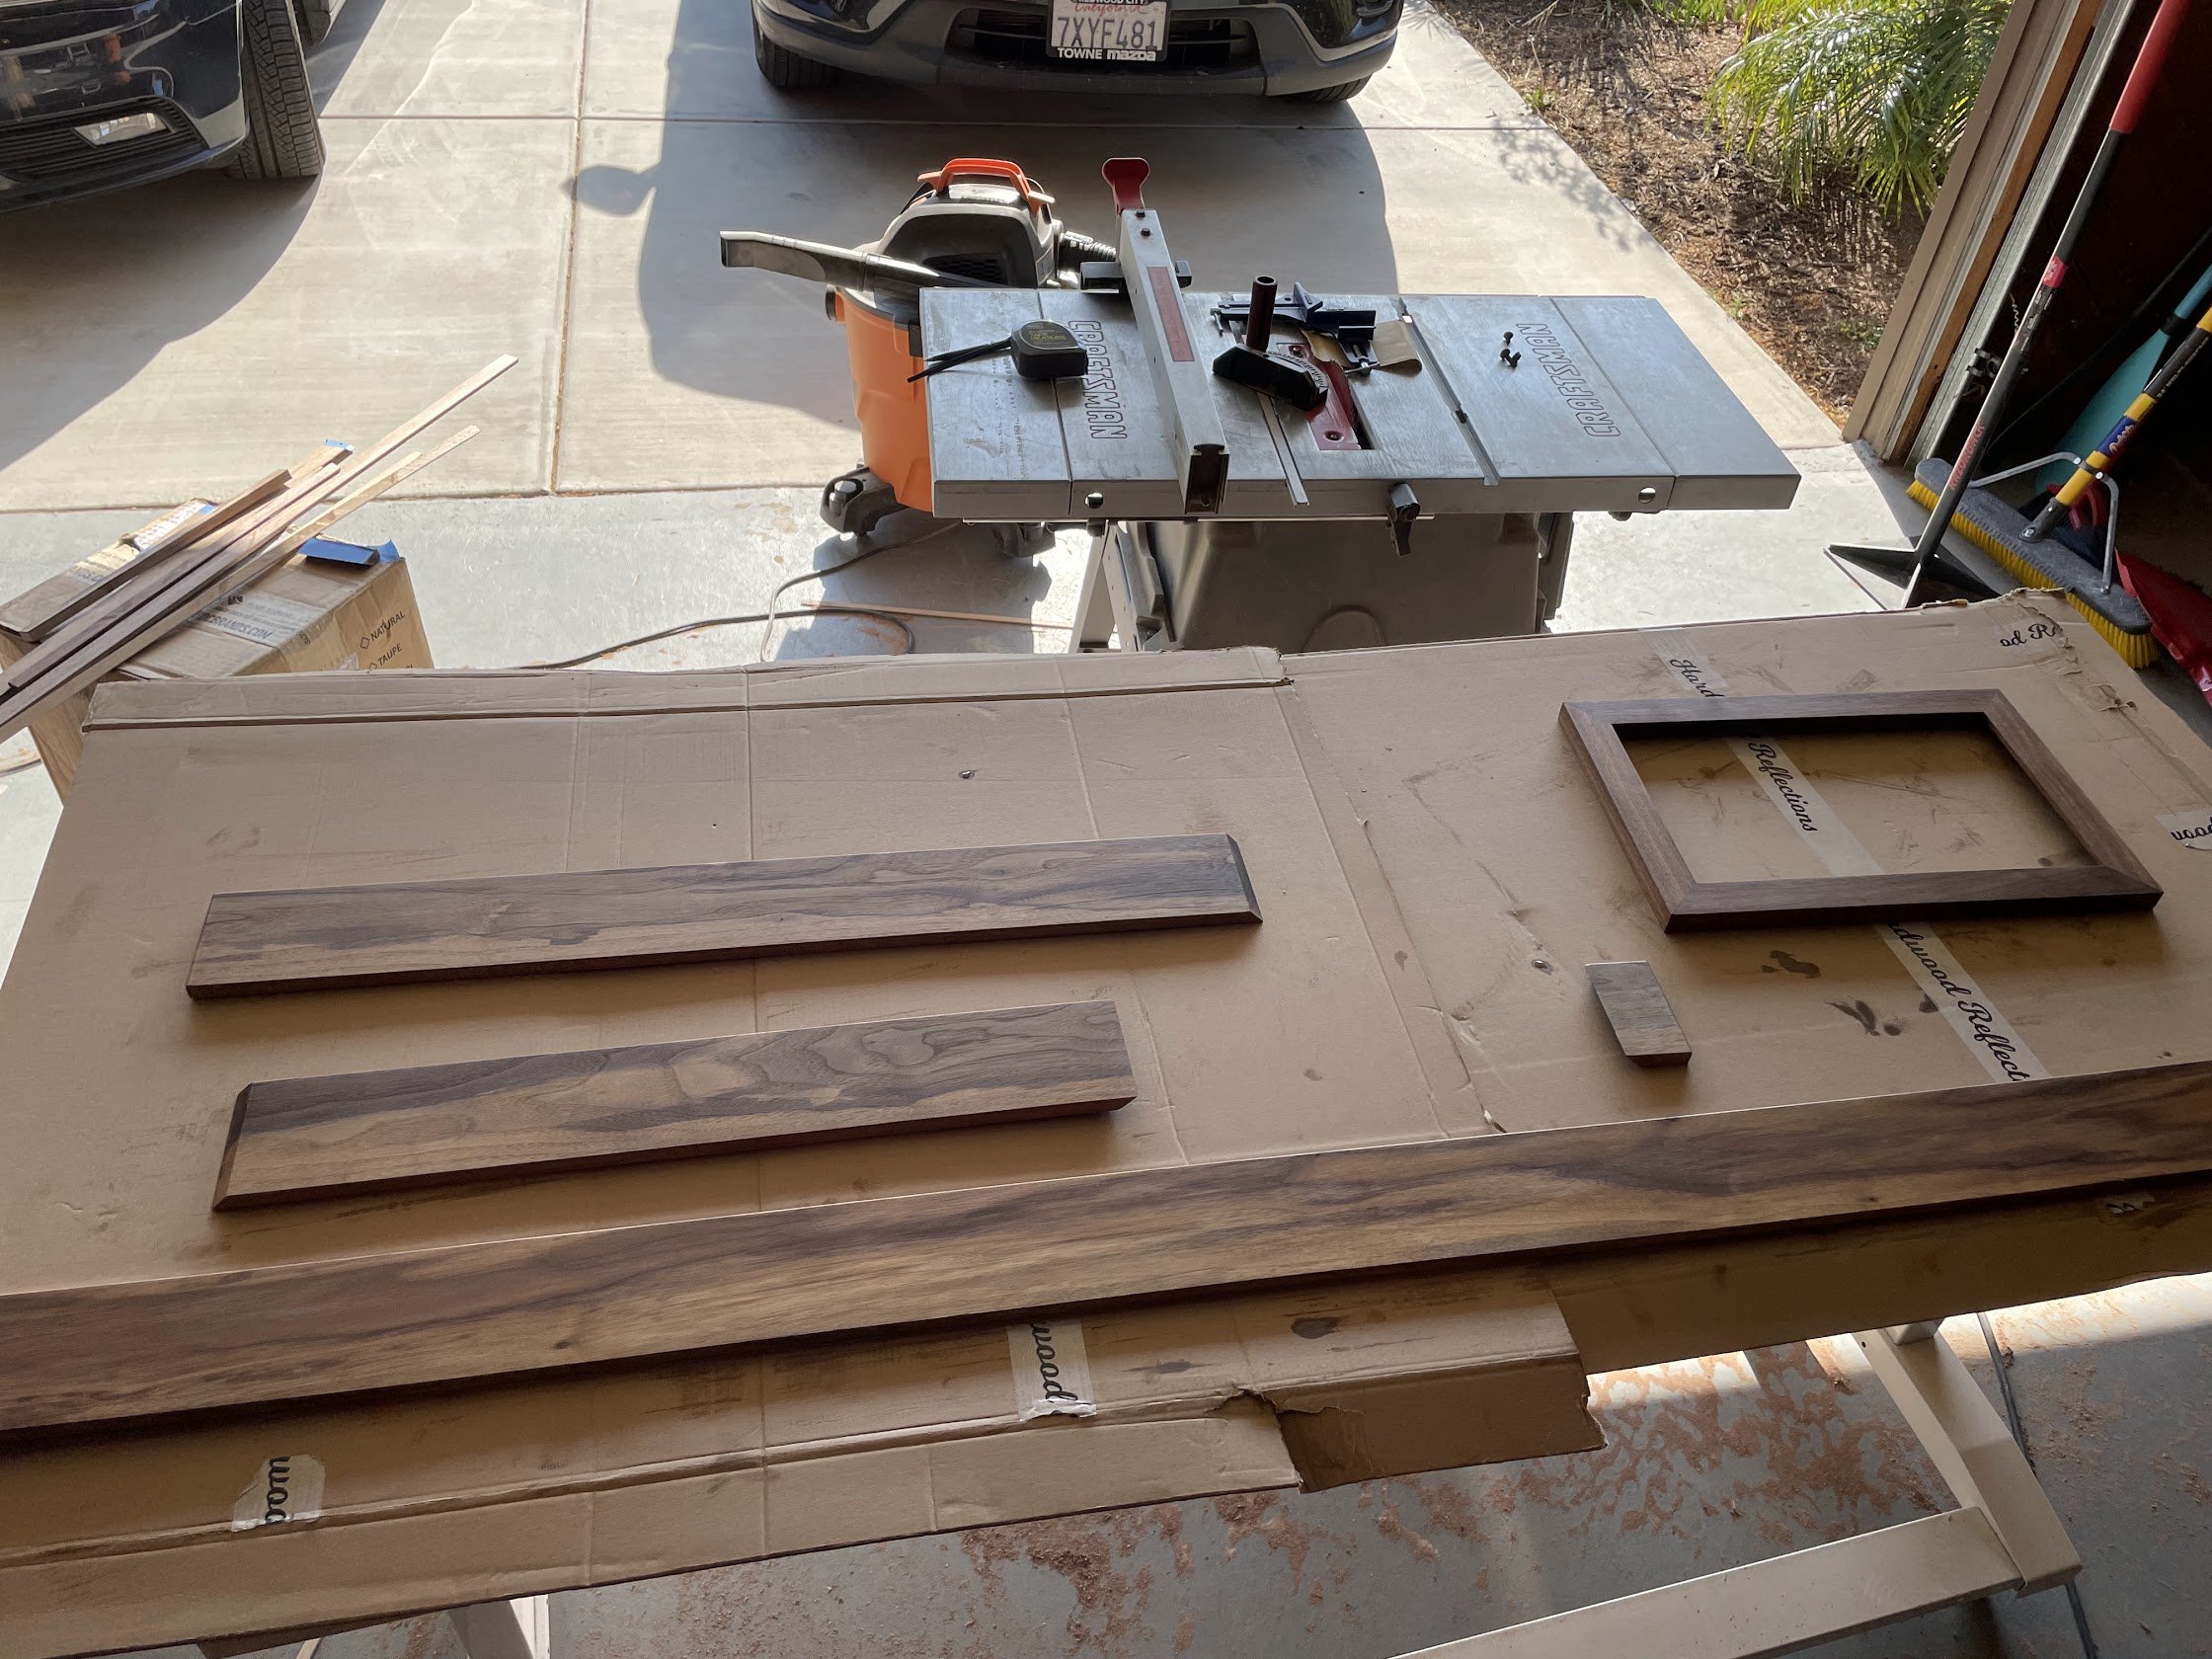
While we thought the top looked pretty good as is, we decided it would be a little more professional-looking if there was some sort of “backsplash” element. Briana and I talked about a lot of different options including tile (but decided this was too kitchen-like) and shiplap (too farmhouse for our style), before deciding to add a thin strip of walnut along the wall. I also built a walnut frame for the monitor to hide the edges of the screen and the wiring. After cutting everything to fit, I finished it with the Monocoat and installed.
We then mapped out the exact locations for the shelves, and installed mounting brackets into the studs. We had already cut the shelves to size way back when we were working on our top. One by one we installed our shelves, then finished them with the Monocoat.


With the shelves installed, we did our best to add some decorative items, and the project was finally complete! This was definitely one of the more fun and rewarding projects I’ve ever done, and made a huge difference in transforming our living room.


